Cabinet painting safety tips: protect your family and home
- Axcell Painting

- 6 days ago
- 8 min read
Most Ottawa homeowners assume cabinet painting is a simple weekend project. Grab a brush, open a can, and you’re done. But that assumption skips over something important: cabinet painting involves sanding dust, chemical degreasers, primer fumes, and spray equipment that can genuinely affect your health if you’re not prepared. We’ve seen it firsthand. Families rush through the process, skip protective gear, and end up with headaches, irritated eyes, or a finish that fails within months. This guide gives you practical, expert-backed safety tips so you can protect yourself, your family, and your kitchen investment from start to finish.
Table of Contents
Key Takeaways
Point | Details |
Prioritize safety gear | Wearing proper PPE like respirators and gloves is critical for every step of cabinet painting. |
Ventilation is vital | Always ventilate your workspace with open windows or fans to reduce harmful fume and dust exposure. |
Choose low-VOC products | Select low- or zero-VOC paints and cleaners to protect your family’s health and indoor air quality. |
Prep and label smartly | Careful cabinet removal, labeling, and workspace preparation prevent mess and mistakes. |
Give ample curing time | Let cabinets dry and cure fully before returning to use to ensure safety and a beautiful finish. |
Why safety matters when painting cabinets
Cabinet painting looks straightforward from the outside. But once you start sanding old finishes, applying chemical degreasers, and spraying primer in an enclosed kitchen, the risks become very real. Cabinet painting produces dust and fumes that pose serious risks if inhaled or if they contact your skin. That’s not a warning to scare you off the project. It’s a reason to go in prepared.
Ottawa’s climate adds another layer of complexity. During winter months, windows stay shut and indoor air recirculates constantly. That means fumes from paint and cleaners build up faster than they would in a well-ventilated space. Humidity swings between seasons also affect how paint dries and how long chemicals linger in the air.
Children and pets are especially vulnerable. Their respiratory systems are more sensitive, and they’re closer to the floor where heavier fumes settle. Even brief exposure to sanding dust or VOC-heavy primers can cause irritation. Reviewing kitchen safety tips before you start is a smart first step.
Over 35% of DIY cabinet repaints report minor health issues due to inadequate PPE or poor ventilation. Headaches, eye irritation, and skin reactions are the most common complaints.
Here’s what puts most DIYers at risk:
Skipping a respirator during sanding
Using strong degreasers without gloves or eye protection
Painting in a closed room with no airflow
Letting kids or pets back into the space too soon
Ignoring DIY cabinet painting risks around chemical disposal
With the risks now clear, let’s break down your first crucial safety defenses.
Essential PPE for safe cabinet painting
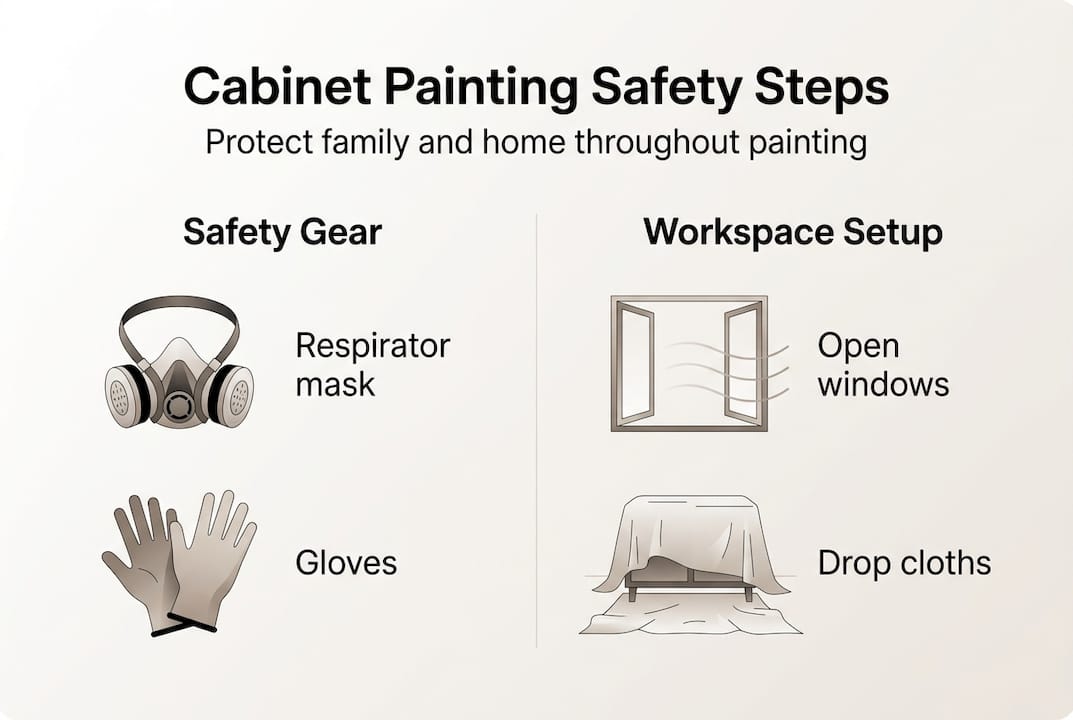
The right protective gear makes the difference between a safe project and a miserable one. Always wear PPE including a respirator or dust mask, safety glasses, gloves, and long sleeves for sanding, cleaning, priming, or painting. That’s the baseline. Here’s what each item actually protects you from:
Respirator (N95 or better): Filters sanding dust and VOC fumes. A surgical mask does not cut it for chemical vapors.
Safety glasses: Protect against splatter from degreasers and primer. Even a small drop of cleaner in the eye is painful and potentially damaging.
Chemical-resistant gloves: Standard latex gloves break down quickly with strong degreasers. Use nitrile gloves rated for chemical resistance.
Long sleeves and pants: Skin contact with degreasers and primers can cause irritation or allergic reactions over time.
If you’re using a spray setup, the stakes go up. Airborne particles from cabinet spraying are finer and travel farther than brush-applied paint, which means your respirator needs to be rated for fine particulates and organic vapors.
“Wear a respirator rated for organic vapors, not just a dust mask, whenever you’re spraying or working with solvent-based products.”
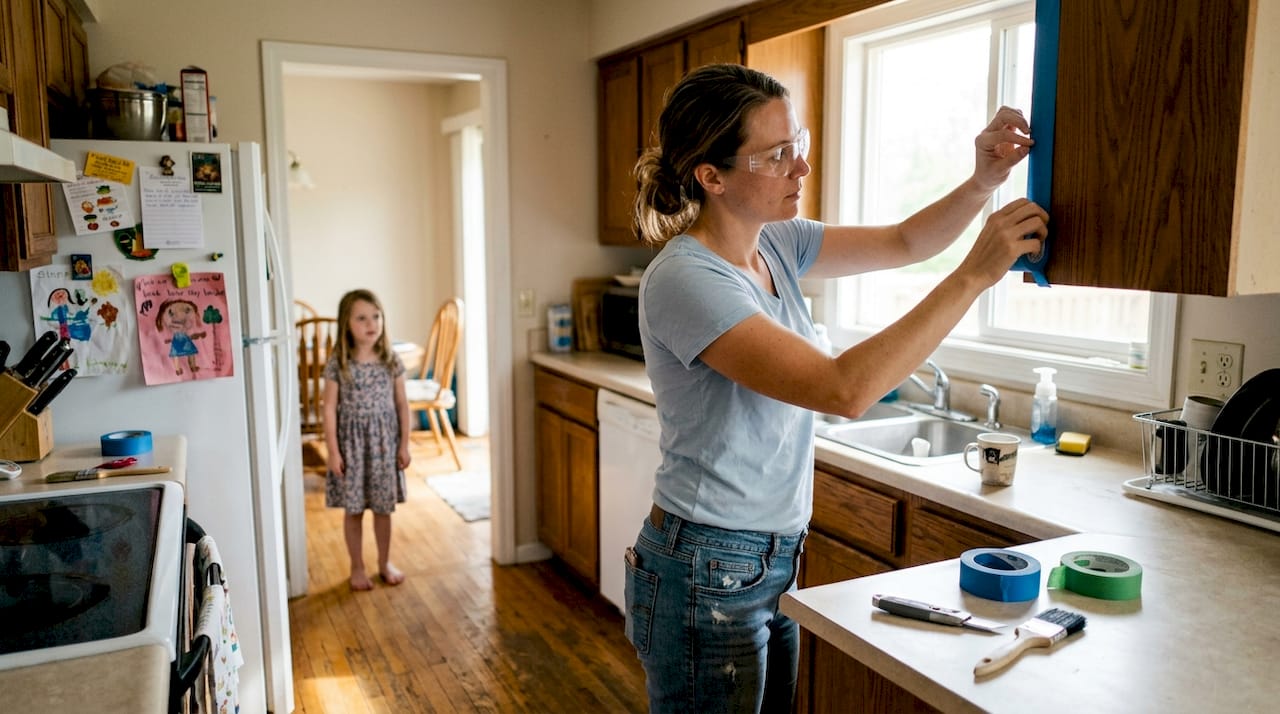
Pro Tip: Use painter’s tape to seal the wrist area of your gloves to your sleeves. Dust and fine spray particles love to sneak into that gap, especially during sanding.
Change your gloves immediately if they get splashed with cleaner or primer. Don’t wait until you’re done with the task. And if you’re following a cabinet repainting guide, make sure PPE is listed as step one, not an afterthought.
With the correct gear ready, your workspace setup comes next.
Ventilation and work area preparation
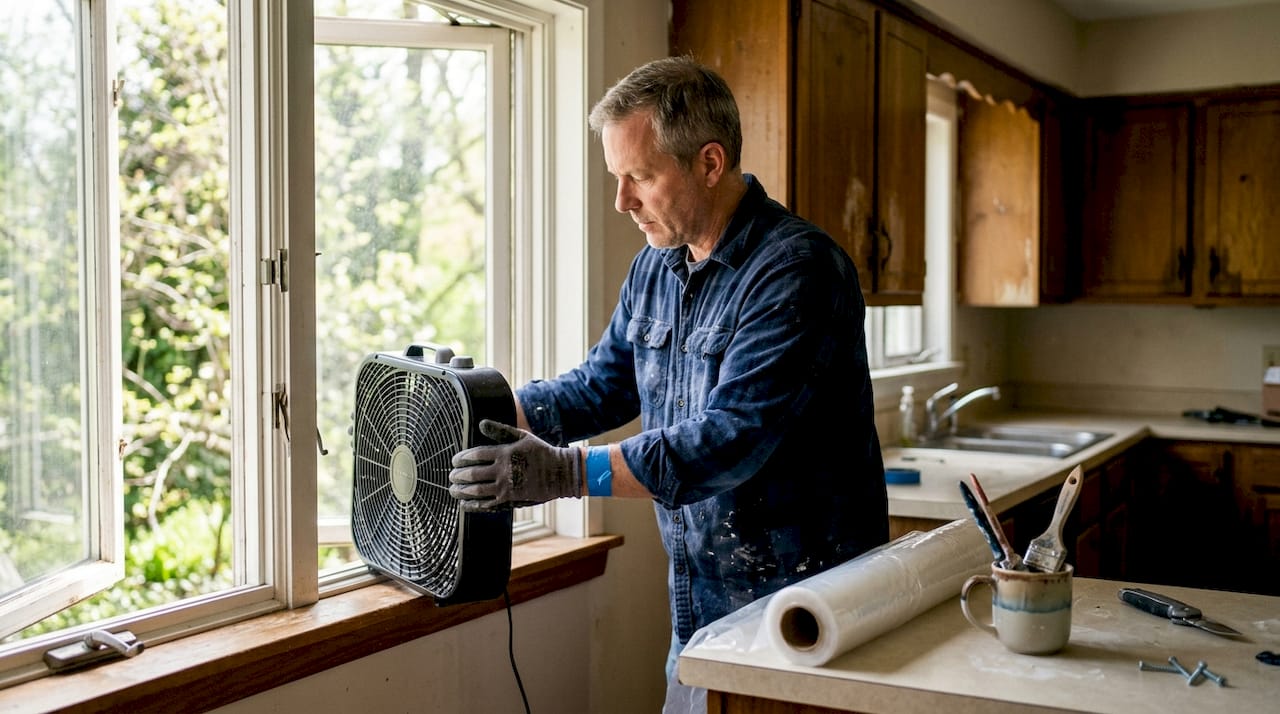
Good airflow is not optional. Ensure excellent ventilation by opening windows, using fans for cross-airflow, or working in a garage or outdoor area. Cross-ventilation means air enters from one side and exits from another. A single open window doesn’t achieve that.
Ottawa’s spring and fall seasons are ideal for cabinet painting projects. Mild temperatures let you work with windows open or move doors and drawer fronts to a garage or covered patio. Avoid painting in peak summer humidity or mid-winter when the house is sealed tight.
Setup | Ventilation quality | Best for |
Closed kitchen, no fans | Poor | Not recommended |
Kitchen with open windows and box fan | Moderate | Light touch-ups only |
Garage with open door and cross-fan | Good | Full cabinet projects |
Outdoor covered area | Best | Spray application, warm seasons |
Protect surfaces with drop cloths, plastic sheeting, and painter’s tape on counters, floors, and appliances before you start. Paint drips and overspray are inevitable. Protecting surfaces in advance saves hours of cleanup and prevents permanent damage to countertops or flooring.
Pro Tip: Set up a simple drying rack using a tension rod or a clothesline in your garage for cabinet doors and drawer fronts. Keep that area completely off-limits to children and pets until everything is fully cured. A handwritten sign on the door works better than you’d think.
Pre-stage your cleanup supplies too. Have garbage bags, a bin for used rags, and a sealed container for any solvent-soaked materials ready before you open the first can. Solvent-soaked rags can be a fire hazard if left in a pile. Also check out tips on cleaning painted cabinets to understand what surfaces need protecting long-term.
A safe workspace sets the stage for careful cabinet prep.
Safe cabinet prep and labeling before painting
Prep work is where most DIY projects go sideways, not because of skill, but because of disorganization. Remove cabinet doors, drawers, and hardware and label them carefully before moving anything to your workspace. Here’s a step-by-step process that keeps things safe and organized:
Photograph every cabinet section before removing anything. A quick phone photo of each area gives you a reference for reassembly.
Remove doors and drawer fronts using a screwdriver. Work one section at a time to avoid confusion.
Label each door and drawer with painter’s tape and a marker. Use a simple code like “U1” for upper cabinet one, “L2” for lower cabinet two.
Bag hardware separately for each cabinet. Use small zip-lock bags labeled with the same code as the door or drawer it came from.
Sand only in your designated zone. Never sand inside the kitchen if you can avoid it. Dust travels and settles on food prep surfaces.
Wipe down all surfaces with a damp cloth after sanding before moving pieces back indoors.
Pro Tip: Snap a photo of each hardware bag next to its labeled door before moving anything. If a label falls off, you’ll still have a visual record on your phone.
A spring cleaning kitchen checklist can also help you identify what needs to be cleared from the kitchen before the project begins.
With smart labeling and prep, it’s time to choose safer, healthier paint products.
Using low-VOC paints and safe cleaning products
VOCs, or volatile organic compounds, are chemicals that evaporate at room temperature and enter the air you breathe. Many conventional paints and degreasers are high in VOCs. Short-term exposure causes headaches and eye irritation. Long-term or repeated exposure is linked to more serious health concerns. Low- or zero-VOC paints minimize these health risks, especially in kitchens where the space is enclosed and used daily.
Safer alternatives for cleaning and degreasing include:
TSP substitute (trisodium phosphate alternative): Effective degreaser with lower toxicity than traditional TSP
White vinegar solution: Mild degreaser for lightly soiled surfaces
Plant-based degreasers: Available at most Ottawa hardware stores, biodegradable and low-fume
Water-based primers: Lower VOC content than oil-based options, easier cleanup
Paint brand | VOC level | Notes |
Benjamin Moore Advance | Low (under 50 g/L) | Popular for cabinets, water-based alkyd |
Sherwin-Williams Emerald Urethane | Low (under 100 g/L) | Excellent hardness and durability |
Behr Premium Cabinet | Low to moderate | Widely available, budget-friendly |
General Finishes Milk Paint | Near zero | Great for a matte, natural look |
Always read the manufacturer’s disposal instructions for leftover paint and cleaning chemicals. Pouring them down the drain is not safe or legal. Ottawa has hazardous waste drop-off locations for exactly this purpose. Choosing the right kitchen paint finish also affects VOC levels, since higher-sheen finishes sometimes require more chemical hardeners.
Now, timing and patience ensure both health and durability for your new finish.
Drying, curing, and safe re-entry
Paint drying and paint curing are two different things. Drying means the surface is no longer wet. Curing means the paint has fully hardened and off-gassing has stopped. Rushing either stage is a recipe for a failed finish and unnecessary chemical exposure in your home.
Allow full drying and curing with 24 hours between coats and 3 to 7 days before heavy use, in a controlled environment, for the best safety and durability results. Here’s a practical timeline to follow:
Between coats: Wait a minimum of 24 hours. Don’t rush this, even if the surface feels dry to the touch.
After final coat: Wait 48 to 72 hours before light use. Avoid placing items on shelves or closing doors firmly.
Full cure: Allow 3 to 7 days before heavy use, cleaning, or placing heavy items inside cabinets.
Temperature control: Keep the space between 60 and 80°F during drying and curing. Cold slows curing significantly.
Humidity control: Keep humidity below 50% if possible. High humidity extends drying time and can cause adhesion problems.
“Safe handling means giving cabinets time to off-gas fully. Don’t rush use.”
Pro Tip: Pick up an inexpensive digital humidity and temperature meter from any hardware store. Place it in the room where cabinets are curing. It takes the guesswork out of knowing when conditions are right.
Keep children and pets out of the space until the full cure period is complete. Food stored in cabinets should be removed during painting and only returned after the 3 to 7 day cure window. For a detailed breakdown of timelines, the cabinet paint curing guide covers everything you need to know.
With the painting phase complete, you’re nearly ready to enjoy your refreshed, hazard-free kitchen.
Ottawa’s safest cabinet painting—start with expert help
Safety-conscious cabinet painting takes the right gear, the right products, and the right process. When time, safety, or finish quality are critical, professional equipment and knowhow are genuinely priceless. At Ottawa Cabinet Painting, we follow every PPE, ventilation, and low-VOC best practice outlined in this guide, and then some. Our team uses top-of-the-line spray equipment, shellac-based primers, and premium low-VOC topcoats to deliver a factory-smooth finish that lasts. We also back our work with a 6-year warranty. If you’re ready to upgrade your kitchen without the guesswork or the health risks, get a free cabinet painting quote today. We also offer Ottawa interior painting services for homeowners looking to refresh more than just their cabinets.
Frequently asked questions
Do I need to wear a respirator when painting kitchen cabinets?
Yes. A respirator rated for organic vapors protects against harmful dust and fumes during sanding, priming, and painting. A standard surgical mask does not provide adequate protection against VOCs.
How long should I wait before using freshly painted cabinets?
Wait at least 24 hours between coats and 3 to 7 days after the final coat before heavy use. This allows the paint to fully cure and minimizes off-gassing inside your kitchen.
What are the safest paints for kitchen cabinets?
Low- or zero-VOC paints are the safest choice for kitchens. Look for the VOC content on the label or ask your paint supplier for water-based cabinet-specific formulas.
How do I keep my kitchen safe during painting?
Use drop cloths, protect surrounding surfaces, ventilate the space thoroughly, and keep children and pets out until the paint has fully cured and the area has been cleaned.
Recommended
Comments