How to Measure Cabinets: Get Perfect Dimensions for Your Space
- demoore5506
- Aug 24, 2025
- 10 min read
Measuring kitchen cabinets sounds simple and most people assume a quick tape measure will do. But even a one eighth inch mistake can lead to costly installation errors and wasted materials. Precision in these small numbers can mean the difference between a smooth kitchen makeover and a renovation nightmare waiting to happen.
Table of Contents
Quick Summary
Key Point | Explanation |
1. Use Quality Tools for Measuring | Accurate measurements start with high-quality tools like a metal tape measure and a digital laser distance meter. |
2. Measure Twice for Accuracy | Always double-check your cabinet measurements to confirm consistency and avoid errors, especially in varying cabinets. |
3. Document Measurements Thoroughly | Record every measurement in a clear format, including sketches, to aid in future planning and prevent confusion. |
4. Verify Measurements Across Units | Compare measurements across similar cabinets to identify discrepancies that may suggest measurement errors. |
5. Organize Measurements Systematically | Create a structured system for your measurements, labeling sections and cabinets clearly to facilitate future renovations. |
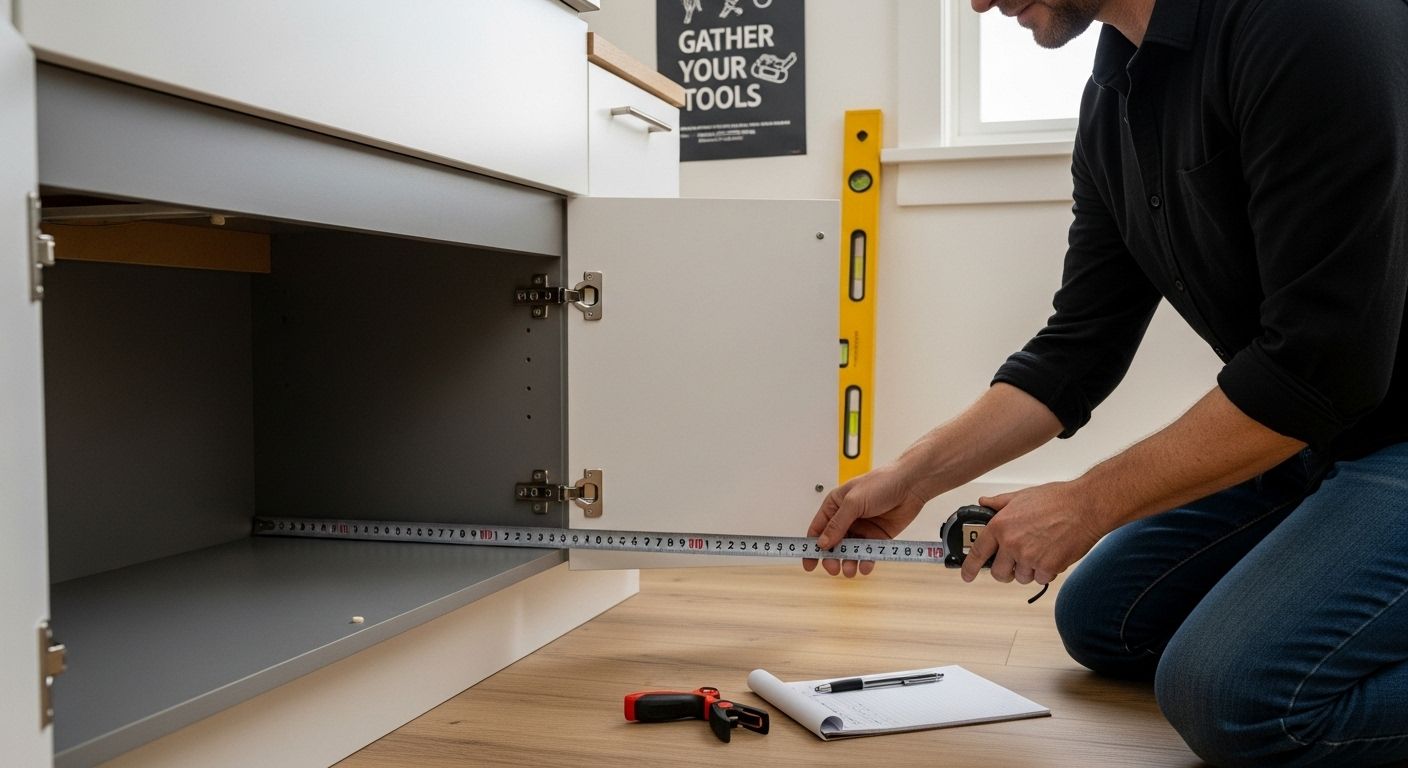
Step 1: Gather Your Tools for Accurate Measurement
Accurate cabinet measurements start with having the right tools in your arsenal. Before diving into the measuring process, you will need to assemble a compact but powerful toolkit that ensures precision and eliminates guesswork. Proper preparation prevents poor performance when it comes to cabinet measurements.
Your essential measurement toolkit should include:
A high-quality 25-foot retractable tape measure with both metric and imperial measurements
A sturdy ladder or step stool for reaching higher cabinet areas
A digital laser distance meter for challenging or hard-to-reach spaces
A level to confirm horizontal and vertical alignment
A pencil and notepad for recording measurements
The National Kitchen & Bath Association recommends selecting a tape measure with clear, bold markings and a locking mechanism to maintain precise readings. Professional contractors understand that measurement accuracy begins with quality tools.
When selecting your tape measure, choose one with a rigid blade that extends smoothly and locks securely. Avoid flexible fabric measuring tapes typically used for clothing, as they can stretch and introduce measurement errors. A metal tape measure with a stiff blade will provide the most consistent and reliable results.
Prepare your workspace by clearing areas around cabinets, ensuring unobstructed access. Remove any items from countertops or adjacent surfaces that might interfere with your measurement process. Good visibility and clean working conditions are critical for obtaining precise dimensions.
Finally, wear comfortable clothing that allows freedom of movement. Tight or restrictive clothing can impede your ability to maneuver and measure accurately. By investing time in tool selection and workspace preparation, you set the stage for successful cabinet measurements.
Here is a summary table of the essential tools needed for accurately measuring your cabinets, including their main purpose and important notes to ensure you select the right toolkit for the job.
Tool | Purpose | Important Notes |
25-foot retractable tape measure | Measures cabinet dimensions | Choose one with clear markings and a secure locking mechanism |
Sturdy ladder or step stool | Enables access to high cabinet areas | Ensure it is stable and safe to use |
Digital laser distance meter | Measures hard-to-reach or awkward cabinet spaces | Useful for corners and unique configurations |
Level | Checks horizontal and vertical cabinet alignment | Verifies straightness before measuring |
Pencil and notepad | Records and organizes measurements | Use immediately to avoid forgetting or confusing measurements |
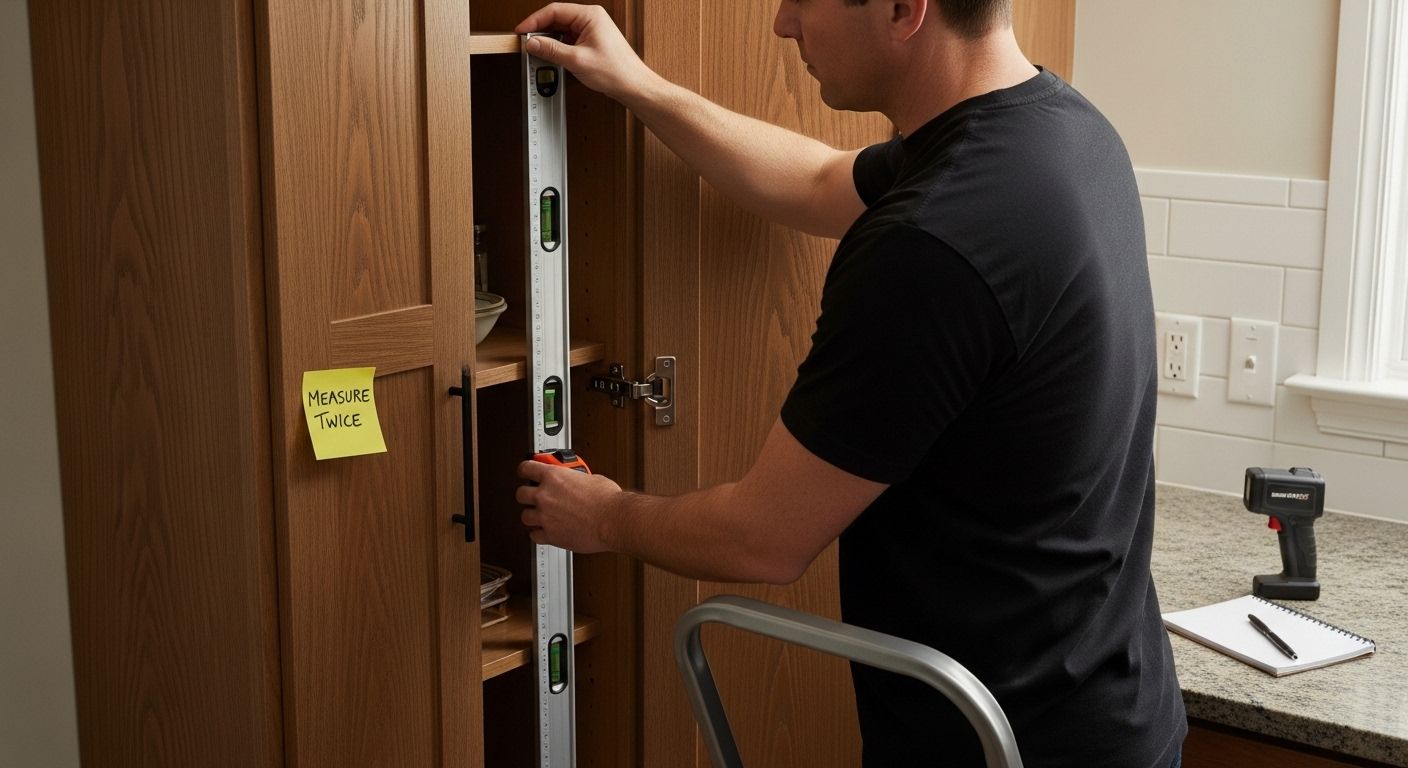
Step 2: Measure the Width of Each Cabinet
With your measurement toolkit ready, you will now focus on capturing the precise width of each cabinet. Width measurements are fundamental to understanding your kitchen’s layout and potential design modifications. This step requires careful attention and systematic approach to ensure accuracy.
Begin by positioning your tape measure at the left interior edge of the cabinet, extending it horizontally to the right interior edge. Measure from the inside edges, not the exterior, as interior width determines practical storage capacity. Press the tape measure firmly against the cabinet walls to prevent sagging or misalignment that could skew your measurements.
Pro tip: Measure each cabinet width twice and compare results. Consistency confirms accuracy. Some kitchens have slight variations between seemingly identical cabinets, so never assume uniformity. Record measurements immediately in your notebook, noting which cabinet each measurement corresponds to. Consider creating a simple sketch or diagram to accompany your numbers.
If you encounter corner cabinets or unique geometric configurations, use your digital laser distance meter for additional precision. These devices can capture measurements in challenging spaces where traditional tape measures might struggle. Learn more about maximizing kitchen storage potential to complement your measurement process.
Special attention is required for cabinets near walls or appliances. Slight irregularities in wall straightness can impact measurement accuracy. Run your level along the cabinet’s back edge to confirm vertical alignment before measuring. Small discrepancies of 1/8 inch can significantly affect future installation or renovation plans.
Verify your measurements by checking that the recorded width matches the physical cabinet. Common red flags include measurements that seem implausibly different from your visual assessment or measurements that vary significantly between two attempts. When in doubt, measure a third time or consult a professional to ensure absolute precision.
Step 3: Measure the Height of Your Cabinets
Measuring cabinet height requires precision and strategic approach. Height measurements determine critical aspects of kitchen functionality, including storage capacity, appliance fit, and overall aesthetic balance. You will now transition from width measurements to capturing the vertical dimensions of your cabinets.
Start with base cabinets, positioning your tape measure vertically from the floor to the top interior edge. Important: Measure from the actual floor surface, not the toe kick. Account for any slight floor irregularities by taking multiple measurements and averaging them. Base cabinets typically range between 34 to 36 inches in height, but your specific kitchen might vary.
For wall cabinets, measure from the countertop to the top interior edge. The standard installation guide for kitchen storage recommends maintaining consistent height across all wall cabinets. Most homeowners install wall cabinets 15 to 18 inches above the countertop, but personal preference and kitchen layout can influence this measurement.
Tall or pantry cabinets require additional attention. These floor-to-ceiling units demand careful measurement from the floor to the highest point. Use your level to ensure vertical alignment and check for any potential obstructions like ceiling moldings or light fixtures that might impact installation.
Precision is key. Measure twice and record immediately. Create a detailed sketch or spreadsheet documenting each cabinet’s height, noting any unique characteristics or potential challenges. Pay special attention to cabinets near appliances, windows, or corners where height consistency might be more challenging.
Verification involves comparing your measurements against manufacturer specifications and checking for any discrepancies. Look for signs of unevenness: variations larger than 1/4 inch between similar cabinets could indicate potential installation challenges. When in doubt, consult a professional who can provide expert guidance on managing measurement variations.
Step 4: Measure the Depth of Your Cabinets
Measuring cabinet depth transforms your kitchen renovation from guesswork to precision planning. Depth measurements are critical for understanding storage potential and ensuring proper fit of appliances and accessories. This step requires careful attention to both base and wall cabinets, as their depth specifications differ significantly.
For base cabinets, position your tape measure against the back interior wall, extending it horizontally to the front interior edge. Standard base cabinets typically measure 24 inches deep, but your kitchen might have custom variations. Measure from the actual back wall to the interior front edge, accounting for any slight variations in construction or installation.
Wall cabinets demand a different approach. These units are generally shallower, with standard depths ranging from 12 to 15 inches. Explore creative kitchen storage solutions to understand how depth impacts your storage capabilities. Use your level to ensure the tape measure remains perfectly horizontal, preventing measurement distortions.
Special attention is required for corner cabinets and uniquely shaped units. These often have non-standard depths that can complicate your measurement process. Press your tape measure firmly against the interior surfaces, avoiding any sagging that could introduce measurement errors. For irregularly shaped cabinets, take multiple measurements and compare them to ensure accuracy.
Pay close attention to potential obstructions like crown molding, electrical outlets, or plumbing that might affect actual usable depth. Measure the clear, unobstructed interior space to get the most accurate representation of your cabinet’s storage potential. Some homeowners discover surprising limitations or opportunities during this precise measurement process.
Verification is key. Cross-reference your measurements with manufacturer specifications if available. Look for consistent depth across similar cabinet units. Variations larger than 1/4 inch could indicate installation challenges or potential custom modifications needed. When in doubt, consult a professional who can provide expert guidance on managing measurement complexities.
The following table provides a checklist for verifying the consistency and accuracy of your cabinet measurements, summarizing best practices discussed in the article to prevent costly errors prior to renovations.
Verification Step | What to Do | Why It Matters |
Compare measurements across units | Check if similar cabinet types have matching numbers | Identifies possible measurement errors |
Use multiple measuring tools | Cross-verify with tape measure and laser distance meter | Reduces risk of systematic errors |
Measure twice, calculate averages | Double-check and average if needed | Ensures reliability and highlights discrepancies |
Check for plausible values | Review if any numbers look illogical or inconsistent | Flags obvious mistakes before continuing |
Inspect for structural irregularities | Use a level and check for vertical/horizontal misalignments | Prevents errors from uneven walls or surfaces |
Remeasure problematic cabinets | Measure again if numbers differ significantly | Confirms the true dimension for confident decisions |
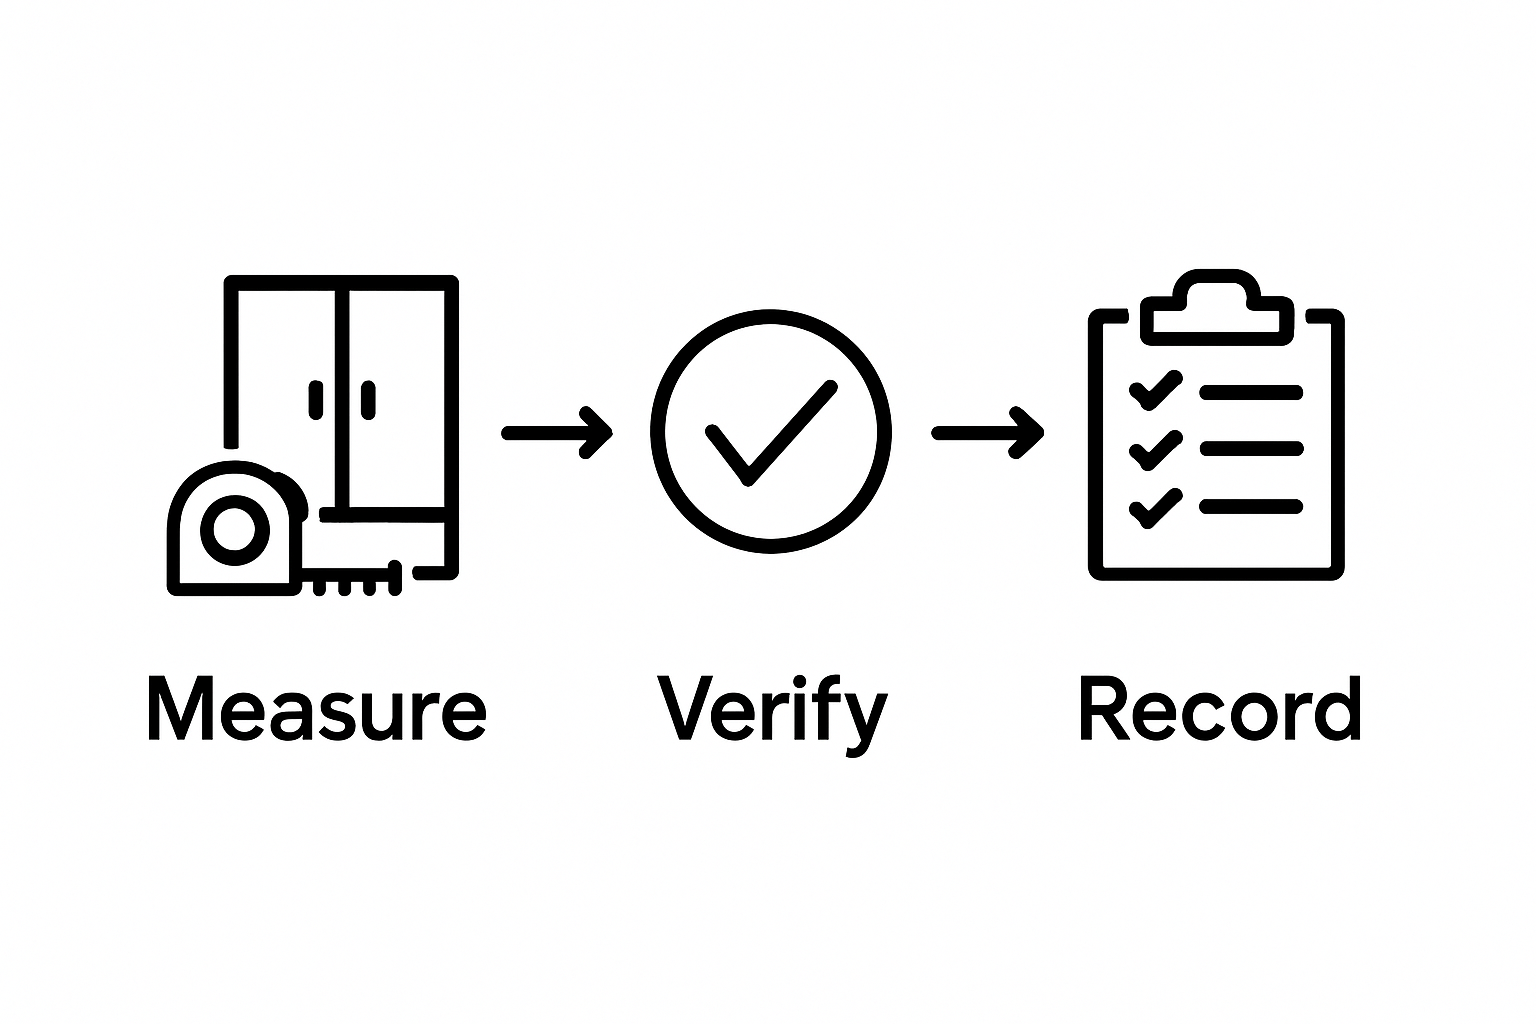
Step 5: Verify Measurements for Consistency
Measurement verification transforms raw numbers into reliable design intelligence. This critical step ensures the accuracy of your previous measurements, preventing costly mistakes in future renovation or installation projects. Consistency is the cornerstone of successful cabinet planning.
Begin by comparing measurements across similar cabinet units. Look for patterns and potential discrepancies that might indicate measurement errors. Small variations can signal significant underlying issues. Wall cabinets, for instance, should maintain near-identical dimensions, with any deviation larger than 1/8 inch warranting a careful reexamination.
Create a comprehensive measurement chart that displays width, height, and depth for each cabinet. Explore advanced kitchen storage strategies to understand how precise measurements impact overall kitchen functionality. Color-code or highlight measurements that seem unusual, making it easy to identify potential problem areas at a glance.
Utilize multiple measurement techniques for cross-verification. Switch between your tape measure and digital laser distance meter to confirm readings. This dual-method approach minimizes the risk of systematic measurement errors. When measurements differ, take a third reading and calculate the average, paying close attention to any consistent discrepancies.
Special attention is required for corner cabinets, angled installations, and units near appliances or walls. These areas frequently present unique measurement challenges. Use your level to confirm vertical and horizontal alignments, ensuring that your measurements account for potential structural irregularities. A perfectly level measurement is more valuable than a quick, potentially inaccurate reading.
Final verification involves a holistic assessment. Step back and visually inspect your measurement chart. Do the numbers make sense in the context of your kitchen’s overall layout? Look for logical connections between cabinet dimensions. Measurements that seem implausible or consistently deviate from expected standards should prompt a complete remeasurement or professional consultation. Remember, precision at this stage can save significant time and expense in future renovation steps.
Step 6: Record and Organize Your Measurements
Transforming precise measurements into a comprehensive, organized system is your gateway to successful kitchen planning. This critical step ensures your hard-earned dimensional data becomes a valuable resource for future renovation or design projects. Think of your measurement documentation as a blueprint for kitchen transformation.
Create a dedicated measurement worksheet that captures every nuanced detail of your cabinet landscape. Divide your document into clear sections: base cabinets, wall cabinets, and specialty units like corner or pantry configurations. Discover innovative kitchen storage solutions that can inspire your organizational approach.
For each cabinet, document width, height, and depth measurements, accompanied by a brief description or sketch. Include additional contextual information such as proximity to appliances, wall angles, or unique structural considerations. Color-coding can help visually distinguish between different cabinet types or highlight potential measurement challenges.
Digital documentation offers superior flexibility and preservation. Consider creating both a physical notebook and a digital spreadsheet. Digital formats allow easy sharing with contractors, designers, or family members involved in the project. Take clear, well-lit photographs of each cabinet alongside your measurements, providing visual confirmation of your recorded dimensions.
Establish a systematic labeling method that makes immediate sense. For instance, label base cabinets as BC1, BC2 (Base Cabinet 1, Base Cabinet 2), wall cabinets as WC1, WC2, ensuring each measurement corresponds to a specific, identifiable cabinet location. This approach prevents confusion during future planning stages.
Finalize your documentation by creating a summary page that provides an at-a-glance overview of total kitchen cabinet dimensions. Highlight any unusual measurements or potential installation challenges. Double-check that every measurement is legible, accurate, and accompanied by sufficient contextual information to be useful months or even years from now. Your meticulously organized measurements are now a valuable asset for current and future kitchen projects.
Ready for Accurate Measurements? Transform Them Into a Stunning Kitchen
After carefully following each step in ‘How to Measure Cabinets: Get Perfect Dimensions for Your Space,’ you now have precise dimensions in hand. You have worked hard to assemble your toolkit, double-check every width, height, and depth, and keep organized notes just as the article described. But the next challenge is turning those accurate numbers into a kitchen that looks and feels brand new—all without messy renovations or a sky-high budget.
You do not need to settle for outdated finishes or the chaos of cabinet replacement. Instead, let Ottawa Cabinet Painting help you transform those well-measured cabinets into the centerpiece of your home. Our meticulous approach respects the time and effort you put into measuring, ensuring a seamless, high-end result with premium prep, a silky-smooth finish, and a process that keeps your home disruption-free. Discover how your exact measurements can lead to the flawless, modern kitchen you want.
Ready to see how your precise cabinet measurements can become a beautiful reality? Contact our team at Ottawa Cabinet Painting and watch your kitchen transform without the cost or hassle of a full renovation. Want more inspiration or details about creative storage possibilities for your space? Explore these kitchen cabinet storage hacks to take the next step today.
Frequently Asked Questions
What tools do I need to measure cabinets accurately?
To measure cabinets accurately, you will need a high-quality 25-foot retractable tape measure, a sturdy ladder or step stool, a digital laser distance meter, a level, and a pencil and notepad for recording measurements.
How do I measure the width of a cabinet correctly?
To measure the width of a cabinet, position your tape measure at the left interior edge and extend it to the right interior edge. Always measure from the inside edges of the cabinet rather than the exterior, as that provides a more accurate representation of the storage capacity.
What is the standard height for base and wall cabinets?
Base cabinets typically range from 34 to 36 inches in height, while wall cabinets are usually installed 15 to 18 inches above the countertop, depending on personal preference and kitchen layout.
How should I record my cabinet measurements for future reference?
Create a dedicated measurement worksheet that includes sections for base cabinets, wall cabinets, and any specialty units. Document width, height, and depth measurements, along with any unique characteristics, and consider using a digital format for easy sharing and preservation.
Recommended
Comments