Maximizing Kitchen Storage: Smart Solutions for Busy Families
- demoore5506
- Sep 5, 2025
- 9 min read

Kitchen cabinets and drawers can feel packed to the brim, yet somehow you can never find that one tool you need in the moment. Most families overlook storage areas that could increase usable space by up to 30 percent without a total renovation. The real surprise is that transforming your kitchen into an organized, stress-free zone often requires less time and effort than you think—and you probably already have everything you need to get started.
Table of Contents
Quick Summary
Key Point | Explanation |
1. Assess your current storage solutions | Empty all cabinets and drawers to evaluate what you truly need and identify underutilized spaces. |
2. Declutter unused kitchen items | Create three distinct piles: keep, donate, and discard, focusing on functional and versatile tools. |
3. Implement vertical storage strategies | Use wall spaces and adjustable shelves to maximize storage, keeping frequently used items accessible. |
4. Organize cabinets with custom inserts | Tailor storage solutions to fit your specific kitchen tools and enhance accessibility. |
5. Verify your kitchen’s functionality and flow | Conduct a walkthrough to ensure easy access to items and an intuitive cooking experience. |
Step 1: Assess Your Current Storage Solutions
Maximizing kitchen storage begins with a thorough and honest assessment of your current setup. This critical first step helps you understand exactly what works and what doesn’t in your kitchen’s storage landscape. Most families overlook their existing storage potential, treating cabinets and drawers as static spaces instead of dynamic organizational opportunities.
Start by completely emptying each cabinet, drawer, and pantry shelf. This might sound time consuming, but it’s the most effective way to truly evaluate your storage. As you remove items, create three distinct piles: keep, donate, and discard. Be ruthless in this process. Kitchen gadgets and tools accumulate quickly, and many items are rarely used or are duplicates.
While examining each item, consider its frequency of use and genuine utility. That specialty melon baller or novelty turkey carver might have seemed essential when purchased, but if it hasn’t been touched in two years, it’s time to let it go. Prioritize versatile tools and multifunction kitchen equipment that serve several purposes and minimize unnecessary clutter.
Measure your available storage spaces precisely. Use a tape measure to document the width, depth, and height of each cabinet and drawer. These measurements will be crucial when planning storage solutions or considering organizational inserts. Take detailed notes or photograph each space to reference later.
Check out our guide on kitchen organization ideas for additional strategies that can transform how you think about kitchen storage. By methodically assessing your current setup, you’re laying the groundwork for a more efficient and enjoyable cooking environment.
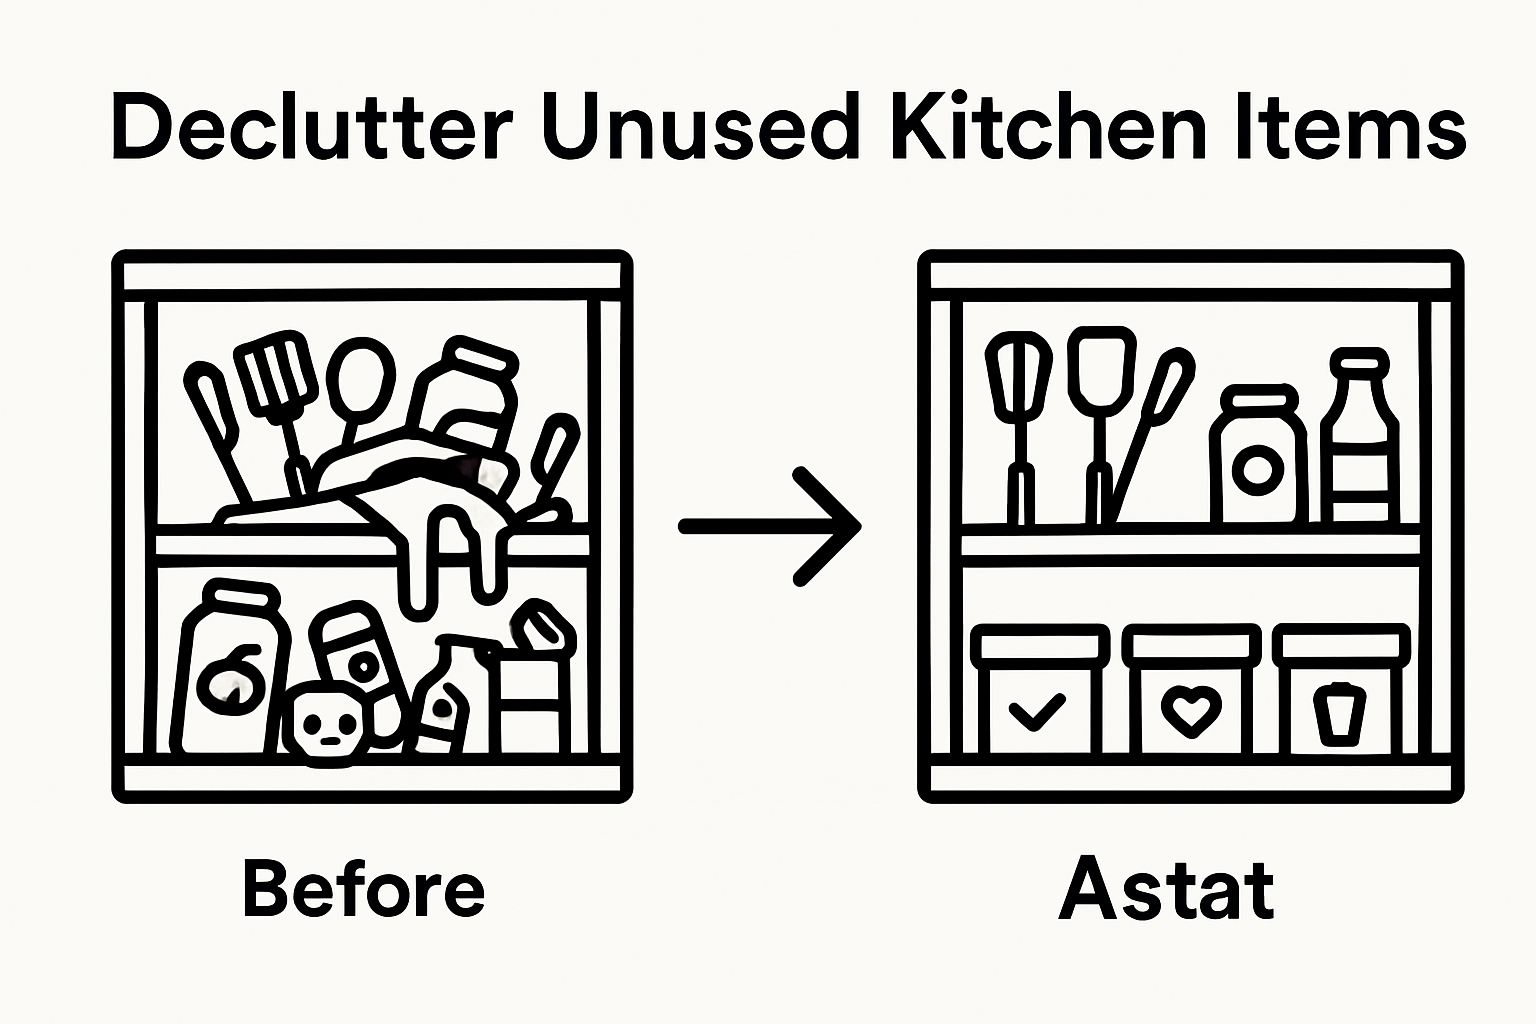
Step 2: Declutter Unused Kitchen Items
Decluttering is the transformative process that turns chaotic kitchen spaces into streamlined, functional environments. After completing your initial assessment, it’s time to ruthlessly eliminate items that consume valuable storage real estate without providing meaningful utility. The goal is not just to organize, but to strategically curate your kitchen’s contents.
Begin by creating a sorting system that helps you make decisive choices. Set up three distinct zones: keep, donate, and discard. For every item you handle, ask yourself critical questions: When was the last time I used this? Does it serve a unique purpose? Is it in good condition? Sentimental attachments often lead to kitchen storage gridlock, so approach this process with objective practicality.
Kitchen gadgets are notorious space stealers. That specialized avocado slicer or single-purpose melon baller might have seemed ingenious during a late night infomercial, but if it hasn’t been used in a year, it’s time to let go. Multipurpose tools are your storage optimization friends. A quality chef’s knife can replace numerous specialized cutting implements, instantly freeing up drawer and counter space.
Discover more kitchen organization strategies that can help streamline your culinary workspace. Consider donating gently used items to local shelters, community centers, or thrift stores. For broken or expired items, responsible disposal is key. Electronic appliances might require special recycling, while cookware in poor condition should be discarded appropriately.
Once you’ve completed your decluttering, take a moment to appreciate the newfound space. Your kitchen should feel lighter, more breathable, and primed for intelligent storage solutions. Remember, decluttering is not a one time event but an ongoing process of mindful curation.
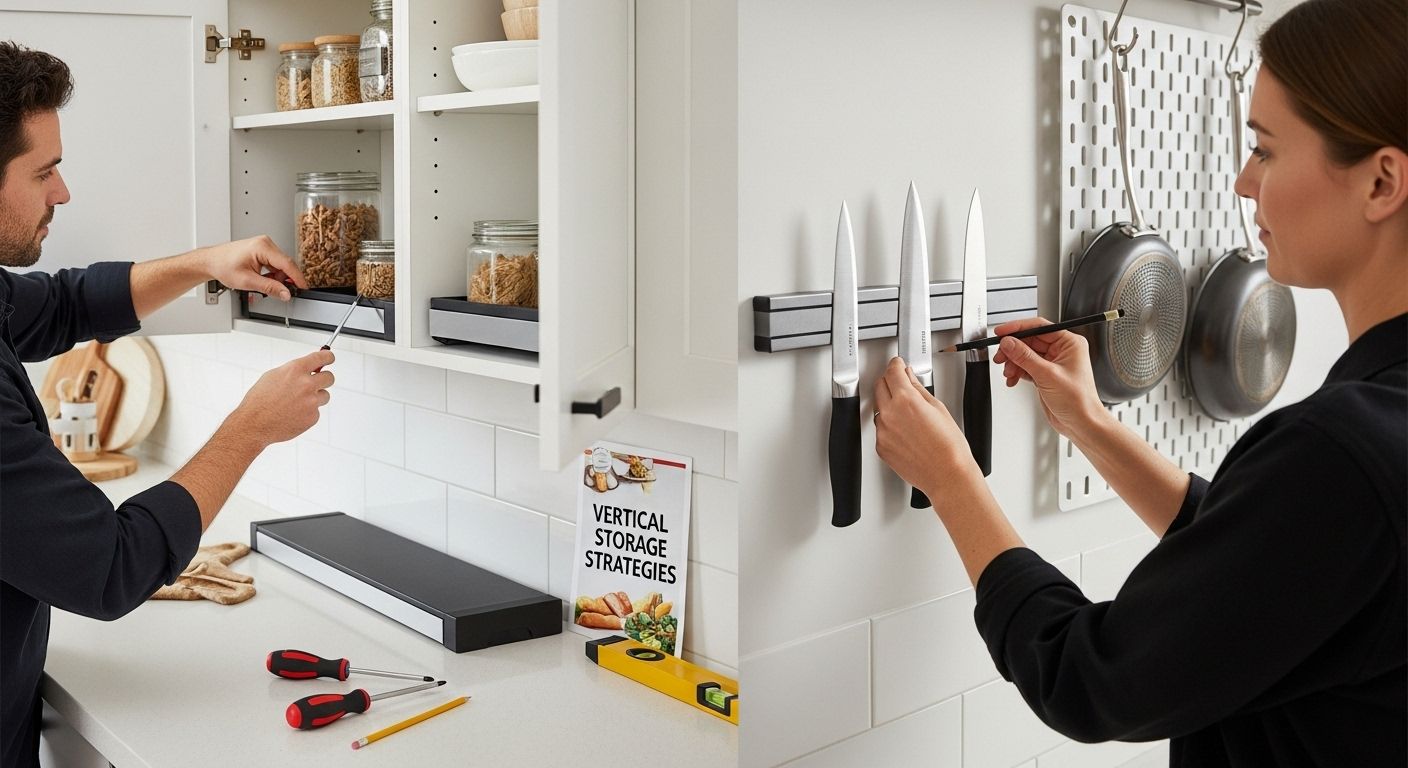
Step 3: Implement Vertical Storage Strategies
Vertical storage transforms wasted space into functional organization, turning your kitchen walls and cabinet interiors into powerful storage assets. Most homeowners dramatically underutilize their vertical potential, treating walls and cabinet spaces as mere boundaries instead of critical storage opportunities.
Install adjustable shelving systems inside your existing cabinets to maximize every vertical inch. Use stackable shelf risers that create additional levels within a single cabinet, allowing you to separate plates, bowls, and cooking equipment more efficiently. Over-the-door organizers can hold spices, cooking tools, or cleaning supplies, instantly expanding your storage without requiring permanent modifications.
Magnetic knife strips, pegboard sections, and wall mounted pot racks are game changing solutions that free up drawer and cabinet space. Imagine transforming your kitchen walls into an organized, easily accessible storage system where everything has a designated place. These vertical solutions not only increase storage capacity but also create a visually appealing and professionally organized cooking environment.
Explore more kitchen cabinet storage hacks to revolutionize your space management approach. Consider the height and frequency of use when positioning items. Store heavier objects on lower shelves and lighter, less frequently used items higher up. This strategy improves accessibility and reduces the risk of accidents when reaching for kitchen supplies.
As you implement vertical storage, periodically step back and assess your progress. A successful vertical storage strategy should feel intuitive, making your kitchen tools and ingredients easy to locate and access. The goal is creating a storage system that works seamlessly with your cooking habits, not against them.
Step 4: Organize Cabinets with Custom Inserts
Custom inserts are the secret weapon in transforming chaotic kitchen storage into a precision organizational system. These specialized solutions turn ordinary cabinet spaces into highly efficient storage zones, addressing the unique challenges of different kitchen items and cooking styles.
Begin by selecting adjustable drawer dividers that can be configured to accommodate your specific utensils, cooking tools, and kitchen gadgets. Bamboo or wood dividers offer durability and a warm aesthetic, while expandable plastic options provide maximum flexibility. Measure your drawer dimensions carefully before purchasing to ensure a perfect fit. Focus on creating dedicated spaces for similar items: baking tools together, cooking utensils in another section, and specialized gadgets in their own designated zones.
Spice and seasoning organization demands special attention. Invest in tiered spice racks or pull out spice drawer inserts that allow you to see and access every bottle without digging through cluttered shelves. Magnetic spice containers mounted on interior cabinet doors or wall sections can free up valuable drawer and shelf space, creating a visually appealing and practical storage solution.
Check out our kitchen cabinet storage hacks for more innovative organizational strategies. Consider transparent or labeled containers for pantry items to streamline meal preparation. Stackable clear containers with airtight seals protect dry goods while making inventory management simple. Under sink areas benefit from specialized pull out organizers that separate cleaning supplies and maximize awkward spaces.
Verify your organizational system’s effectiveness by testing accessibility and ease of use. A well designed custom insert solution should reduce the time spent searching for items and make cooking and kitchen maintenance significantly more enjoyable.
Remember, the goal is creating a storage approach that adapts to your family’s unique culinary lifestyle.
Step 5: Utilize Overhead and Underutilized Spaces
Overhead and hidden spaces represent the most overlooked storage opportunities in any kitchen. Most families walk past incredible storage potential every single day, treating ceiling height and awkward corners as decorative boundaries instead of functional storage zones.
Start by examining the space above your refrigerator and cabinets. Install slim baskets or decorative boxes that can store seasonal items, rarely used cookbooks, or kitchen memorabilia. These elevated spaces are perfect for items you want to keep but do not need immediate access to. Consider lightweight, matching containers that complement your kitchen aesthetic while providing practical storage solutions.
Corner cabinets and narrow spaces between appliances often become dead zones, but with strategic planning, they transform into storage goldmines. Lazy Susan turntables can revolutionize corner cabinet accessibility, allowing you to rotate and easily reach items that would otherwise remain hidden. Pull out narrow shelving systems work brilliantly in those slim spaces between the refrigerator and wall, creating storage for baking sheets, cutting boards, and other slim kitchen essentials.
Explore our urban kitchen design ideas for more innovative space maximization techniques. Magnetic strips mounted on the inside of cabinet doors can hold metal spice containers or small cooking tools, freeing up drawer and counter space. Under sink areas become significantly more functional with adjustable sliding organizers that separate cleaning supplies and maximize every vertical inch of available space.
Verify your overhead and underutilized space strategy by ensuring each newly discovered storage area serves a clear purpose. A successful implementation means reduced countertop clutter, easier item retrieval, and a more organized kitchen environment that feels spacious and efficient.
Step 6: Verify Your Kitchen’s Functionality and Flow
Verifying your kitchen’s functionality is the critical final step in transforming storage from a theoretical concept to a practical, daily solution. Functionality means more than just having spaces to store items, it means creating an intuitive environment that supports your family’s unique cooking and lifestyle rhythms.
Begin by conducting a comprehensive walkthrough, simulating typical kitchen activities like meal preparation, cleaning, and ingredient retrieval. Pay attention to how many steps you take between the refrigerator, stove, and sink. The ideal kitchen layout minimizes unnecessary movement, creating a seamless workflow that reduces fatigue and increases cooking enjoyment. Stand in key preparation areas and observe whether your newly organized storage solutions truly make items accessible without awkward reaching or shuffling.
Test each custom insert and vertical storage solution with real world scenarios. Pull out spice racks should allow immediate identification of seasonings. Drawer dividers must keep utensils neatly separated and easy to grab. Evaluate whether your organizational system feels natural or requires mental gymnastics to navigate. The most elegant storage solutions disappear into your cooking routine, becoming so intuitive that you hardly notice their presence.
Learn about making small kitchens more functional and maximizing every inch of space. Listen to family feedback during this verification process. Sometimes the most insightful improvements come from observing how others interact with the kitchen. Children might struggle with certain drawer heights, or your partner might find a particular storage solution counterintuitive.
Successful kitchen storage optimization results in a space that feels effortless.
Below is a summary checklist to help you verify your kitchen’s new organization for optimal functionality and flow.
Verification Step | What to Look For | Tip or Question |
Walkthrough Simulation | Can you prep, cook, and clean easily? | Minimize unnecessary steps between appliances and work zones. |
Item Accessibility | Are frequently used items easy to reach? | Avoid awkward reaching or shuffling for daily essentials. |
Custom Insert Effectiveness | Do custom inserts keep things organized? | Test drawers, spice racks, and organizers in real-life scenarios. |
Solution Intuitiveness | Does organization feel natural to use? | Evaluate if you can find and return items without overthinking. |
Family Feedback | Do family members find storage practical? | Note any struggles with heights or counterintuitive placements. |
Countertop Clutter Reduced | Are countertops more open and tidy? | Aim for clear, uncluttered prep and cook surfaces. |
Ongoing Organization | Is it easy to maintain over time? | Systems should support regular upkeep, not create extra steps. |
Elevate Your Kitchen Storage With a Professional Cabinet Transformation
Are you frustrated by cramped cabinets, wasted vertical space, or cluttered countertops? The article explored practical steps for maximizing kitchen storage, but sometimes the root of the problem is outdated cabinets that simply cannot adapt to your family’s needs. If you dream of a kitchen that feels both spacious and high-end, let Ottawa Cabinet Painting help turn those ideas into a reality.
Make every inch count by combining smart organization with a premium cabinet refinishing solution. Discover how our meticulous approach and attention to detail can revitalize your existing cabinets, giving you the look and functionality of a modern kitchen without the chaos or cost of a full renovation. See real project results and learn more about our process on the Ottawa Cabinet Painting website. Ready to take the next step? Request your free quote today, and let us help you reclaim your kitchen—efficiently, beautifully, and with minimal disruption.
Frequently Asked Questions
What are some effective strategies for maximizing kitchen storage?
Maximizing kitchen storage involves assessing your current setup, decluttering unused items, implementing vertical storage strategies, organizing cabinets with custom inserts, and utilizing overhead and underutilized spaces.
How can I declutter my kitchen efficiently?
To declutter your kitchen efficiently, empty all cabinets and drawers, then sort items into three categories: keep, donate, and discard. Evaluate each item’s utility and frequency of use when making decisions.
What are custom inserts, and how can they help with kitchen organization?
Custom inserts are specialized organizational tools designed to fit specific kitchen items. They can transform chaotic cabinets into efficient storage zones by providing dedicated spaces for utensils, spices, and gadgets, ultimately improving accessibility and organization.
How do I assess my kitchen’s functionality after organizing?
To assess your kitchen’s functionality, perform a walkthrough simulating daily activities like meal prep and cleaning. Evaluate the ease of access to items, minimize unnecessary movement, and gather feedback from family members on the layout and storage solutions.
Recommended

Comments