Painting Over Stained Cabinets: Easy Kitchen Upgrades 2025
- demoore5506
- Jul 27, 2025
- 10 min read
Painting over stained cabinets is fast becoming one of the easiest ways to refresh a kitchen without emptying your wallet. Most people expect a major renovation to cost a fortune, but one fresh coat can cut expenses by up to 75 percent compared to full cabinet replacement. Forget waiting months for pricey contractors and endless mess, this simple upgrade puts a custom look within reach almost overnight.
Table of Contents
Quick Summary
Takeaway | Explanation |
Choose painting for versatility and cost-effectiveness | Painting cabinets offers a broad range of colors and styles, while significantly reducing costs compared to complete cabinet replacements. |
Meticulous preparation is essential for success | Properly cleaning, sanding, and priming surfaces prepares cabinets for a durable paint finish that holds up well over time. |
Use high-quality materials and tools | Investing in premium tools and materials ensures a smooth, professional finish that enhances the longevity of the paint. |
Involve family members in the project | Engaging family in age-appropriate tasks helps manage time effectively while creating a collaborative home improvement experience. |
Plan strategically around your schedule | Scheduling painting tasks during less busy times helps minimize disruption to daily routines and allows for manageable project completion. |
Why Choose Painting Over Stained Cabinets
Transforming kitchen cabinets through painting represents a strategic home improvement approach that delivers remarkable visual and functional benefits. Homeowners seeking an affordable kitchen upgrade can leverage painting over stained cabinets as a cost-effective solution that breathes new life into their culinary spaces without the extensive expense of complete cabinet replacement.
Visual Versatility and Style Transformation
Painting over stained cabinets unlocks unprecedented design flexibility. Discover our expert painting techniques that enable homeowners to completely reimagine their kitchen aesthetic. According to Boston Building Resources, painted cabinets offer homeowners a wide range of color options, allowing precise matching with existing kitchen design elements and personal style preferences.
The smooth, uniform finish of painted cabinets provides a sleek and polished appearance that can effectively conceal wood imperfections. Unlike stained finishes that highlight wood grain and natural variations, painting creates a clean, contemporary look that adapts seamlessly to evolving design trends. Homeowners can select from countless color palettes, transforming dated wood tones into modern, vibrant kitchen environments.

Cost-Effective Kitchen Renovation Strategy
Choosing painting over stained cabinets represents a smart financial decision for budget-conscious homeowners. Exploring cabinet painting costs reveals significant savings compared to full cabinet replacement. Painting typically costs a fraction of installing new cabinetry, providing an economical method to refresh kitchen aesthetics.
While painted cabinets offer remarkable advantages, homeowners should understand potential limitations. According to research from kitchen design experts, painted surfaces can be more susceptible to visible wear and tear, potentially showing chipping or cracking in high-traffic areas. Professional preparation and application techniques are crucial to mitigate these concerns and ensure long-lasting, beautiful results.
Practical Benefits and Considerations
Beyond aesthetic appeal, painting over stained cabinets delivers practical advantages. The process allows for comprehensive surface renewal, addressing minor imperfections and creating a uniform appearance. Homeowners can achieve a custom look without disrupting existing kitchen layouts or undertaking extensive renovations.
Successful cabinet painting requires meticulous preparation, including thorough cleaning, sanding, and priming. Professional services ensure proper surface treatment, promoting paint adhesion and durability. By selecting high-quality paint and employing expert application methods, homeowners can expect a transformative kitchen upgrade that combines visual elegance with practical functionality.
Ultimately, painting over stained cabinets represents an intelligent home improvement strategy. It offers a perfect balance between aesthetic refresh, cost-effectiveness, and minimal disruption to daily household routines.
To better help you compare painting stained cabinets versus full cabinet replacement, the following table summarizes key differences based on the article’s points:
Feature/Aspect | Painting Stained Cabinets | Full Cabinet Replacement |
Cost | Significantly less expensive (up to 75% savings) | Major investment required |
Project Time | Fast turnaround (often completed in days) | Extended (can take weeks/months) |
Mess/Disruption | Minimal | High—dust, demolition, etc. |
Style Options | Wide range of paint colors/finishes | Limited by cabinet options or custom order |
Ability to Keep Existing Layout | Maintains current configuration | Allows layout changes, but adds cost |
Repairing Minor Flaws | Surface imperfections easily hidden/renewed | Damaged cabinets replaced, higher expense |
Wear and Durability | May require touch-ups; professional prep increases lifespan | New, but not immune to wear |
Prepping Cabinets for a Lasting Finish
Successful cabinet painting begins with meticulous preparation. Homeowners seeking a professional-grade finish must invest time and attention in creating the ideal surface for paint application. Learn our comprehensive preparation techniques to ensure a durable and attractive result.
Thorough Cleaning and Surface Assessment
Before applying any paint, comprehensive cleaning is critical. According to Consumer Reports, proper surface preparation determines the longevity and quality of the paint finish. Begin by removing all cabinet hardware carefully, labeling each piece to ensure correct replacement. Use a degreasing cleaner to eliminate years of accumulated cooking residue, grease, and grime that can prevent paint adhesion.
Carefully inspect the cabinet surfaces for damage, including scratches, dents, or previous paint imperfections. Small holes or minor damage can be repaired using wood filler or spackling compound. This initial assessment helps create a smooth canvas for your new paint finish, ensuring a professional-looking result.
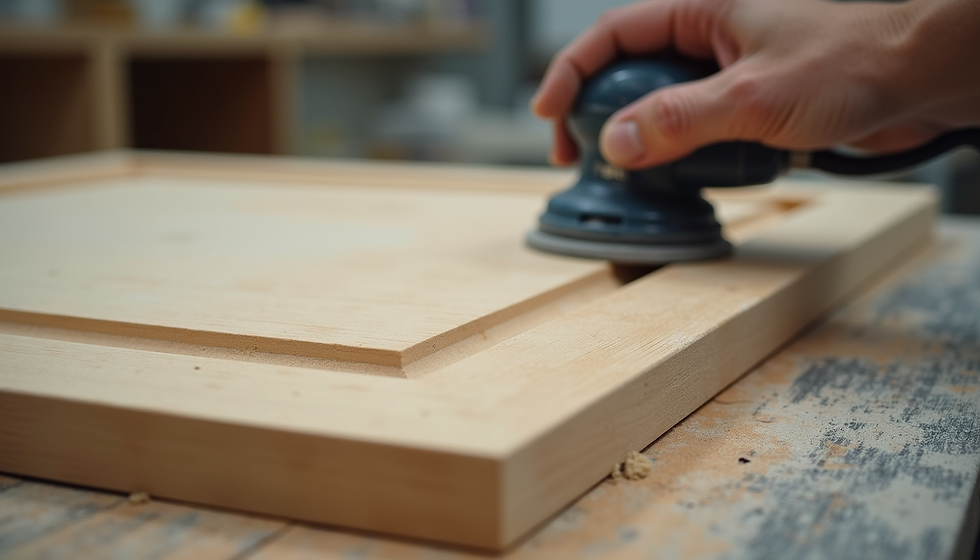
Strategic Sanding and Priming
Sanding is a crucial step in preparing cabinets for painting. The General Services Administration provides detailed guidelines on surface preparation for wood painting. Use medium-grit sandpaper to create a slightly rough surface that allows paint to adhere effectively. This process removes the existing finish and creates microscopic grooves that help the new paint grip the surface.
Pay special attention to areas with existing stain or varnish. These surfaces require more aggressive sanding to break down the existing finish. After sanding, wipe down the cabinets with a tack cloth to remove all dust particles. Apply a high-quality primer specifically designed for kitchen cabinets. According to The Washington Post, the right primer creates a uniform base that improves paint adhesion and provides additional durability.
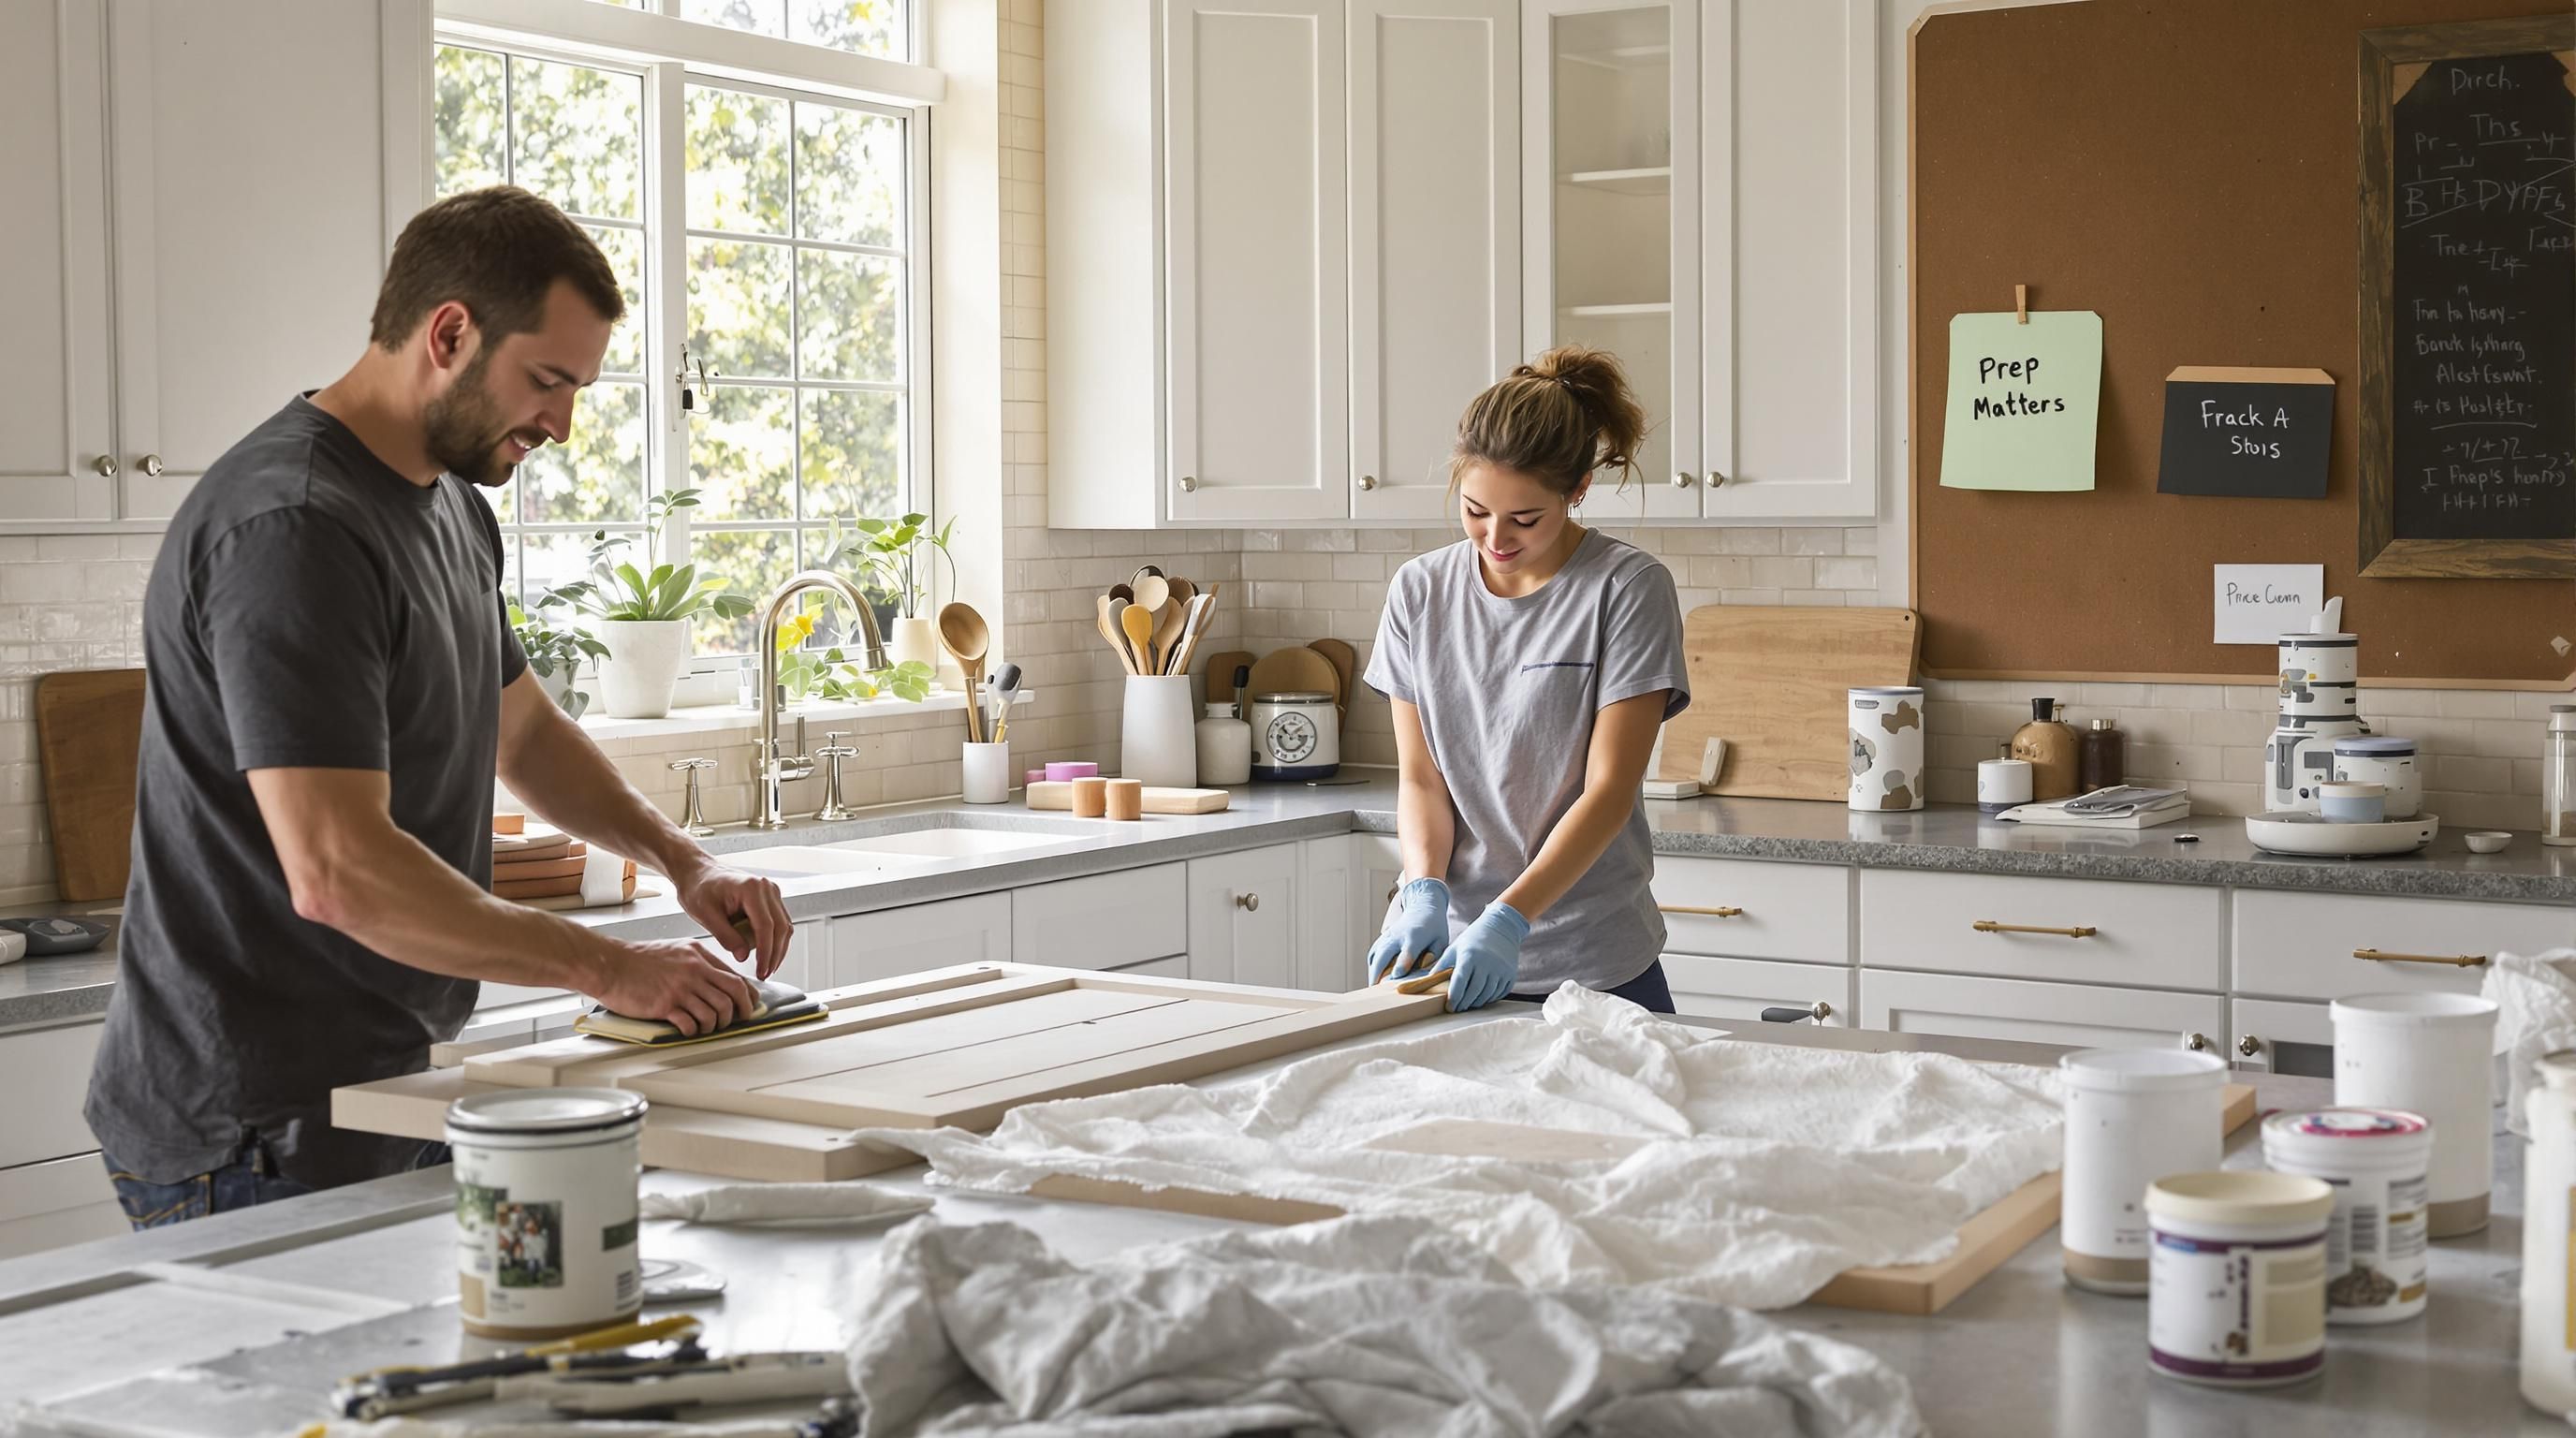
Professional Finishing Techniques
The final preparation steps are critical for achieving a smooth, professional finish. Use painter’s tape to protect surrounding areas and create clean lines. Consider removing cabinet doors and drawers to paint them separately, ensuring complete coverage and easier access to all surfaces. Work in a well-ventilated area with consistent temperature and minimal dust.
Choose high-quality brushes or rollers designed for smooth surfaces. Professional-grade tools can significantly impact the final appearance, reducing visible brush strokes and ensuring an even application. Allow adequate drying time between coats, and consider light sanding between applications for an ultra-smooth finish.
Preparing cabinets for painting is a detailed process that requires patience and precision. By following these comprehensive steps, homeowners can transform their kitchen cabinets with a durable, professional-looking paint finish that revitalizes the entire space.
Below is a simple checklist summarizing the preparation steps required before painting cabinets, to help ensure a long-lasting finish:
Step | Completed (Yes/No) | Notes |
Remove all doors, drawers, hardware | Label parts for reassembly | |
Clean with degreasing cleaner | Remove grease and residue | |
Inspect and repair surfaces | Fill holes/sand imperfections | |
Sand all surfaces | Use medium/fine-grit sandpaper | |
Remove dust | Wipe with tack cloth | |
Apply primer | Use kitchen-specific primer | |
Tape off/cover surrounding areas | Use painter’s tape/drop cloths |
Step-by-Step Guide to Painting Stained Cabinets
Transforming stained cabinets through painting requires a systematic approach that ensures professional results. Learn our expert painting workflow to achieve a flawless kitchen cabinet makeover that will revitalize your entire space.
Gathering Essential Materials and Tools
Before beginning your cabinet painting project, assembling the right materials is crucial. According to HGTV, successful cabinet painting requires specific equipment. Essential supplies include:
High-quality primer designed for wood surfaces
Degreasing cleaner to remove kitchen grime
Medium and fine-grit sandpaper
Paint brushes and rollers with smooth nap
Painter’s tape
Drop cloths
Protective gear like gloves and safety glasses
Professional painters recommend investing in premium tools to achieve a smooth, durable finish. Cheap materials can compromise the entire painting process, resulting in an uneven or quickly deteriorating surface.
Detailed Painting Process
Following a meticulous painting process is essential for achieving professional results. Architectural Digest outlines critical steps for transforming stained cabinets:
Remove all cabinet doors, drawers, and hardware
Clean surfaces thoroughly with degreasing solution
Sand surfaces to create optimal paint adhesion
Apply high-quality primer
Sand primer lightly for ultra-smooth finish
Apply multiple thin paint coats
Allow adequate drying time between coats
Precision during each step determines the final outcome. Rushing or skipping preparation stages can lead to visible imperfections and reduced paint durability. Professional painters recommend working in a well-ventilated area with consistent temperature and minimal dust.
Below is a step-by-step table summarizing the cabinet painting process described above for quick reference during the project:
Step Order | Task Description | Key Point |
1 | Remove cabinet doors, drawers, hardware | Label pieces for reassembly |
2 | Clean all surfaces with degreasing solution | Remove all grease/grime |
3 | Sand all surfaces | Create surface for adhesion |
4 | Apply high-quality primer | Use kitchen cabinet formula |
5 | Lightly sand primer | Achieve ultra-smooth surface |
6 | Apply multiple thin paint coats | Allow to dry between coats |
7 | Allow drying/curing time | 24-48 hours recommended |
Final Touches and Quality Assurance
The concluding stages of cabinet painting are critical for achieving a polished result. According to The Washington Post, final quality checks can significantly impact the overall appearance.
After completing paint application, carefully inspect each surface for consistency. Look for even color distribution, smooth brush strokes, and absence of drips or bubbles. Allow cabinets to cure completely before reinstalling hardware and doors. This curing period typically ranges from 24 to 48 hours, depending on paint type and environmental conditions.
Consider applying a clear protective topcoat for additional durability, especially in high-traffic kitchen environments. This extra layer can enhance resistance to scratches, moisture, and daily wear while maintaining the cabinet’s fresh, professional appearance.
Successful cabinet painting is a detailed process that rewards patience and precision. By following these comprehensive steps, homeowners can achieve a transformative kitchen upgrade that looks professionally executed and stands the test of time.
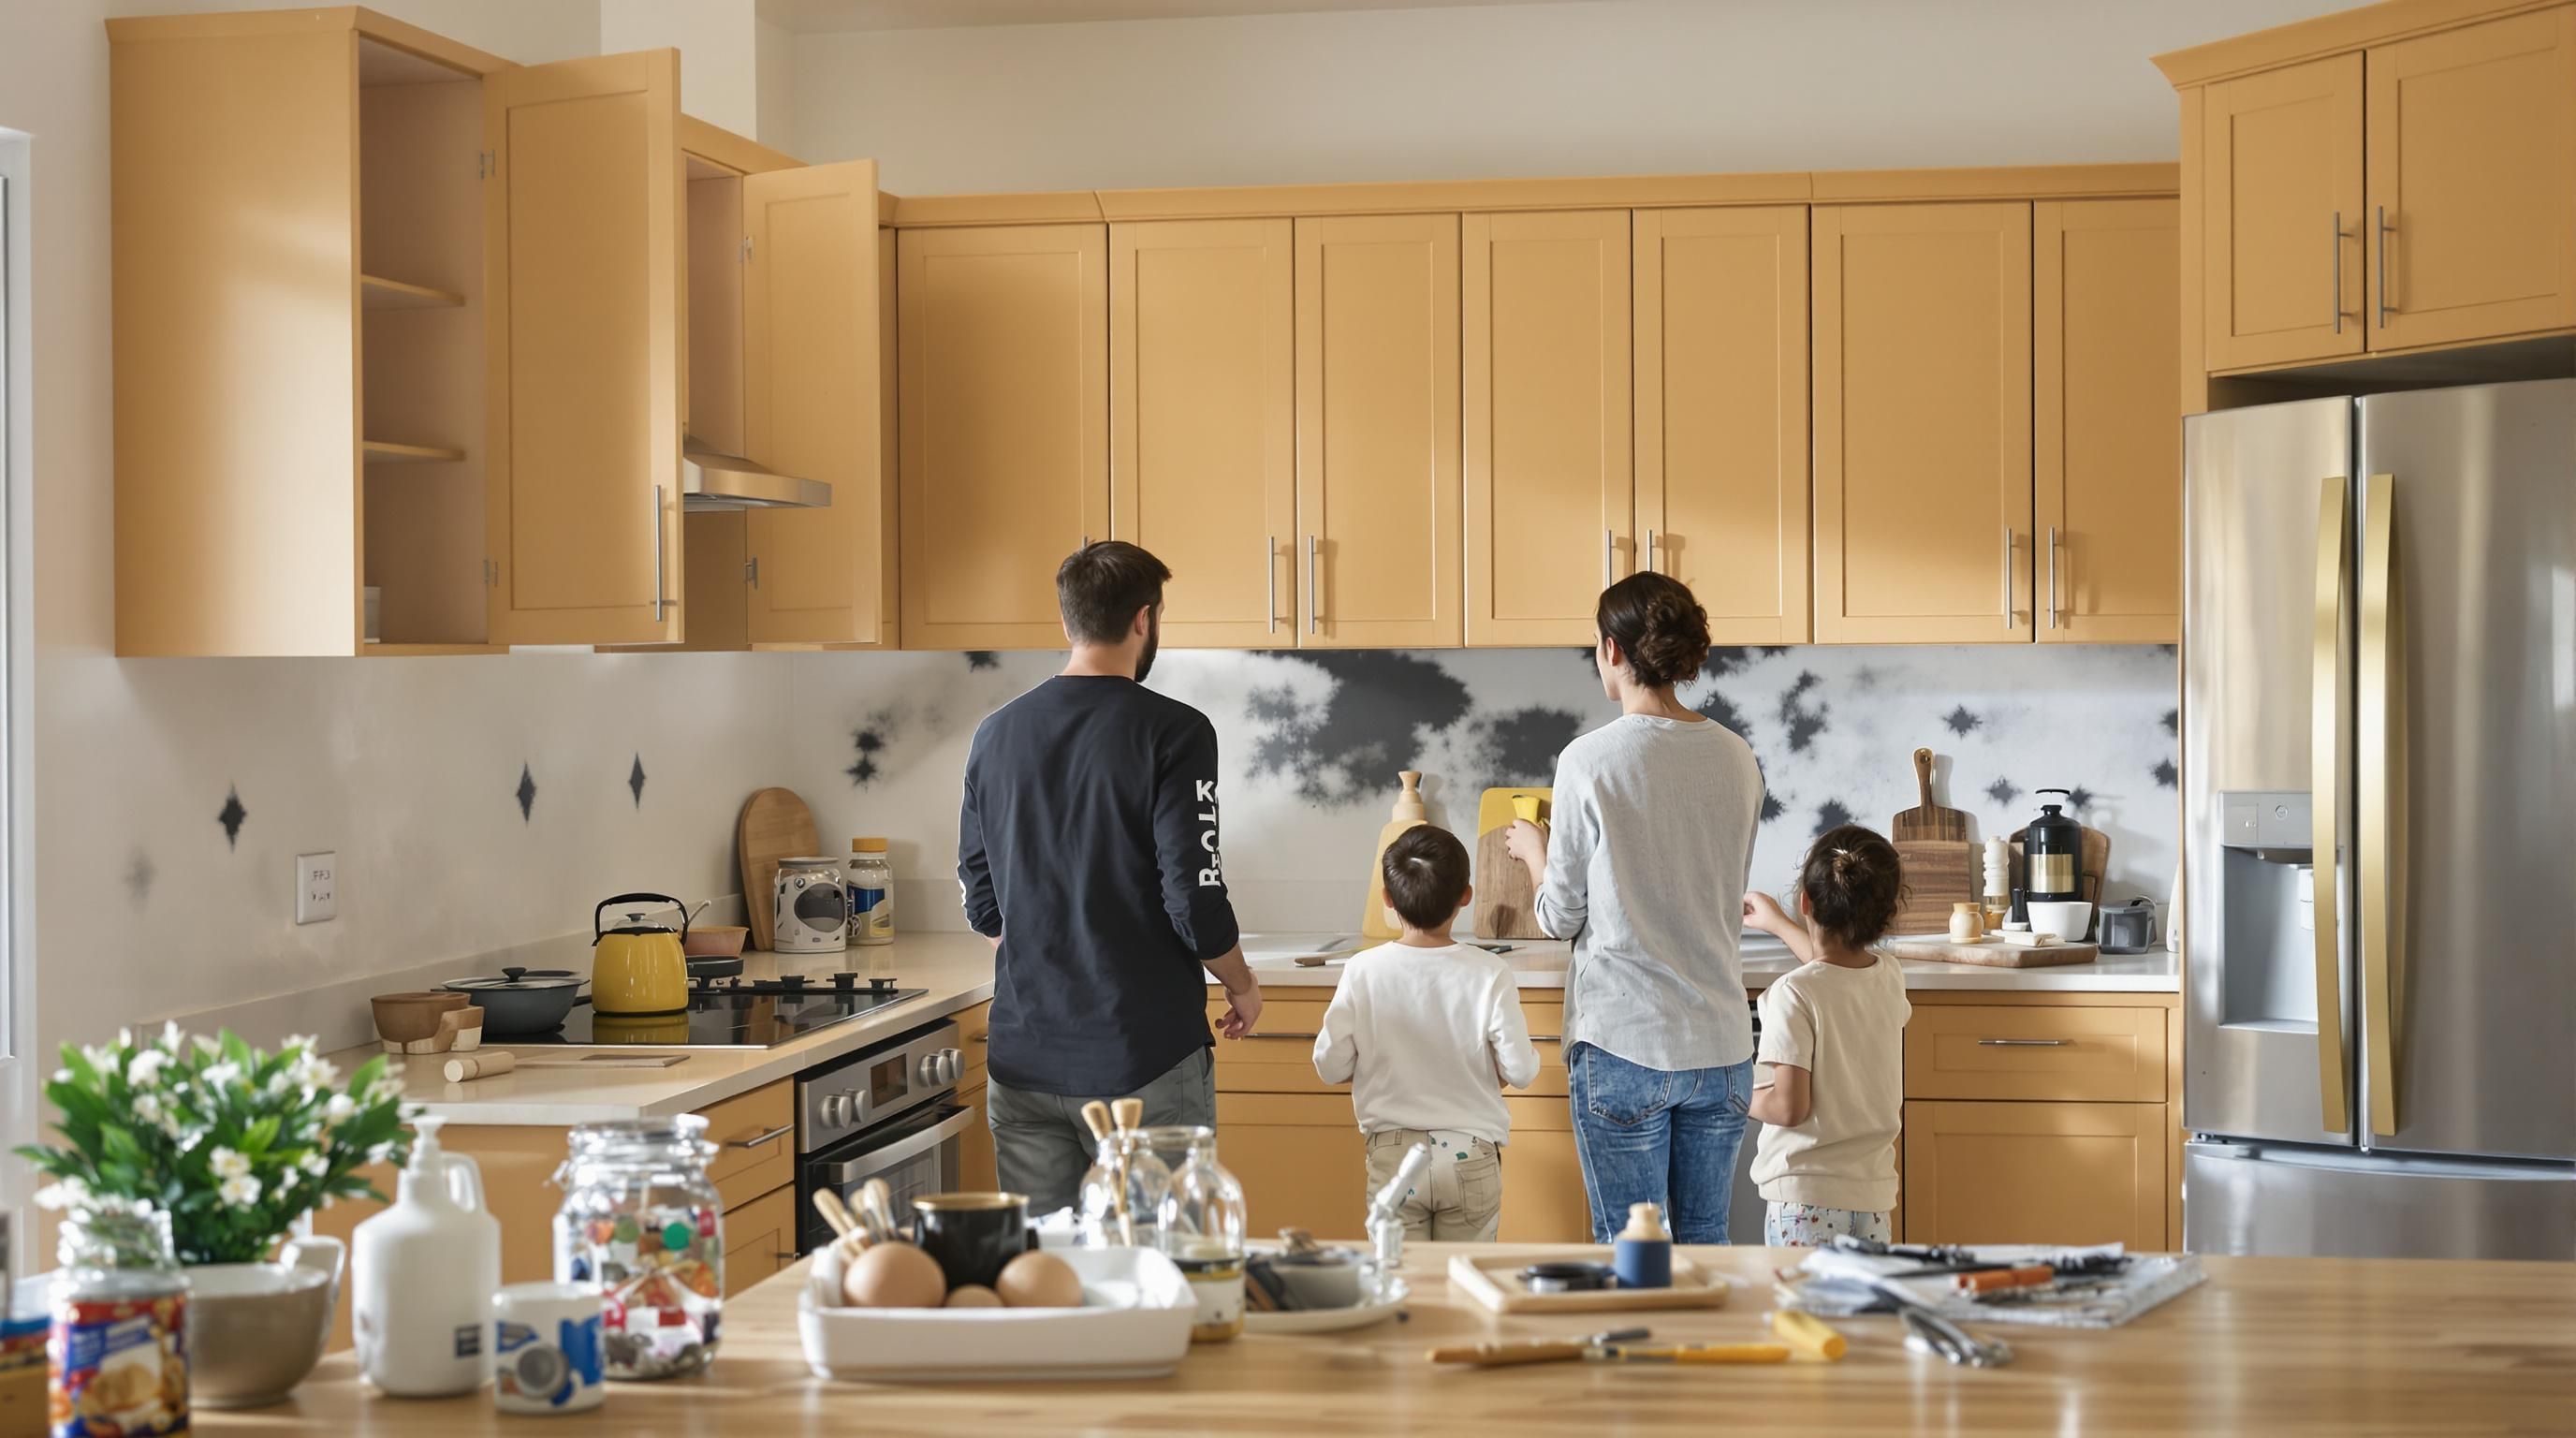
Tips for Busy Families and Budget-Friendly Results
Transforming kitchen cabinets can be challenging for busy families juggling multiple responsibilities. Explore our budget-conscious painting strategies to achieve professional results without overwhelming your schedule or budget.
Strategic Planning and Time Management
For families with hectic lifestyles, cabinet painting requires careful scheduling and efficient execution. According to Good Housekeeping, successful home improvement projects demand strategic planning. Consider tackling the project during less busy periods, such as school breaks or extended weekends, to minimize household disruption.
Break the painting process into manageable stages. Dedicate specific time blocks for preparation, cleaning, sanding, and painting. This approach allows busy families to complete the project incrementally without sacrificing entire weekends. Assign specific tasks to family members, transforming the project into a collaborative home improvement experience that teaches valuable skills and creates shared memories.
Budget-Conscious Material Selection
Controlling costs is crucial for families seeking kitchen updates. HGTV recommends smart material selection to maximize budget efficiency. Invest in high-quality but versatile painting supplies that can be used for multiple projects:
Multi-purpose primer suitable for various surfaces
Durable paint with extended coverage
Reusable painting tools like quality brushes and rollers
Painter’s tape with strong adhesion
Consider purchasing materials during seasonal sales or using store loyalty programs to reduce expenses. Some home improvement stores offer discounts for bulk purchases or provide rental options for specialized tools, helping families manage their renovation budget more effectively.
Practical Implementation and Family Involvement
Successful cabinet painting for busy families requires a pragmatic approach. According to The Washington Post, preparation is key to minimizing time investment and achieving professional results. Create a detailed project timeline that accommodates your family’s schedule, allowing flexibility for unexpected interruptions.
Establish a dedicated workspace that can be quickly set up and secured, protecting your home from paint splatters and keeping curious children and pets safe. Use drop cloths, plastic sheeting, and temporary barriers to create a controlled painting environment. Consider setting up a temporary kitchen arrangement to maintain daily routines during the renovation process.
Involve family members in age-appropriate tasks. Older children can help with cleaning, taping, or simple painting activities, turning the project into an educational and bonding experience. Younger children can participate by selecting color schemes or helping with simple preparatory tasks under adult supervision.
By implementing these strategic approaches, busy families can successfully transform their kitchen cabinets without sacrificing time, quality, or financial stability. The key lies in careful planning, smart resource allocation, and a collaborative family approach to home improvement.
Frequently Asked Questions
What are the benefits of painting over stained cabinets?
Painting over stained cabinets provides a cost-effective way to refresh your kitchen while avoiding the high expenses of full cabinet replacement. It offers a wide range of color options and can transform the look of your space quickly, often within a matter of days.
How do I prepare my cabinets for painting?
Prepare your cabinets by thoroughly cleaning them, sanding the surfaces to promote paint adhesion, repairing any imperfections, and applying a high-quality primer. This meticulous preparation is essential for achieving a smooth and durable finish.
What tools and materials do I need for painting cabinets?
You will need high-quality primer, degreasing cleaner, medium and fine-grit sandpaper, paint brushes or rollers, painter’s tape, drop cloths, and protective gear such as gloves and safety glasses. Investing in premium materials will ensure a more professional finish.
How long does the cabinet painting process take?
The painting process can usually be completed within a few days, depending on the size of your kitchen and the number of coats required. Planning around less busy times and breaking the project into manageable stages can also help facilitate a quicker turnaround.
Ready for a High-End Kitchen Without Breaking the Bank?
Are you tired of the dated look and costly hassle that comes with replacing your kitchen cabinets? The article shows how a simple, professional paint job transforms stained cabinets at just a fraction of the usual expense, while letting you avoid weeks of household chaos. You want a beautiful kitchen that is functional and welcoming, but you do not want the stress or financial drain of a full renovation. That is why our meticulous prep process, silky-smooth finishes, and quality-first methods at Ottawa Cabinet Painting are designed around the very pain points you face.
Experience the difference of working with experts who care about every detail and treat your home as their own. Discover how our process can refresh your kitchen with less mess and lasting beauty, all while keeping your layout and memories intact. Visit our service guarantees and professional preparation approach to get your free quote today. Make your kitchen the warm, inviting heart of your home now—because you and your family deserve it.
Recommended
Comments