Refinishing dark cabinets: affordable high-end looks in Ottawa
- Axcell Painting

- Apr 5
- 8 min read
TL;DR:
Refinishing existing cabinets offers a 60-75% cost savings compared to full replacement.
Proper prep, including cleaning and sanding, accounts for 75-80% of professional-quality results.
Darker cabinet finishes require thorough priming, precise application, and maintenance for durability.
Full cabinet replacement in Ottawa can cost anywhere from $15,000 to $50,000 or more, and most homeowners never get that money back. But here’s what many people don’t realize: your existing cabinets are likely in perfectly good structural shape. Refinishing them, especially going darker, can deliver a showroom-quality result for 60-75% less than replacement. Whether you want a deep espresso tone, a rich charcoal, or a classic navy, this guide walks you through everything, from the tools you need to the final topcoat, so you can make the smartest decision for your Ottawa kitchen.
Table of Contents
Key Takeaways
Point | Details |
Prep is key | Proper cleaning and sanding determines 80% of refinishing success. |
Save thousands | Refinishing cabinets cuts Ottawa kitchen upgrade costs by up to 75%. |
Choose method wisely | Staining preserves wood grain for longevity; painting offers fast style change but chips sooner. |
Avoid common DIY mistakes | Most DIY failures result from poor prep; professional spraying prevents streaks and peeling. |
Ottawa pros offer value | Local warranty-backed pros deliver durable, factory-quality results—worth considering for full kitchen projects. |
What you need to refinish dark cabinets
Now that you know refinishing can save you thousands, let’s cover what you’ll need to get started. The quality of your results depends almost entirely on what happens before any paint or stain touches the wood. Prep accounts for 75-80% of success, and skipping steps here is a recipe for disaster.
The full process, as any professional will tell you, involves removal, degreasing, sanding, priming, and coating. Each phase builds on the last. Rushing one weakens everything that follows.
Here’s what you’ll need to have on hand before you start:
Degreaser: TSP (trisodium phosphate) or Krud Kutter for clinical-level cleaning, not just a wipe-down
Sandpaper: Multiple grits, typically 80, 120, and 220, for progressive smoothing
Stain-blocking primer: Shellac-based primer (like Zinsser BIN) is essential when changing colors significantly
Topcoat or stain: Alkyd or waterborne enamel for paint; oil-based or gel stain for wood darkening
Applicators: A quality brush for detail work and a foam roller or sprayer for flat surfaces
Painter’s tape and plastic sheeting: To protect countertops, walls, and appliances
Screwdrivers and labeled bags: For removing and organizing hardware and hinges
Material | Purpose | Notes |
TSP/Krud Kutter | Deep degreasing | Do not skip; grease kills adhesion |
Shellac-based primer | Stain blocking | Critical for dark-to-light color changes |
220-grit sandpaper | Final smoothing | Scuff between every coat |
Waterborne enamel | Durable topcoat | Levels well, low VOC |
Gel stain | Darkening wood | Works on tricky surfaces like laminate |
Pro Tip: If you’re going from a lighter wood to a dark finish, a shellac-based primer is non-negotiable. It seals tannins and prevents bleed-through that will ruin your topcoat. If you’re curious about how professionals handle this without dust or mess, check out dustless cabinet spraying techniques used by Ottawa’s top refinishers. You can also browse the full range of Ottawa painting services to understand what a professional scope of work looks like.
Step-by-step process for a flawless finish
With your materials ready, you can begin the transformation. Here’s every step clearly laid out.
Remove all doors, drawers, and hardware. Label everything with numbered tape so reinstallation is simple. Work on cabinet boxes in place and doors flat on a work surface.
Degrease thoroughly. Use TSP or Krud Kutter on every surface. Grease from cooking builds up invisibly, and paint will not bond over it. This is a clinical clean, not a wipe-down.
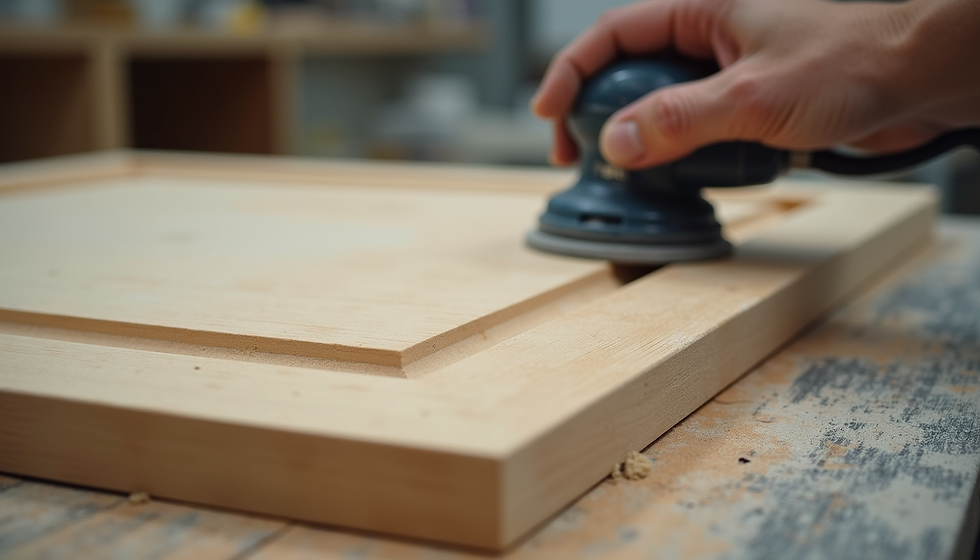
Sand with progressive grits. Start at 80-grit to scuff the existing finish, move to 120-grit to smooth, and finish with 220-grit for a surface that accepts primer evenly. Progressive sanding and multiple thin coats are what separate a smooth result from a bumpy one.
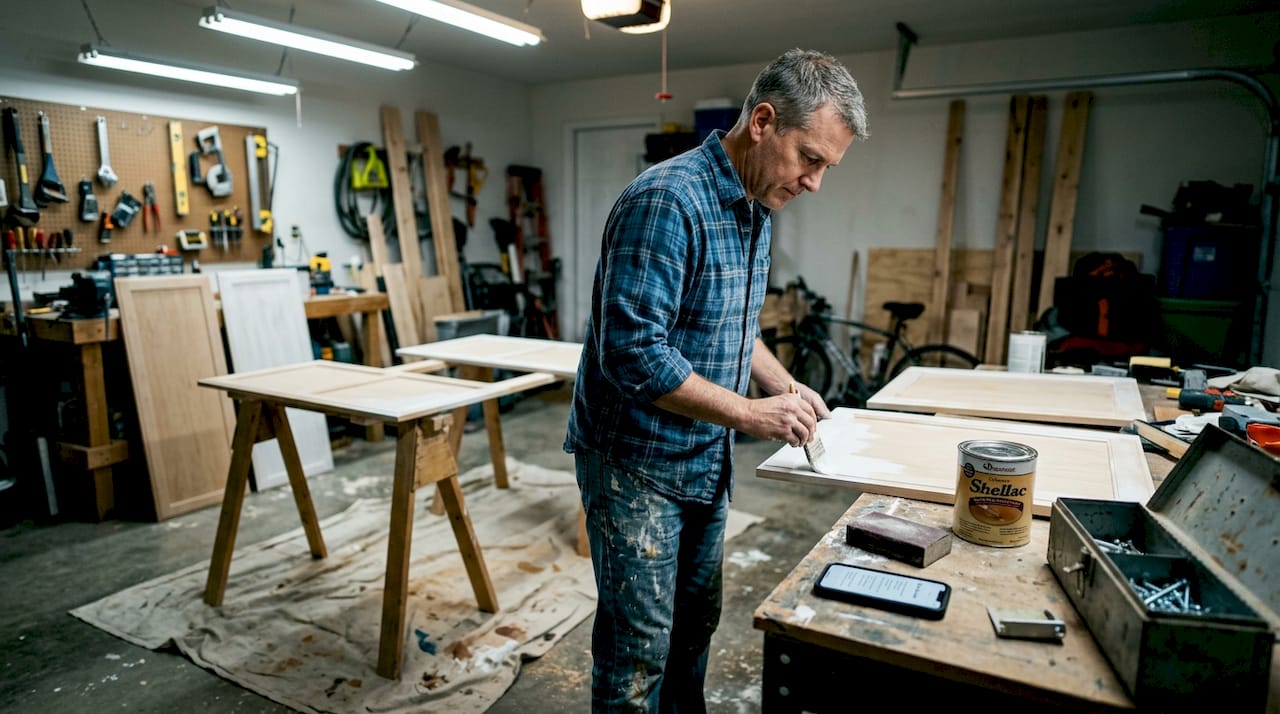
Apply stain-blocking primer. One or two coats of shellac-based primer seal the wood and create a neutral base. Sand lightly between coats with 220-grit.
Choose your finish: stain or paint. For darkening, an oil-based or gel stain penetrates the wood grain and creates rich, natural depth. For a painted look, a waterborne enamel gives you a hard, factory-smooth surface. Staining works for darkening; painting requires extra primer steps for lightening.
Apply finish in thin, even coats. Two to three coats is standard. Rushing and applying thick coats causes drips and uneven sheen.
Sand lightly between every coat. A quick pass with 220-grit between coats removes dust nibs and keeps the surface silky.
Reinstall hardware and rehang doors. Allow full cure time, typically 7 to 14 days, before heavy use.
Finish type | Best for | Durability | Appearance |
Oil-based stain | Darkening natural wood | 10-15+ years | Natural grain visible |
Gel stain | Laminate or tricky surfaces | 8-12 years | Consistent, even tone |
Waterborne enamel | Full color change | 5-10 years | Smooth, factory finish |
Alkyd enamel | High-traffic kitchens | 8-12 years | Hard, glossy surface |
Pro Tip: Always apply your finish in a temperature-controlled space. Ottawa’s cold winters can slow dry times significantly and cause adhesion problems if you’re working in an unheated garage. Learn more about the full cabinet painting process and what choosing Ottawa cabinet painters actually involves.
Common mistakes and troubleshooting
Even with careful steps, mistakes happen. Here’s how to spot problems early and fix them.
“90% of DIY failures come down to poor preparation. Uneven finishes, streaks, and peeling are almost always traced back to skipped cleaning or sanding steps.”
That stat should make you pause before rushing into the project. Here are the most common problems Ottawa homeowners run into, and what to do about them:
Peeling or flaking: Almost always caused by grease or silicone left on the surface. Strip the affected area, degrease again, re-prime, and recoat.
Tannin bleed-through: Dark wood species like oak and cherry release tannins that bleed through paint and create yellow or brown stains. The fix is shellac-based primer, applied before any topcoat.
Streaks and brush marks: Usually caused by applying too much product at once or using a low-quality brush. Sand smooth with 220-grit and apply a thinner coat.
Uneven sheen: Happens when coats dry at different rates due to temperature changes. Maintain a consistent environment and apply coats at consistent intervals.
Bubbling: Often caused by painting in direct sunlight or over a surface that’s too warm. Work in shade and let surfaces cool before coating.
Some situations genuinely call for a professional. Edge cases like damaged wood, laminate surfaces, or layout changes go beyond what a weekend DIY project can handle reliably. If your cabinet boxes are structurally compromised, or if you’re working with thermofoil or vinyl wrap, the risk of a failed finish is high. Understanding the benefits of professional cabinet painting can help you decide whether to take it on yourself. For a broader picture, the cabinet painting services overview covers what a full professional scope includes.
Expected results, durability, and Ottawa cost savings
Once your cabinets are refinished, what can you expect in terms of appearance and lasting value?
A properly refinished cabinet should look seamless and factory finished. Dark finishes in particular tend to look rich and high-end when done correctly, with a smooth surface that shows no brush marks or roller texture. The difference between a rushed DIY job and a professional result is immediately visible.
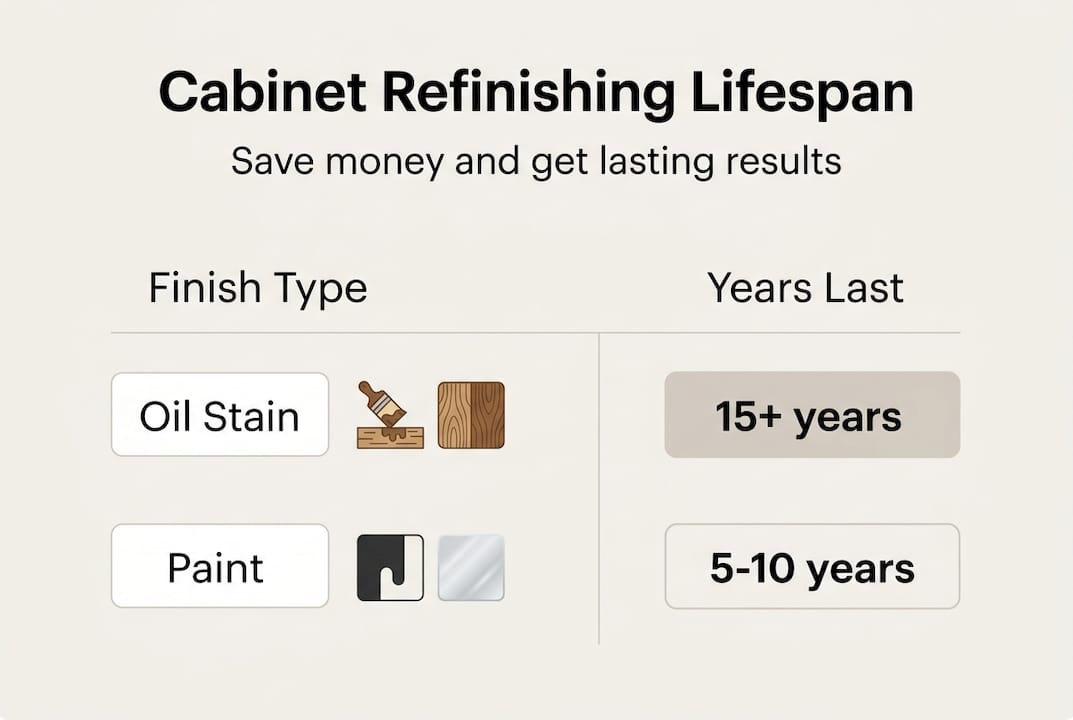
In terms of durability, stain finishes can last 15 or more years, while paint finishes typically hold up for 5 to 10 years depending on use and maintenance. A professional spray application with a quality topcoat pushes those numbers toward the higher end.
Here’s how the costs and returns compare for Ottawa homeowners:
Option | Estimated cost | Lifespan | ROI |
DIY refinishing | $300-$800 | 3-6 years | Moderate |
Professional refinishing | $1,500-$10,000 | 6-12 years | 75-96% for minor updates |
Cabinet refacing | $4,000-$15,000 | 10-15 years | Moderate to high |
Full replacement | $15,000-$50,000+ | 20+ years | Lower short-term ROI |
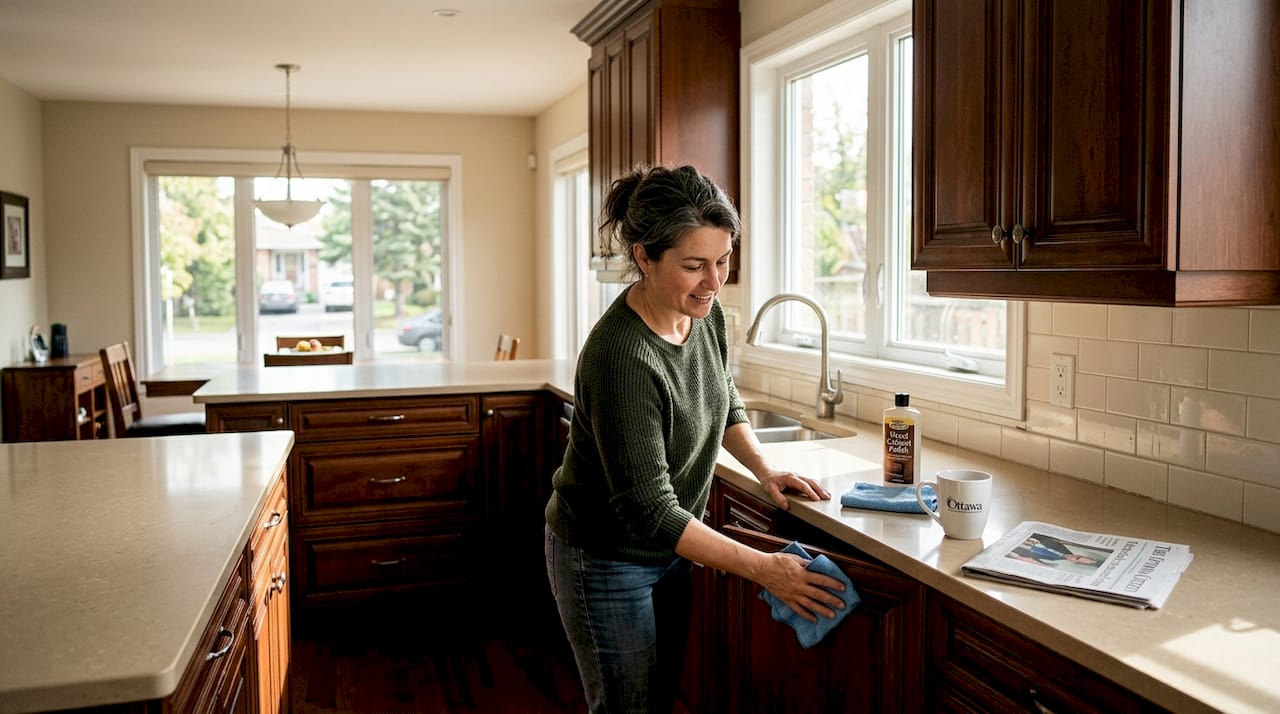
To keep your refinished cabinets looking great for as long as possible, follow these maintenance habits:
Wipe spills immediately, especially around hinges and edges
Use a soft microfiber cloth, not abrasive scrubbers
Avoid harsh chemical cleaners that strip the topcoat
Clean dark cabinets more frequently since they show dust and fingerprints more visibly
Re-apply a clear protective topcoat every few years if you notice dullness
Seeing real results is the best way to understand what’s possible. Browse before and after cabinet photos from Ottawa kitchens, or learn more about why choose Ottawa professionals for this kind of work.
Ottawa expert perspective: What most guides miss
With the technical process covered, let’s bring in hard-earned lessons and real-world wisdom from Ottawa pros.
Most refinishing guides spend the majority of their time talking about paint brands and color choices. In our experience, that’s the least important variable. The product matters far less than the surface it goes onto. We’ve seen premium paints fail on poorly prepped cabinets, and we’ve seen mid-range products perform beautifully on a properly cleaned and sanded surface.
The other thing most guides don’t address honestly is when DIY actually makes sense. If your cabinets are in good shape, you have patience, and you’re willing to spend two full weekends doing it right, DIY can work for a simple darkening project using gel stain. But for a full color change, especially going lighter, or for achieving a truly smooth, factory-quality spray finish, the gap between DIY and professional results is significant.
Pro Tip: When hiring a professional in Ottawa, ask specifically for a 5 to 6 year warranty and request to see a portfolio of dark cabinet projects. Anyone who hesitates on either of those points is worth reconsidering. Our Ottawa residential cabinet refinishing work comes backed by a 6-year warranty for exactly this reason.
Transform your Ottawa kitchen for less
If you’re ready for a high-end kitchen look without breaking the bank, Ottawa’s cabinet painting pros can help. Whether you’ve decided to tackle this yourself or you want a guaranteed factory finish with a 6-year warranty, the next step is getting clear on your options and costs. Request free cabinet painting quotes to see exactly what professional refinishing would cost for your specific kitchen. If you’d like to explore the full scope of what we offer, our Ottawa interior painting services page covers everything. You can also register for our Ottawa cabinet painting webinar to get a deeper look at the process before committing to anything.
Frequently asked questions
How long does refinishing dark cabinets last?
Professionally refinished cabinets last 6-12 years, while stain finishes may last 15 or more years depending on how well you maintain them and how heavily the kitchen is used.
Can I refinish cabinets with laminate surfaces?
Laminate cabinets require gel stain for refinishing; standard paint does not adhere reliably to laminate and is likely to peel within months.
Is DIY refinishing risky compared to using a professional?
90% of DIY failures come from poor prep work, while professionals use spray equipment and controlled environments to achieve smoother, longer-lasting results.
How much money can I save by refinishing instead of replacing?
In Ottawa, refinishing saves 60-75% compared to full cabinet replacement, making it one of the highest-ROI kitchen upgrades available.
Does refinishing dark cabinets show dust or fingerprints more?
Yes, dark finishes show dust and fingerprints more than lighter ones, so plan to wipe them down more frequently with a soft microfiber cloth.
Recommended
Comments