Cabinet painting quality standards for a lasting kitchen
- Axcell Painting

- Apr 23
- 8 min read
TL;DR:
Proper prep including TSP degreasing and sanding is essential for durable cabinet finishes.
Quality cabinet painting requires professional-grade products, proper environmental controls, and full curing time.
Well-done refinishing can last 5 to 10 years with proper maintenance and quality standards.
Most Ottawa homeowners who try to refresh their kitchen cabinets on the cheap end up disappointed within a year or two. The paint peels near the edges, brush marks show up in the light, and the whole project starts to look worse than before. The difference between a finish that holds up and one that fails almost always comes down to process and standards. TSP degreasing and proper ventilation are the kind of non-negotiable details that separate a durable result from a costly mistake. This article walks you through what quality standards actually mean, how the process works, and how to keep your cabinets looking great for years.
Table of Contents
Key Takeaways
Point | Details |
Proper prep is vital | Skipping cleaning and sanding is the main cause of cabinet paint failure. |
Choose kitchen-rated products | Pro-grade, KCMA-inspired coatings withstand daily Ottawa kitchen wear for years. |
Inspect for smooth finishes | A high-quality job means a smooth, even finish with no visible brush marks or chips. |
Follow simple maintenance | Regular gentle cleaning will keep your cabinets looking new and durable long-term. |
What quality standards mean in cabinet painting
When we talk about “quality standards” in cabinet painting, we mean a defined set of practices and materials that produce a finish capable of standing up to real kitchen life. Not just something that looks nice on day one. Quality standards cover every stage of the job, from the way surfaces are cleaned to the type of primer used to how long each coat is allowed to cure.
Here are the core elements that define a quality cabinet painting job:
Surface preparation: All grease, oil, and residue must be fully removed before any paint is applied. TSP (trisodium phosphate) degreasing is the professional standard for this.
Proper sanding: Scuffing the surface gives the primer something to grip. Skip this and adhesion suffers.
Professional-grade products: Not all paints are built for cabinet use. Products designed for cabinets offer harder, more cleanable finishes.
Environmental controls: Temperature, humidity, and ventilation all affect how paint cures. Poor conditions mean a weaker bond.
Drying and curing time: Rushing this stage is a recipe for disaster. Coats need time to fully harden before they can handle contact.
One useful benchmark is the KCMA (Kitchen Cabinet Manufacturers Association) standard. KCMA-inspired finishing systems are designed to extend the lifespan of painted cabinets and protect them against moisture, staining, and everyday impact. While not every painter follows this framework by name, the principles behind it reflect what quality actually looks like in practice.
“A finish that looks perfect on day one but starts chipping by month six tells you everything you need to know about the prep work that was done underneath it.”
For Ottawa homeowners, the stakes are real. Kitchens in this climate face fluctuating humidity, steam from cooking, and heavy daily use. Cabinets painted without proper standards can degrade noticeably within one to two years. Those painted to a professional standard using cost-effective refinishing methods hold up far longer and look better the whole time.
Key steps: Prepping and painting your cabinets like a pro
With quality standards explained, it is important to lay out the process step by step so you know what is actually involved. There are no shortcuts here. Each stage builds on the one before it, and skipping even one can undermine everything that follows.
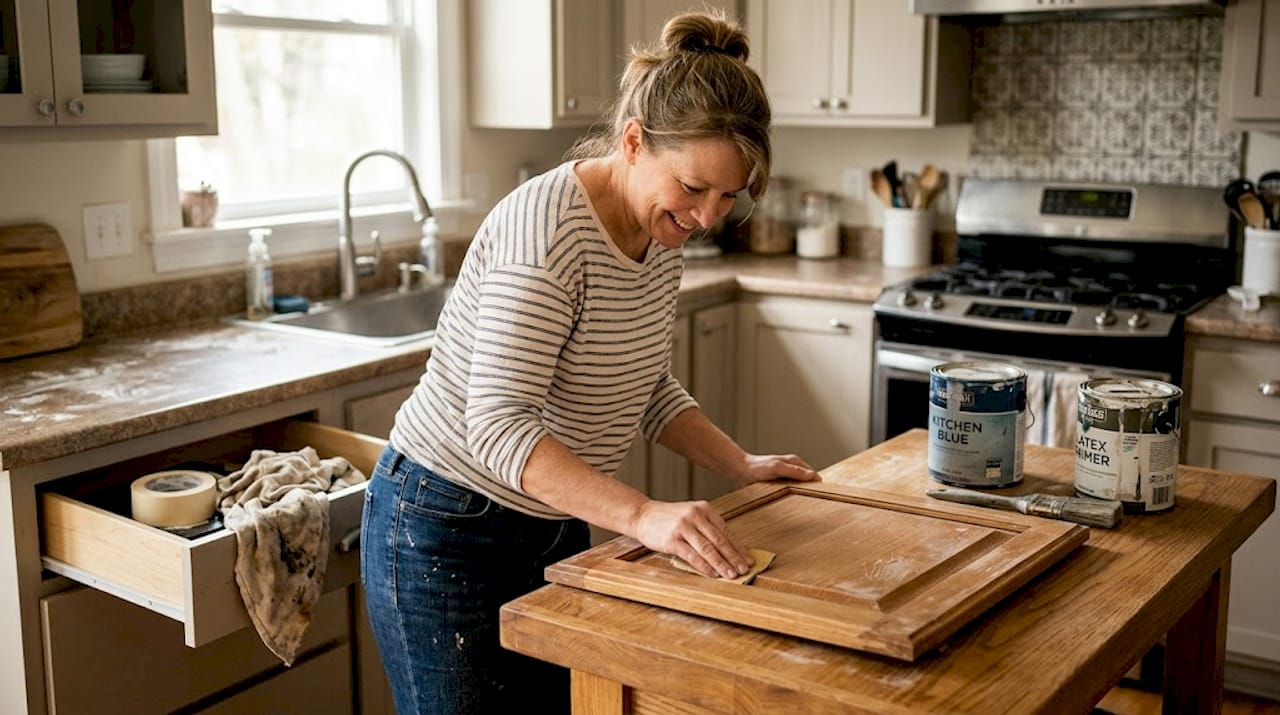
Remove doors and hardware. Take off all cabinet doors, drawer fronts, and hardware before doing anything else. This allows you to work on flat surfaces and get into corners properly.
Degrease with TSP. Apply a TSP solution to all surfaces. This removes cooking grease, oils, and residue that would otherwise prevent primer from bonding. TSP degreasing and ventilation are non-negotiable for a finish that actually lasts.
Sand all surfaces. Use 150 to 220 grit sandpaper to scuff the existing finish. You are not sanding down to bare wood. You are creating a texture for the primer to hold onto.
Apply a shellac-based or bonding primer. This is the foundation of your topcoat. A quality primer seals the wood, blocks tannins, and gives paint a surface it can grip. Do not substitute this with a basic wall primer.
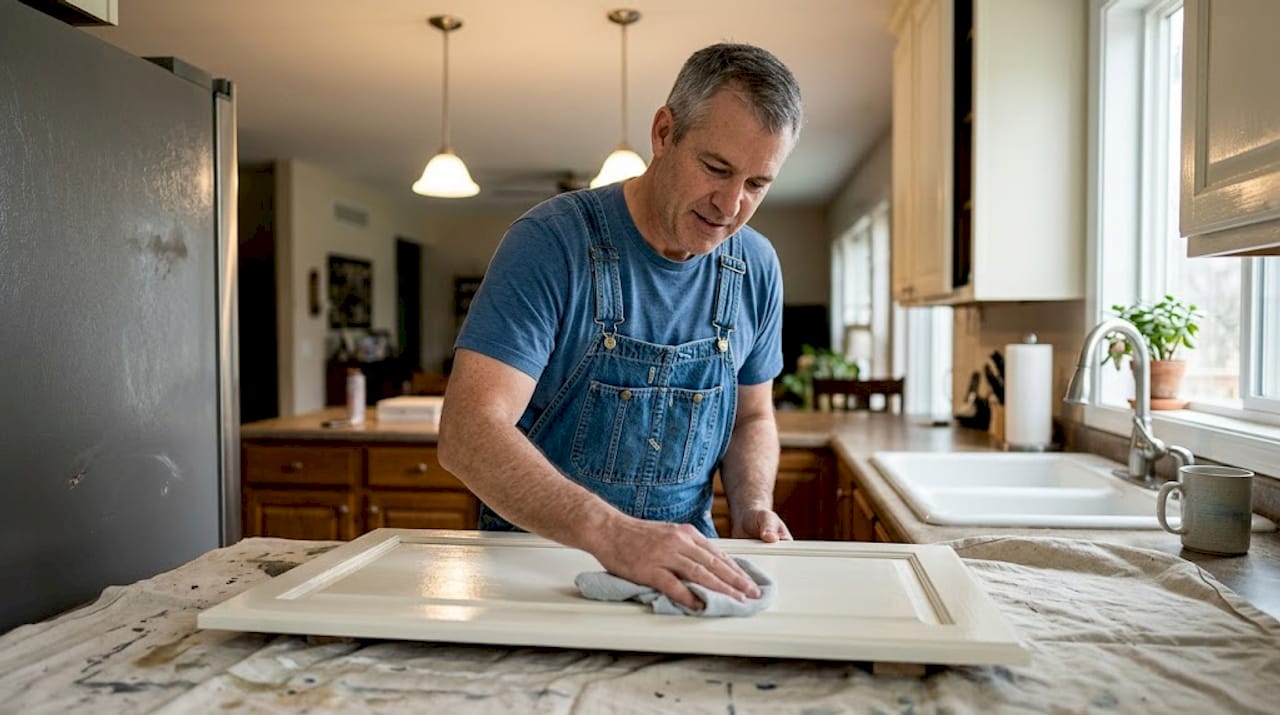
Apply your topcoat in thin layers. Two thin coats beat one thick coat every time. Thick coats sag, trap air bubbles, and take much longer to cure properly.
Allow full cure time before reassembly. Paint may feel dry to the touch in hours, but full hardness takes days. Reassembling too early risks scratching and denting the finish.
Pro Tip: Before removing your cabinet doors, use a marker or tape to label each door and its matching hinge location. Reassembly goes much faster when every door goes back exactly where it came from.
Here is a practical comparison of what a DIY approach often looks like versus what a professional process delivers:
Step | DIY process | Professional process |
Degreasing | Dish soap or skipped | TSP solution applied thoroughly |
Priming | Basic wall primer or skipped | Shellac-based or bonding primer |
Paint type | Standard latex wall paint | Cabinet-rated, harder finish |
Application | Brush or basic roller | Sprayer for factory-smooth result |
Curing time | Reassembled same day | Full cure before reassembly |
Outcome | Peeling within 1-2 years | Durable finish for 5-10+ years |
For more pro painter tips and guidance on safety during painting, those resources go deeper on the practices that matter most.
How to spot a quality finish: What to look for after painting
After the work is done, it is vital to know how to judge your cabinets’ finish. A great-looking job on day one does not automatically mean a quality job. You need to look and feel for the right things.
Visual signs of a quality finish:
The color is even and consistent across all surfaces, with no thin patches or missed spots.
There are no visible brush marks or roller texture. A sprayed or properly rolled finish should feel almost silky under good light.
The sheen level is uniform. Uneven gloss usually means inconsistent application or inadequate surface prep.
Edges and corners show full, clean coverage without buildup or drips.
Physical durability checks:
Run your fingernail lightly across an inconspicuous area. A quality finish should not scratch easily or show immediate transfer.
Open and close doors repeatedly. The finish near hinges and handles is where poor-quality work shows first.
Pro Tip: Lightly drag a soft, damp cloth across a finished surface after the paint has fully cured. If color transfers to the cloth, the finish has not hardened properly. This simple test can tell you a lot about the quality of what was applied.
Here is a quick reference for telling quality results from common flaws:
What you see | Red flag | Quality result |
Surface texture | Brush marks visible | Smooth, even surface |
Edge coverage | Paint peeling or thin | Full, clean coverage |
Gloss consistency | Uneven or patchy sheen | Uniform sheen throughout |
Scratch resistance | Scratches easily | Resists light contact |
Color uniformity | Blotchy or streaky | Even, consistent color |
Professional cabinet finishes resist scratches and staining far better than basic consumer paints. If you are modernizing kitchen cabinets and want results that hold up, these are the benchmarks worth measuring against.
Longevity and maintenance: Keeping your cabinets beautiful
Knowing how to assess your finish is only the start. Here is how to make that quality last for years.

A properly painted cabinet, done with the right prep and professional products, should look great for 5 to 10 years under normal Ottawa kitchen conditions. Some finishes last even longer with minimal care. Quality cabinet finishes resist typical kitchen wear and tear when maintained correctly. That is a significant return on a painting investment compared to the cost of full cabinet replacement.
Here is what good maintenance looks like day to day:
Clean with a soft, damp cloth. Mild dish soap diluted in warm water is all you need for regular cleaning. Avoid anything abrasive.
Dry surfaces after cleaning. Do not let water sit on painted surfaces. Prolonged moisture softens finishes over time.
Keep steam in check. If your kitchen generates a lot of steam from cooking, make sure your range hood is working properly. Steam is one of the biggest threats to painted cabinets.
Avoid harsh chemical cleaners. Products with bleach, ammonia, or strong solvents will break down even professional finishes. Stick to gentle options.
Address small nicks early. Touch-up paint, matched to your original color, can handle minor chips before they spread. Ask your painter to leave a small amount for this purpose.
For Ottawa homeowners who want real long-term peace of mind, services that offer a 10-year finish guarantee show confidence in their own workmanship. Understanding the full range of cabinet refinishing advantages can also help you make a more informed decision about whether refinishing or replacing is the right call for your home.
The overlooked truth about cabinet painting quality standards
Here is the hard-won lesson most people only learn after a less-than-perfect outcome: the prep work matters more than the paint.
We see it constantly. Homeowners spend time choosing the perfect color, buy a decent can of paint, and then rush through the cleaning and sanding because it feels tedious. But skipping TSP degreasing or using a basic primer is what causes the finish to fail. Most failures come from shortcutting prep or using products not designed for cabinet surfaces.
Product selection is just as critical. Not every paint sold at a hardware store is built to handle a kitchen cabinet. Cabinets deal with grease, heat, moisture, and constant contact. A wall paint will not hold up to that. Cabinet-specific coatings are formulated differently. They cure harder and resist wear in ways standard latex paints simply cannot.
Ventilation and drying time are also consistently underestimated. Paint needs airflow and the right temperature to cure properly. A garage in January or a closed-up bathroom in July is not an ideal environment. Rushing the process because you want your kitchen back fast is understandable. But it is also the reason so many results disappoint.
Quality standards are not just about how the cabinets look on day one. They are about how the finish performs a year from now and five years from now. The ROI benefits of refinishing are only real if the finish holds. A job done right the first time is always less expensive than redoing a job done wrong.
Get a flawless, durable cabinet finish with Ottawa experts
If you want your kitchen to look fantastic and stand up to the demands of Ottawa living, the next step is working with professionals who take quality seriously from start to finish. At Ottawa Cabinet Painting, we follow a meticulous process built on the standards covered in this article. Every project includes proper degreasing, professional-grade primers and coatings, and full curing time before we hand your kitchen back.
You can request cabinet painting quotes directly on our site, or explore our full range of interior painting solutions to see how we can modernize your home cost-effectively. Real Ottawa kitchens, real results, backed by a warranty you can count on.
Frequently asked questions
What makes a cabinet painting job ‘high quality’?
High-quality cabinet painting means meticulous prep including TSP degreasing, pro-grade paints and primers, proper ventilation, and adherence to KCMA-like standards that ensure long-term durability and a smooth, cleanable finish.
How long should a painted cabinet finish last with proper standards?
With the right prep and cabinet-specific products, a quality finish can last 5 to 10 years or more. Quality finishes resist everyday kitchen wear and tear when cared for properly.
Which paint types are best for Ottawa kitchen cabinets?
Cabinet-rated coatings and professional products offer far better durability than regular wall paint. KCMA-inspired systems cure harder, resist yellowing, and clean up easily under real kitchen conditions.
Can I paint my cabinets myself and still meet quality standards?
Yes, but only if you follow every prep step and use the right materials. Skipping steps or using regular consumer paint typically leads to early peeling or wear, making professional help the more reliable choice for lasting results.
Recommended
Comments