How to Touch Up Painted Cabinets for a Fresh Look in 2025
- demoore5506
- Jul 28, 2025
- 8 min read
Updated: Aug 6, 2025
Touching up painted cabinets sounds like a quick fix that anyone can handle on a weekend. Most people grab a paintbrush and think they are good to go. Yet research shows that up to 60 percent of visible cabinet touch-ups fail because of mismatched paint or poor prep. The biggest secret to flawless, undetectable cabinet repairs has nothing to do with speed. It all comes down to patience, precision, and a few surprising techniques you might not expect.
Table of Contents
Quick Summary
Takeaway | Explanation |
Proper tools ensure flawless touch-ups | High-quality sanding blocks and angled brushes improve precision in repairs and overall finish quality. |
Thoroughly clean and assess damage first | Cleaning areas before repair helps identify the extent of damage and ensures a successful restoration process. |
Use the right technique for paint matching | Utilize modern color matching technologies and consider lighting to achieve a perfect match for touch-ups. |
Care for cabinets post-touch-up | Regular cleaning and protecting them from direct sunlight will extend the life and appearance of newly painted surfaces. |
Be patient during the repair process | Taking time with each step in the repair process leads to professional-looking results and a seamless finish. |
Essential Tools for Touching Up Painted Cabinets
Successful cabinet touch-ups require a strategic approach and the right equipment. Professional painters understand that precision tools make the difference between an amateur repair and a flawless finish. Discover our expert preparation techniques to ensure your cabinet touch-up project looks professionally executed.
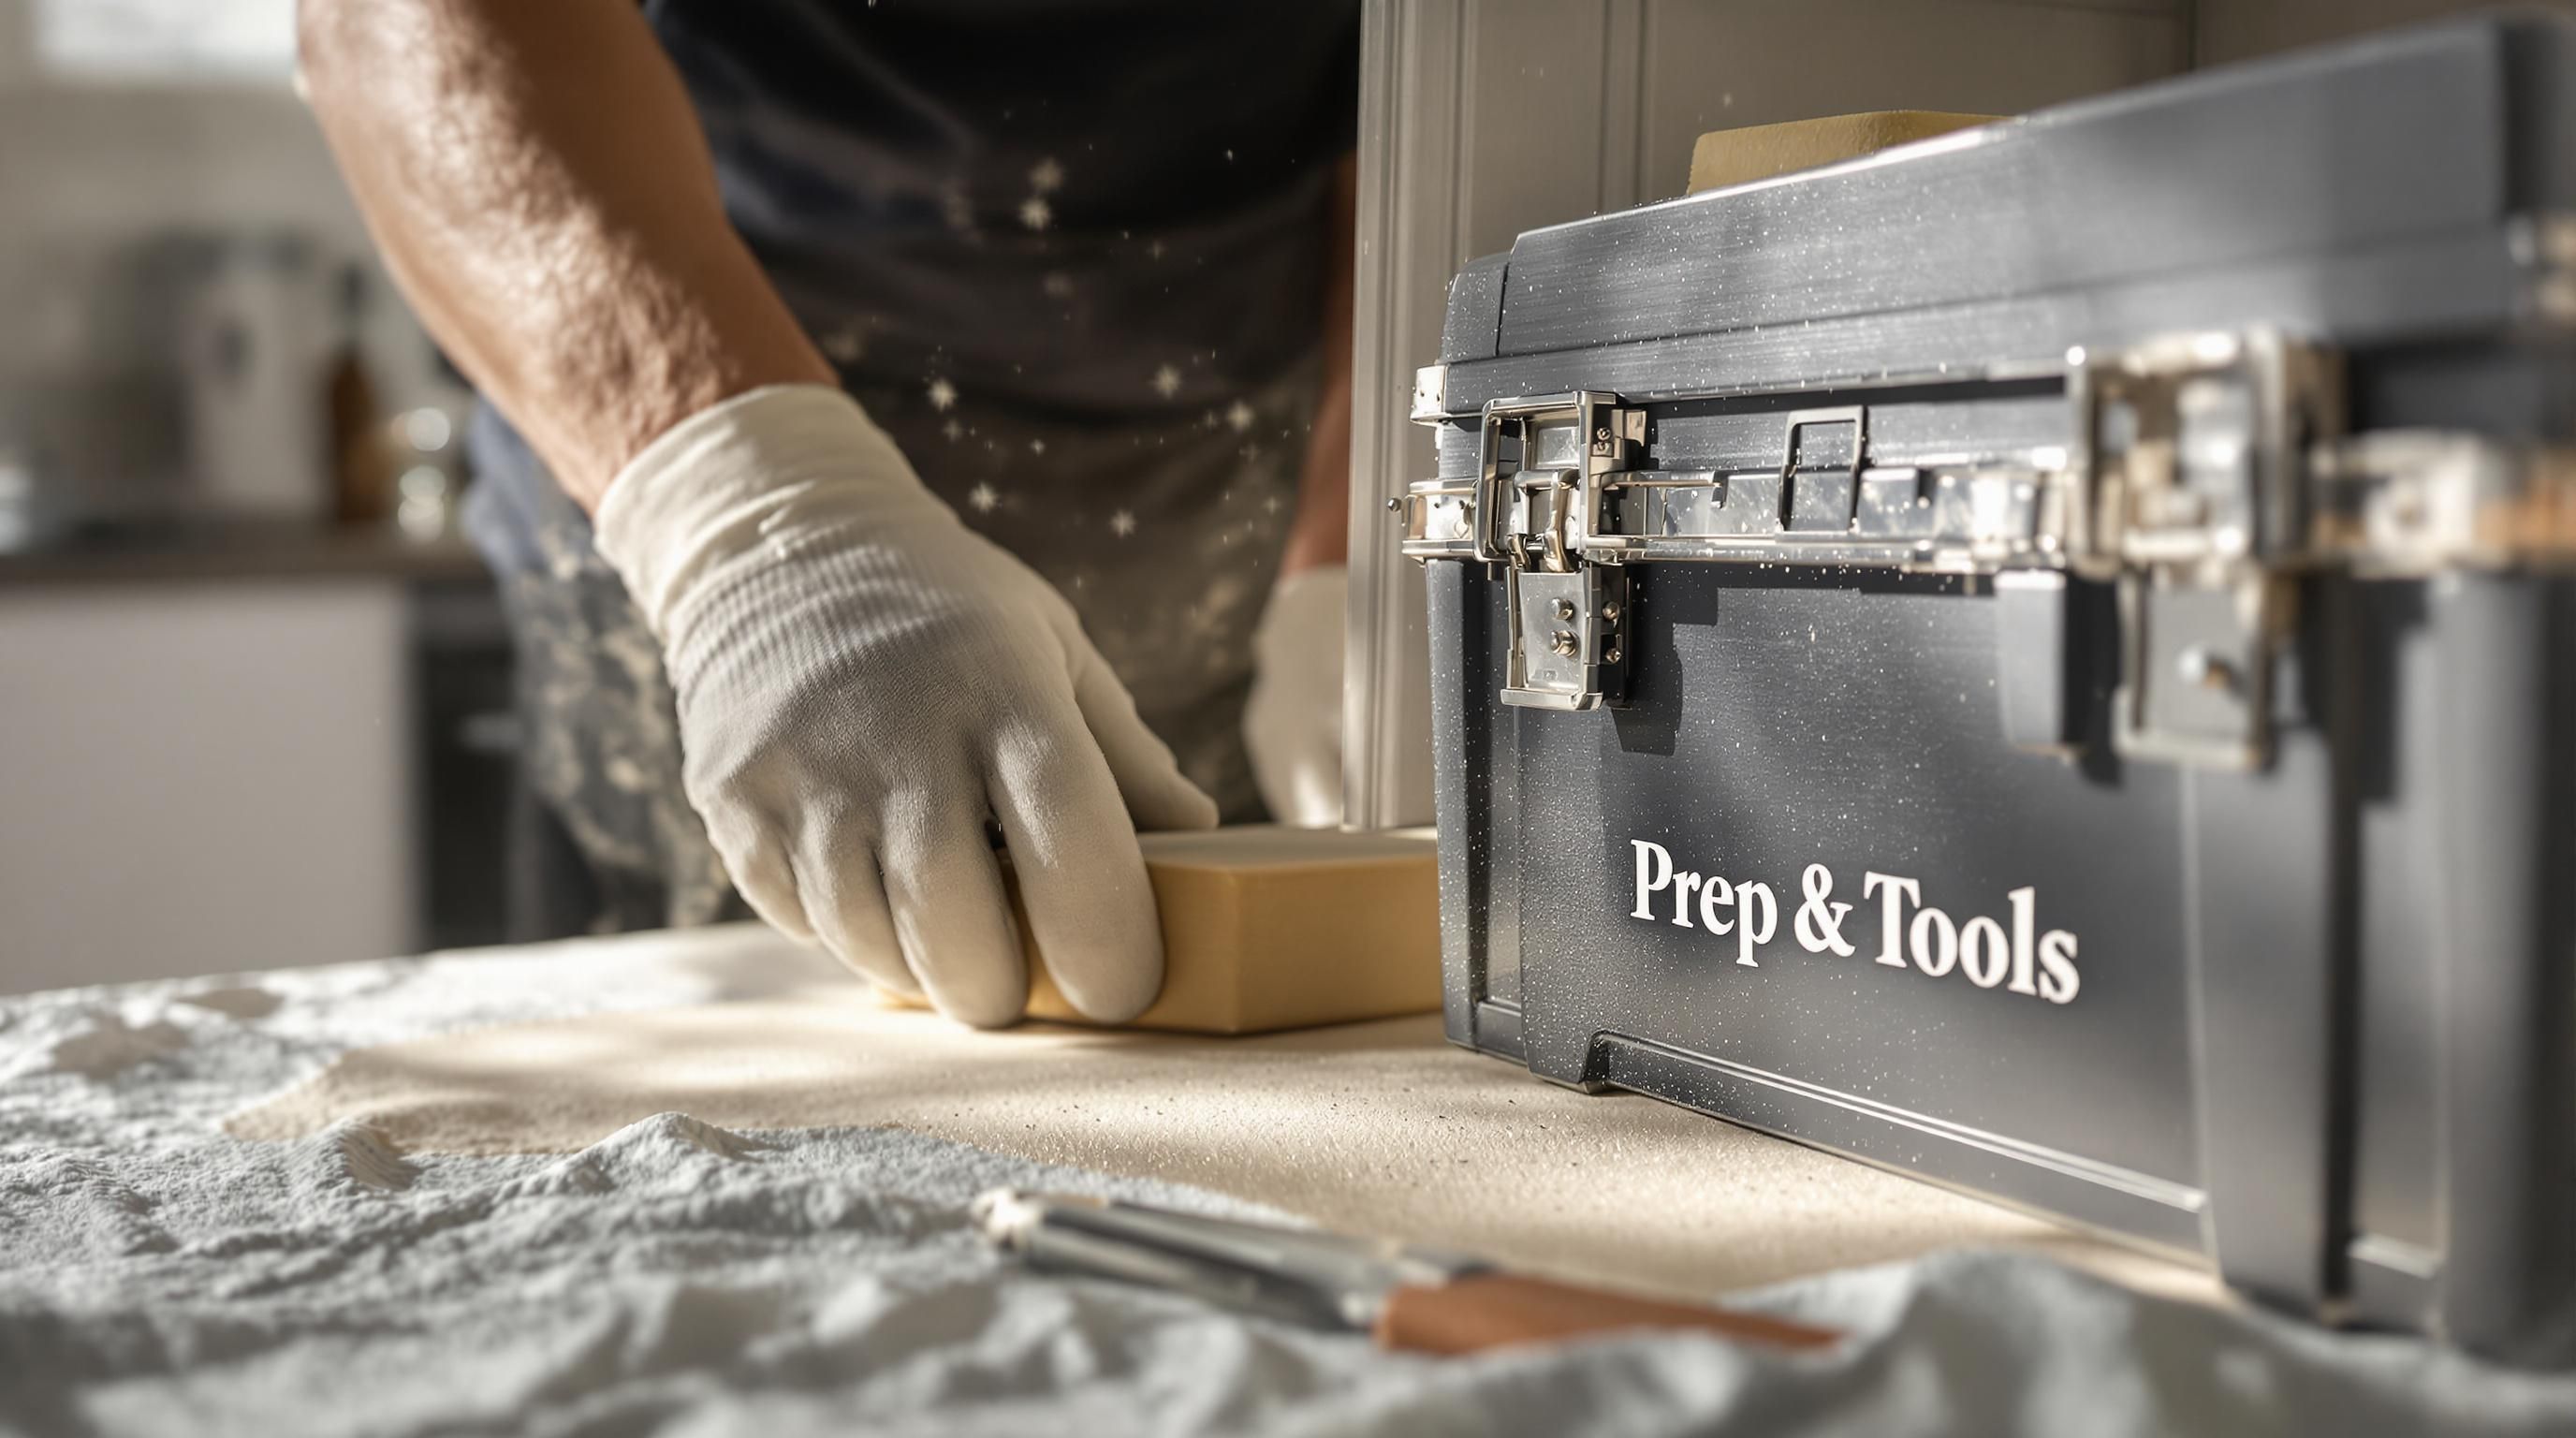
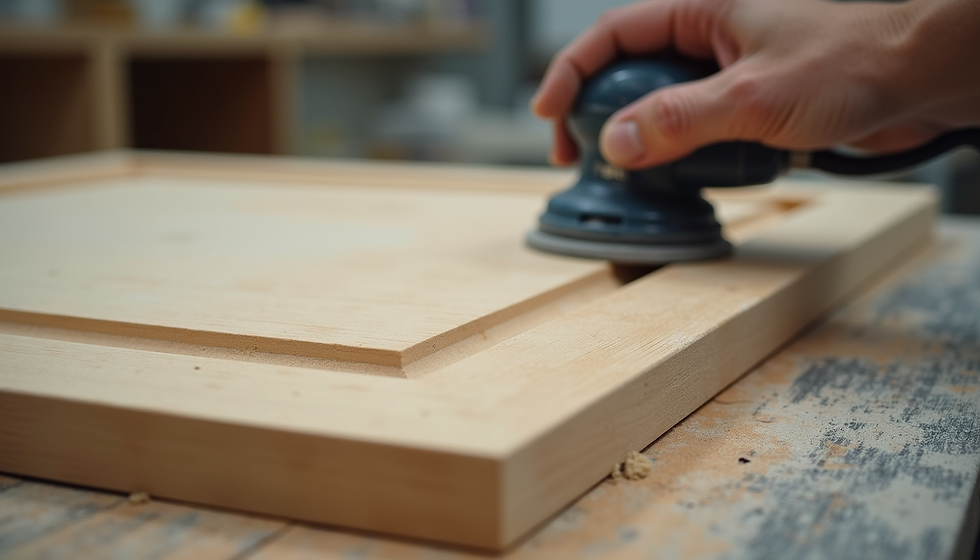
Sanding and Surface Preparation Tools
Before applying any new paint, proper surface preparation is critical. According to Popular Mechanics, you will need several key tools for effective sanding and preparation. High-quality sanding blocks with multiple grit levels are essential. Start with 120-grit sandpaper for initial surface smoothing, then progress to 220-grit for creating a refined surface that helps new paint adhere perfectly. Microfiber tack cloths are crucial for removing fine dust particles after sanding, ensuring a clean surface for touch-up work.
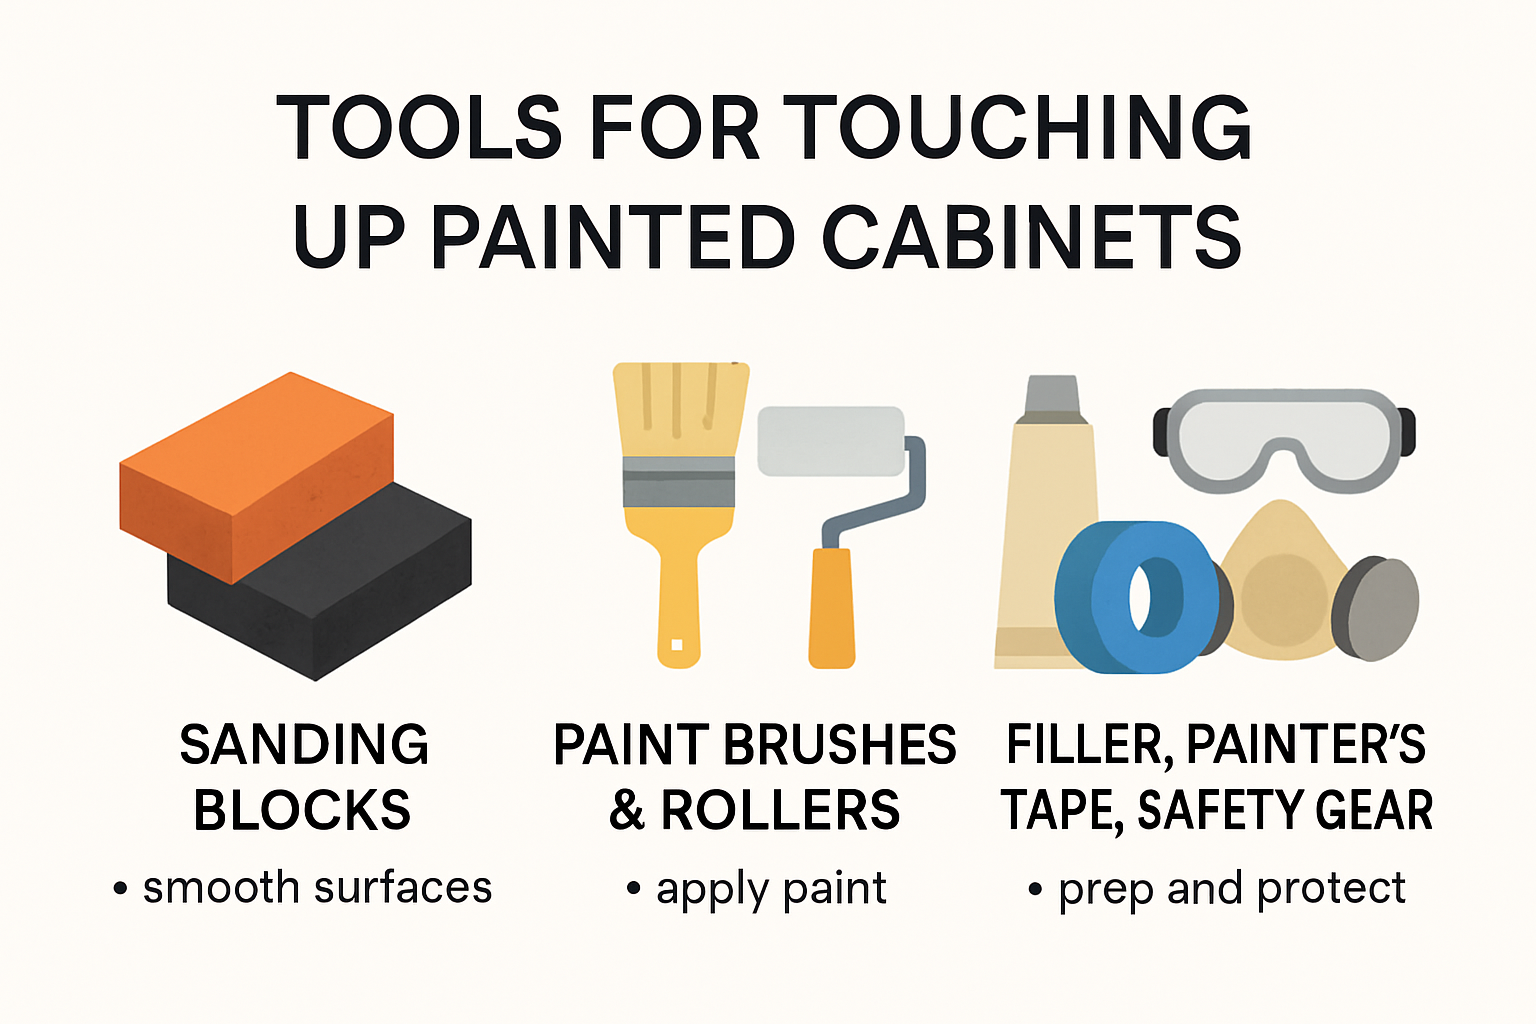
Painting and Application Equipment
Precision painting requires specialized tools. According to the Washington Post, matching the original paint type and sheen is fundamental. For small touch-ups, invest in high-quality angled brushes with synthetic bristles between 1-2 inches wide. These allow for detailed work around edges and corners. Small foam rollers or ‘weenie’ rollers work exceptionally well for larger surface areas, providing a smooth, even application. Consider a Preval sprayer for lacquer-based touch-ups, which offers precision and minimal overspray.
Additional must-have tools include painter’s tape for protecting surrounding surfaces, latex wood filler for repairing minor scratches or dents, and disposable shop towels for cleanup. Wear protective gear like latex gloves and a respirator mask to ensure your safety during the touch-up process. Remember that proper tool selection can transform an average repair into a professional-looking restoration.
Below is a table to help you quickly compare and understand the essential tools for touching up painted cabinets and their specific uses:
Tool | Use / Purpose |
120-grit Sandpaper | Initial smoothing of damaged areas |
220-grit Sandpaper | Refining surface for optimal paint adhesion |
Microfiber Tack Cloth | Removing fine dust after sanding |
Angled Synthetic Brush | Detail and edge painting (1-2 inch recommended) |
Small Foam Roller | Even application on larger touch-up areas |
Preval Sprayer | Precise lacquer-based touch-ups with minimal overspray |
Painter’s Tape | Protecting surfaces around repair area |
Latex Wood Filler | Repairing chips, scratches, and minor dents |
Disposable Shop Towels | Cleaning up spills and wiping surfaces |
Latex Gloves/Respirator | Personal safety during prep and painting |
Step-by-Step Guide to Repairing Cabinet Paint Chips
Paint chips on kitchen cabinets can diminish the overall aesthetic of your space, but with the right approach, you can restore them to their original beauty. Learn our professional preparation techniques to ensure a flawless repair that looks seamless and professional.
Cleaning and Assessing the Damage
Before beginning any repair, thorough cleaning and damage assessment are crucial. According to The Spruce, start by cleaning the chipped area with a soft cloth and mild degreasing solution. Remove any loose paint chips and dirt, ensuring the surface is completely clean and dry. Inspect the extent of the damage carefully. Small chips requiring minimal repair will need different techniques compared to larger areas of paint loss.
Repair and Preparation Techniques
For effective paint chip repair, precision is key. According to the Washington Post, the repair process involves several critical steps. Begin by applying a high-quality wood putty or latex filler to the chipped area. Use a plastic putty knife to spread the filler evenly, ensuring it slightly overfills the chip. Allow the filler to dry completely according to manufacturer instructions. Once dry, use fine-grit sandpaper (220-grit) to smooth the repaired area, creating a level surface that blends seamlessly with the surrounding paint.
After sanding, wipe the area with a tack cloth to remove all dust particles. Apply a thin layer of primer matched to your original paint type. This helps the new paint adhere properly and creates a uniform base. When the primer is completely dry, use a small artist’s brush or foam brush to apply paint that exactly matches the cabinet’s original color and finish. Apply thin, even coats, allowing each layer to dry completely before adding the next. This technique ensures a professional-looking repair that is virtually undetectable.
Remember that patience and attention to detail are your best tools when repairing paint chips. Take your time with each step, and you’ll achieve a repair that looks like the chip was never there.
To help visualize each step, here’s a concise process table summarizing the essential steps to repairing cabinet paint chips and their main objectives:
Step | Purpose/Outcome |
Clean area with mild degreaser | Removes dirt and grease for proper adhesion |
Remove loose paint chips | Prevents future peeling and ensures smooth surface |
Apply wood putty or latex filler | Fills chips, scratches, and minor dents |
Allow filler to dry | Ensures stable and solid repair base |
Sand repaired area (220-grit) | Creates flush surface for seamless blending |
Wipe with tack cloth | Removes all sanding dust for primer/paint |
Apply primer | Improves paint bonding and even finish |
Use matched paint in thin layers | Achieves a virtually undetectable, professional repair |
Tips for Matching Cabinet Paint Colors Precisely
Achieving a perfect paint color match for cabinet touch-ups requires precision and strategic approach. Learn about professional painting preparation to ensure your color matching process yields professional results.
Understanding Color Matching Technologies
Modern color matching has evolved significantly with advanced technologies. According to How Stuff Works, spectrophotometers have revolutionized paint color matching by measuring light wavelength intensities reflected from a surface. These sophisticated devices can analyze the exact color spectrum, providing unprecedented accuracy in color reproduction. Professional paint stores now use these tools to create near-perfect color matches, transforming what was once a challenging process into a precise science.
Critical Factors in Color Matching
Successful color matching goes beyond simple visual comparison. HGTV experts emphasize the critical role of lighting conditions in perceiving paint colors. Different light sources can dramatically alter how a color appears, making it essential to evaluate color matches under various lighting scenarios. Natural daylight, fluorescent lighting, and evening ambient light can each reveal subtle variations in color tone. When matching cabinet paint, bring a sample piece or paint chip to your kitchen and observe how the color looks at different times of day.
For conversion varnishes and specialized cabinet paints, professional kitchen design experts recommend taking an actual cabinet door to a professional paint store. These specialized paints often have unique formulations that standard color matching techniques might not perfectly replicate. Professionals can create custom color mixes that account for aging, previous paint layers, and specific paint chemistry.
Remember that patience and attention to detail are crucial in achieving a seamless color match. Test small samples, compare under different lighting conditions, and do not rush the process. A perfect color match can make your cabinet touch-ups look professionally executed, restoring your kitchen’s aesthetic appeal with minimal effort.
Maintaining Your Cabinets After Touch Ups
After investing time and effort into touch-up painting, proper maintenance becomes crucial to preserve your cabinets’ fresh appearance. Learn our comprehensive cabinet care strategies to ensure long-lasting beauty and protection.
Cleaning and Care Techniques
Proper cleaning is essential for maintaining painted cabinets. According to Homes & Gardens, use a soft microfiber cloth with mild dish soap and warm water for routine cleaning. Avoid abrasive cleaners and harsh scrubbing pads that can damage the delicate paint finish. For stubborn stains, a diluted vinegar solution can be used sparingly. Always dry the surface immediately with a lint-free towel to prevent water marks and potential damage.
Protection and Long-Term Maintenance
Kitchen Tune-Up recommends several critical maintenance strategies. Wait at least one month after touch-ups before intensive cleaning to allow the paint to fully cure. Use cabinet hardware like knobs and pulls to minimize direct hand contact with painted surfaces, as skin oils can degrade the finish over time. Protect cabinets from direct sunlight to prevent fading, and use ventilation fans while cooking to reduce exposure to heat and steam.
Regular inspections are key to maintaining your cabinets’ appearance. Check for any small chips or scratches and address them promptly to prevent further damage. According to Anderson Painting experts, applying a protective sealant can provide an additional layer of defense against moisture and stains. Be mindful of your kitchen’s humidity levels and maintain a consistent indoor climate to prevent warping or peeling of the paint.
Remember that gentle, consistent care is the secret to keeping your cabinets looking pristine. Avoid hanging wet cloths on cabinet doors, clean spills immediately, and treat your cabinets with care to maintain their fresh, professionally touched-up appearance for years to come.
Frequently Asked Questions
How do I touch up paint on my kitchen cabinets?
To touch up painted cabinets, start by cleaning the damaged area thoroughly and assessing the extent of the damage. Fill in any chips or scratches with wood putty or latex filler, let it dry, sand it smooth, and then apply a primer before painting with a color-matched paint in thin layers.
What tools do I need for touching up painted cabinets?
Essential tools include high-quality sandpaper (120-grit and 220-grit), microfiber tack cloths, angled synthetic brushes, small foam rollers, painter’s tape, wood filler, and a respirator mask for safety. These tools help ensure precision and a professional finish.
How can I match the cabinet paint color accurately?
To match the cabinet paint color accurately, consider using a spectrophotometer at a professional paint store for precise color matching. Additionally, assess the color under different lighting conditions to ensure it matches your existing cabinets in various environments.
What maintenance tips should I follow after touching up my cabinets?
For long-lasting maintenance, gently clean your cabinets with a microfiber cloth and mild soap, avoid harsh chemicals, and protect them from direct sunlight. Allow the paint to cure fully before deep cleaning and regularly inspect for chips or scratches to address promptly.
Ready for Flawless Cabinets Without the Stress?
You read how a simple touch-up can quickly turn complicated with uneven finishes or mismatched paint. Even with careful prep and a steady hand, many homeowners end up frustrated when results do not blend in or last. If you want to restore your kitchen space without risking visible repairs or wasted weekends, it is time to consider a professional solution.
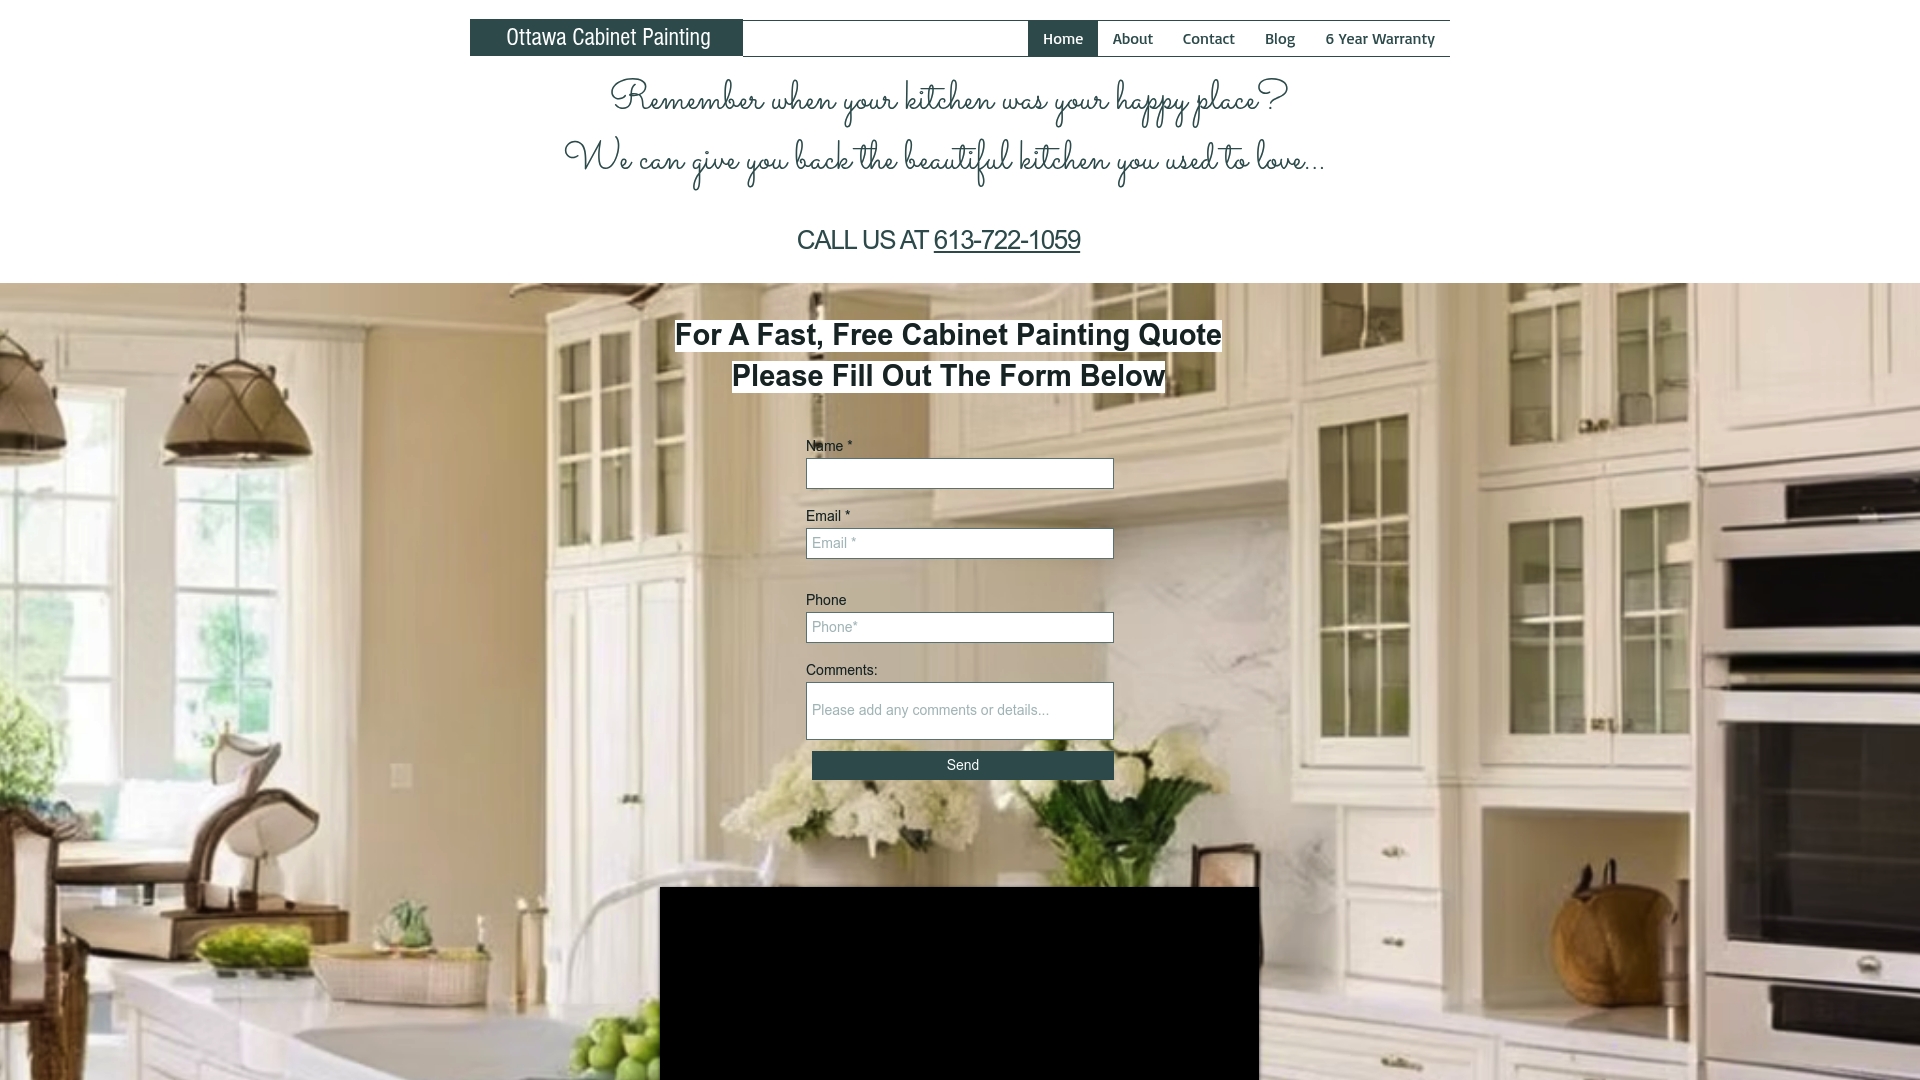
Let Ottawa Cabinet Painting bring your kitchen back to life. Our team uses advanced color-matching and a step-by-step process proven to deliver a smooth, durable finish that lasts. We handle every detail, so you avoid the mess, guesswork, and disappointment. See the difference expertise makes by starting with a personalized estimate and reading about our meticulous process. Secure your spot today at Ottawa Cabinet Painting and enjoy the look of a high-end renovation without the chaos or cost.
Recommended
Comments