How to Paint Cabinets: Transform Your Kitchen Economically
- demoore5506
- Sep 26, 2025
- 12 min read
Painting kitchen cabinets might seem like a huge chore, but did you know that surface preparation accounts for 80% of a flawless finish? Most people think picking the perfect paint color is the real magic. In reality, it’s the behind the scenes prep work that separates a DIY disaster from kitchen cabinets you can brag about for years.
Table of Contents
Quick Summary
Key Point | Explanation |
1. Thorough workspace preparation is essential. | Empty all cabinets and create a protected painting environment for a successful project and finish. |
2. Surface cleaning and sanding are crucial. | Clean cabinet surfaces thoroughly with a degreaser and sand to enhance paint adhesion and texture. |
3. Apply primer for better results. | Use the correct primer based on cabinet material to ensure durability and block stains before painting. |
4. Use multiple thin coats of paint. | Apply thin layers rather than thick ones to avoid drips and achieve a smooth, even finish. |
5. Allow ample drying time between coats. | Patience is key; ensure each coat is fully dry to promote a long-lasting, professional look. |
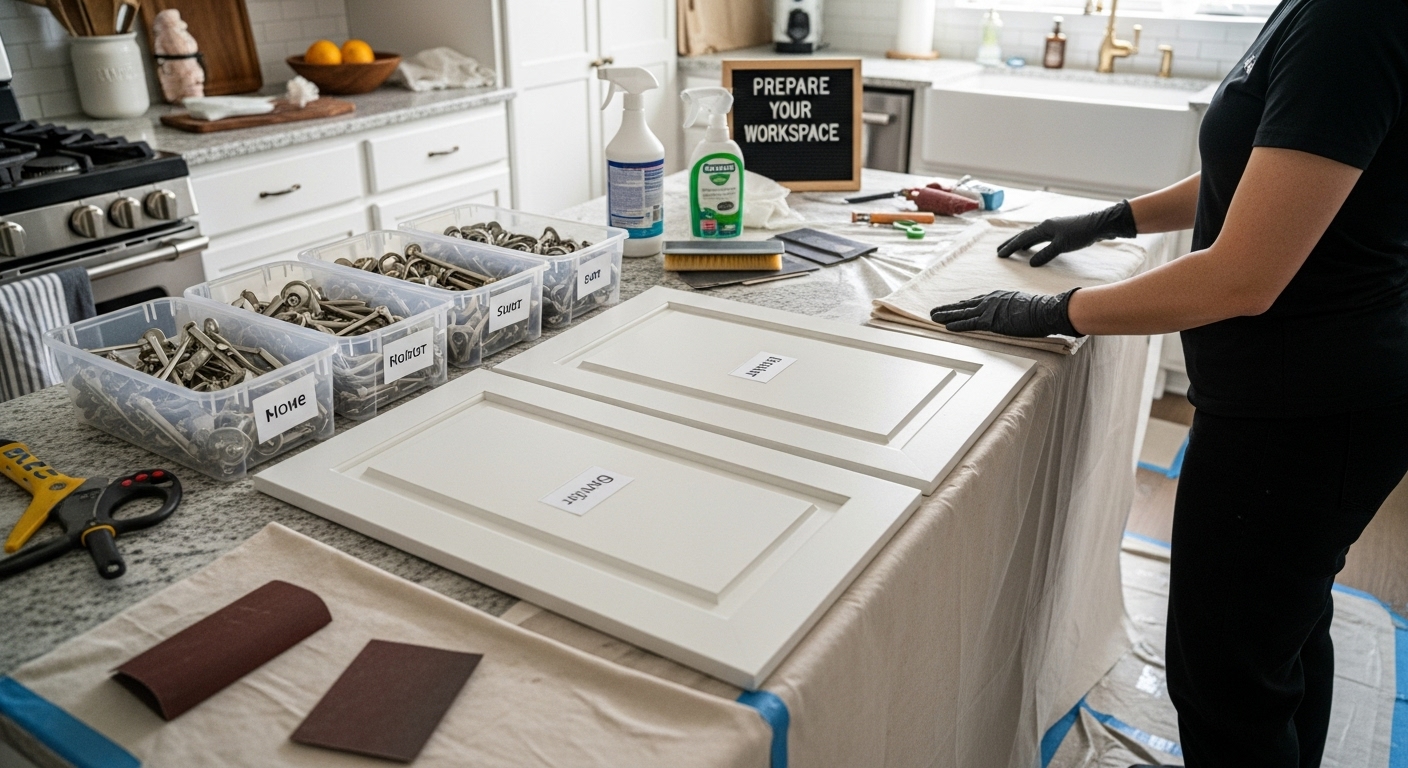
Step 1: Prepare Your Workspace and Gather Supplies
Transforming your kitchen cabinets starts with meticulous preparation. This initial stage sets the foundation for a professional finish and determines the overall success of your painting project. Your workspace preparation is more than just clearing counters it’s about creating an optimal environment for precision and quality work.
Begin by completely emptying the kitchen cabinets. Remove all dishes, utensils, and items stored inside. This gives you a clean slate and prevents accidental paint splatters or damage to your kitchenware. Next, carefully remove all cabinet doors and hardware using a screwdriver. Label each door and its corresponding hardware in a systematic manner to ensure easy reassembly later. Our guide on removing cabinet doors provides additional detailed instructions for this process.
Your essential toolkit should include high quality supplies that professional painters rely on. Here are the must have items:
Drop cloths or plastic sheeting to protect floors and countertops
High quality painters tape
Sandpaper (multiple grit levels: 120 and 220)
Degreasing cleaner
Tack cloths
Primer
Paint
Quality paintbrushes and rollers
Protective gear (safety glasses, dust masks, work gloves)
Prepare a dedicated workspace with excellent ventilation. An area like a garage or well ventilated basement works perfectly for painting cabinet components. Cover your work surface with drop cloths and ensure you have adequate lighting to spot imperfections. The workspace should be dust free and maintain a consistent temperature between 65 and 75 degrees Fahrenheit for optimal paint application and drying.
Professional painters know that surface preparation is 80% of a great paint job. Clean all cabinet surfaces thoroughly using a degreasing solution to remove years of accumulated cooking residue, oils, and dirt. Wipe down surfaces with a lint free cloth and allow them to dry completely. Sand the surfaces lightly to create microscopic grooves that help the primer and paint adhere more effectively. After sanding, use tack cloths to remove all dust particles ensuring a smooth, clean surface ready for priming.
By investing time in thorough preparation, you are setting yourself up for a stunning kitchen transformation that looks professionally executed. The extra effort in these initial stages will pay dividends in the final result.
The following table summarizes the essential tools and materials needed for painting kitchen cabinets, along with their specific purposes to help you get organized before starting your project.
Tool/Material | Specification/Type | Purpose |
Drop cloths/plastic | Floor and countertop coverage | Protects work areas from paint spills |
Painter’s tape | High quality, easy release | Ensures clean paint lines, protects surfaces |
Sandpaper | 120 and 220 grit | Creates surface texture, smooths cabinet finish |
Degreasing cleaner | Commercial or dish soap mix | Removes grease and residue from surfaces |
Tack cloths | Lint-free | Eliminates dust after sanding |
Primer | Matched to cabinet material | Helps paint adhesion, blocks stains |
Paint | Acrylic enamel/urethane-based | Provides color and durable finish |
Paintbrushes/rollers | Synthetic/foam | Applies primer and paint evenly |
Protective gear | Safety glasses, dust mask | Ensures personal safety during prep and painting |
Step 2: Clean and Sand Cabinet Surfaces Thoroughly
Cleaning and sanding are critical stages that determine the quality and longevity of your cabinet painting project.
This step transforms rough, potentially greasy surfaces into smooth canvases ready for a professional grade paint application.
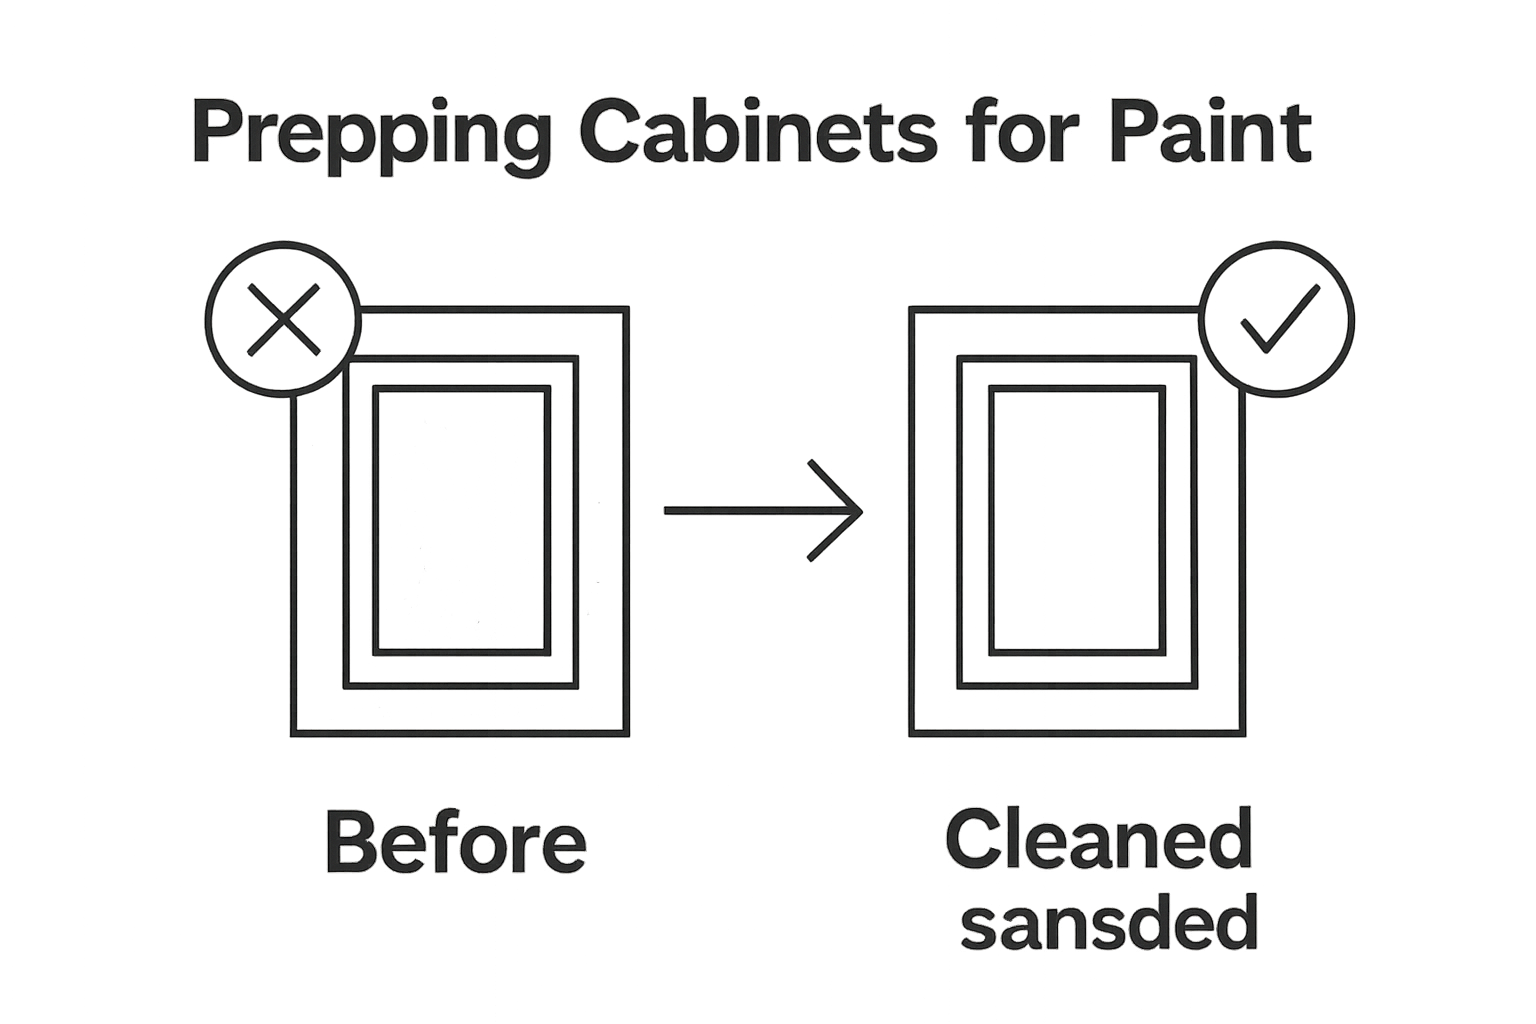
Prepping cabinets for paint requires precision and attention to detail that separates amateur attempts from professional results.
Begin by creating a powerful degreasing solution using a commercial degreaser or a mixture of warm water and grease cutting dish soap. Wear protective rubber gloves and use lint free cloths or sponges to thoroughly clean every surface of the cabinet doors and frames. Pay extra attention to areas near handles and cooking zones where grease and grime accumulate most intensely. Wipe each surface multiple times, rotating to clean sections of the cloth to prevent redistributing dirt.
After cleaning, allow surfaces to dry completely for at least two hours. Moisture is the enemy of paint adhesion, so ensuring a bone dry surface is paramount. Once dry, inspect the surfaces for any remaining residue or rough patches. You will now transition to sanding, which creates microscopic grooves that help primer and paint bond effectively.
Sanding requires a strategic approach. Start with medium grit sandpaper (120 grit) to remove existing finish and create initial surface texture. Move your sanding block or electric sander in smooth, consistent motions following the wood grain. Apply even pressure to avoid creating uneven spots or digging into the wood. For detailed areas like decorative edges or curved sections, switch to hand sanding to maintain control.
Here are critical verification points to ensure proper surface preparation:
Surface feels smooth and uniform when touched
No visible grease or dirt remains
Wood grain is slightly roughened but not deeply scratched
No glossy areas remain from previous finish
Surfaces appear consistently matte
After initial sanding with 120 grit, progress to fine 220 grit sandpaper for a silky smooth finish. This final pass removes any remaining roughness and prepares the surface for primer.
This table provides a checklist of critical verification points to confirm each step of cabinet surface preparation is complete before priming, helping ensure professional and lasting results.
Verification Point | Description |
Surface smooth and uniform | All areas feel consistent to the touch |
No visible grease or dirt | Surfaces are spotless and free from contaminants |
Wood grain slightly roughened | Sanded for proper adhesion, but not deeply scratched |
No glossy areas | Old finish is fully dulled and matte throughout |
Surface consistently matte | Visual check confirms preparatory sanding is even |
Step 3: Apply Primer for Better Paint Adherence
Priming is the unsung hero of cabinet painting transformations, creating a critical foundation that determines the durability and professional appearance of your final finish. How to prevent paint peeling starts with proper primer application and understanding the science behind surface preparation.
Choosing the right primer depends on your cabinet material and existing finish. For wood cabinets, a high quality shellac based or oil based primer provides superior adhesion and stain blocking properties. Laminate or melamine surfaces require specialty bonding primers designed to grip slick surfaces. Select a primer that matches your specific cabinet material to ensure maximum paint performance.
Prepare your workspace by laying out cabinet doors on a flat, well ventilated surface covered with drop cloths. Use painter’s pyramids or sawhorses to elevate doors, allowing complete coverage and preventing sticking. Wear protective gear including safety glasses and a respirator mask to shield yourself from primer fumes and potential splatter.
Apply primer using high quality synthetic brushes or foam rollers for smooth, even coverage. Work in long, consistent strokes following the wood grain. Avoid overloading your brush or roller, which can create uneven drips and thick spots. Thin, multiple coats always produce superior results compared to one thick application. Allow each coat to dry completely according to manufacturer instructions, typically between two to four hours.
Here are key verification points for successful primer application:
Surface appears uniformly white or gray
No visible wood grain or previous color showing through
No drips, runs, or uneven patches
Surface feels smooth when lightly touched
Primer appears fully dry with no tackiness
Pay special attention to edges, corners, and detailed areas where primer can easily pool or miss critical spots. Use a smaller brush for these precision zones to ensure complete coverage. Once primed, allow surfaces to cure for at least 24 hours before moving to paint application. Patience during priming prevents potential paint failures and guarantees a professional grade finish that will make your kitchen cabinets look brand new. The extra time invested in this stage will reward you with a stunning, long lasting transformation.
Step 4: Paint Cabinets Using the Right Technique
Painting kitchen cabinets requires precision and technique that transforms ordinary surfaces into professional grade finishes. Painting oak cabinets demands specific expertise and careful application to achieve a smooth, durable result that looks like it was done by professionals.
Select a high quality cabinet paint specifically designed for durability and smooth application. Acrylic enamel or urethane modified paints work best for kitchen environments, offering resistance to moisture, grease, and frequent cleaning. Temperature and humidity are critical factors in paint performance, so aim to paint when room temperature is between 65 and 75 degrees Fahrenheit with low humidity.
Prepare your painting area by setting up a well ventilated workspace with consistent lighting. Lay out cabinet doors on sawhorses or painting pyramids to ensure complete access to all surfaces. Use high quality synthetic brushes or foam rollers designed for smooth surface application. For larger flat surfaces, foam rollers create an ultra smooth finish with minimal texture, while angled synthetic brushes work best for edges and detailed areas.
Apply paint using thin, consistent coats rather than thick single applications. Start with long, smooth strokes following the wood grain, maintaining a wet edge to prevent visible lap marks. Hold your brush or roller at a consistent angle, applying even pressure throughout each stroke. Thin coats are always superior to thick, goopy applications. Allow each coat to dry completely before applying the next layer, typically waiting two to four hours between coats.
Here are critical verification points for professional paint application:
No visible brush or roller marks
Uniform color coverage
No drips or uneven sections
Smooth, consistent sheen across all surfaces
No visible wood grain or primer showing through
Pay special attention to edges, corners, and detailed areas that can easily reveal imperfections. Use a smaller precision brush for these zones, ensuring complete and even coverage. Most cabinet painting projects require two to three light coats for optimal results. After final coat application, allow cabinets to cure for at least 24 to 48 hours before reinstalling hardware or placing items back into cabinets. The extra patience ensures a rock solid finish that will look stunning for years to come.
Step 5: Allow to Dry and Apply a Second Coat if Needed
The drying and recoating phase is where amateur paint jobs diverge from professional results. Understanding how cabinet paint cures is critical to achieving a flawless finish, transforming your initial painting efforts into a lasting kitchen upgrade.
After applying the first coat, patience becomes your most valuable tool. Rushing this stage can completely compromise your entire painting project. Different paint types require specific drying times, typically ranging between two to four hours for light coats. Environmental factors like humidity, temperature, and air circulation dramatically impact drying speed. Maintain a consistent room temperature around 70 degrees Fahrenheit with good ventilation to optimize paint performance.
Inspect your first coat carefully under strong, natural light. Look for thin spots, uneven coverage, or areas where the original surface remains visible. These imperfections are your signal that a second coat will be necessary. Use a bright work light positioned at an angle to reveal subtle variations in color and coverage. Run your hand gently over the surface to feel for any unexpected texture or rough patches that might require additional attention.
Before applying the second coat, perform a light touch test. The surface should feel completely dry and firm, with no tackiness or give when pressed lightly. If the paint feels soft or leaves a fingerprint, wait additional time before recoating. Lightly sand the first coat with ultra fine 220 grit sandpaper to create microscopic texture that helps the second coat adhere perfectly. Remove all sanding dust with a tack cloth to ensure a pristine surface.
Here are critical verification points for second coat application:
First coat is completely dry
Surface feels smooth and firm
No visible primer or original surface showing
Lighting reveals uniform color coverage
No drips, runs, or uneven sections present
Apply the second coat using the same meticulous technique as the first. Maintain consistent stroke direction, avoid overloading your brush or roller, and work in thin, even layers. After the second coat, allow cabinets to dry completely for 24 to 48 hours before reinstalling hardware or returning items to the cabinets. Proper curing time ensures a durable, professional finish that will withstand daily kitchen use.
Step 6: Reattach Hardware and Enjoy Your Updated Space
The final stage of your cabinet painting project is both a technical process and a moment of triumphant transformation. Proper hardware reinstallation ensures your kitchen looks professionally finished and maintains the stunning update you have meticulously created.
Before reattaching hardware, carefully inspect each cabinet door and drawer front to confirm the paint has fully cured. Allow a minimum of 48 to 72 hours after your final paint coat to guarantee maximum durability and resistance to scratches or dings. This waiting period might test your patience, but it prevents premature damage to your beautiful new finish.
Retrieve the hardware you carefully labeled and stored during the initial disassembly. Clean each piece thoroughly using a gentle metal cleaner to remove any dust, paint residue, or oxidation accumulated during the painting process. If your original hardware looks worn or dated, consider this an opportunity to upgrade. New knobs or handles can dramatically enhance your kitchen’s aesthetic and complement your freshly painted cabinets.
When reinstalling, work methodically and systematically. Start with the cabinet doors, carefully aligning each hinge and ensuring smooth movement. Use a manual screwdriver instead of a power drill to prevent accidentally stripping screw holes or creating uneven pressure that could chip your new paint. Gentle, precise movements are key to maintaining your professional finish. Check that each door hangs straight and opens smoothly, making minor adjustments as needed.
Here are critical verification points for hardware reinstallation:
All hardware is clean and free of residue
Screws are tightened evenly without over torquing
Cabinet doors open and close smoothly
No visible paint chipping around hardware attachment points
Handles and knobs are level and aligned
Take a moment to step back and appreciate your hard work. The transformation from dated to modern represents more than just a visual upgrade it reflects your dedication to preserving and enhancing your home. Wipe down your newly painted cabinets with a soft, microfiber cloth to remove any final dust or fingerprints. Your kitchen now boasts a professional grade finish that looks like it was done by expert painters, all achieved through your own careful craftsmanship.

Ready for a Smooth and Hassle-Free Cabinet Transformation?
You have just learned the detailed process of painting kitchen cabinets the right way. While DIY methods can save money, they often require intense prep work, patience for perfect surface preparation, and careful application to avoid streaks, peeling, or uneven finishes. Many homeowners find themselves overwhelmed trying to achieve that flawless, high-end look without risking costly mistakes or dragging the project out for weeks. Keeping your kitchen usable and minimizing household chaos is also a real concern.
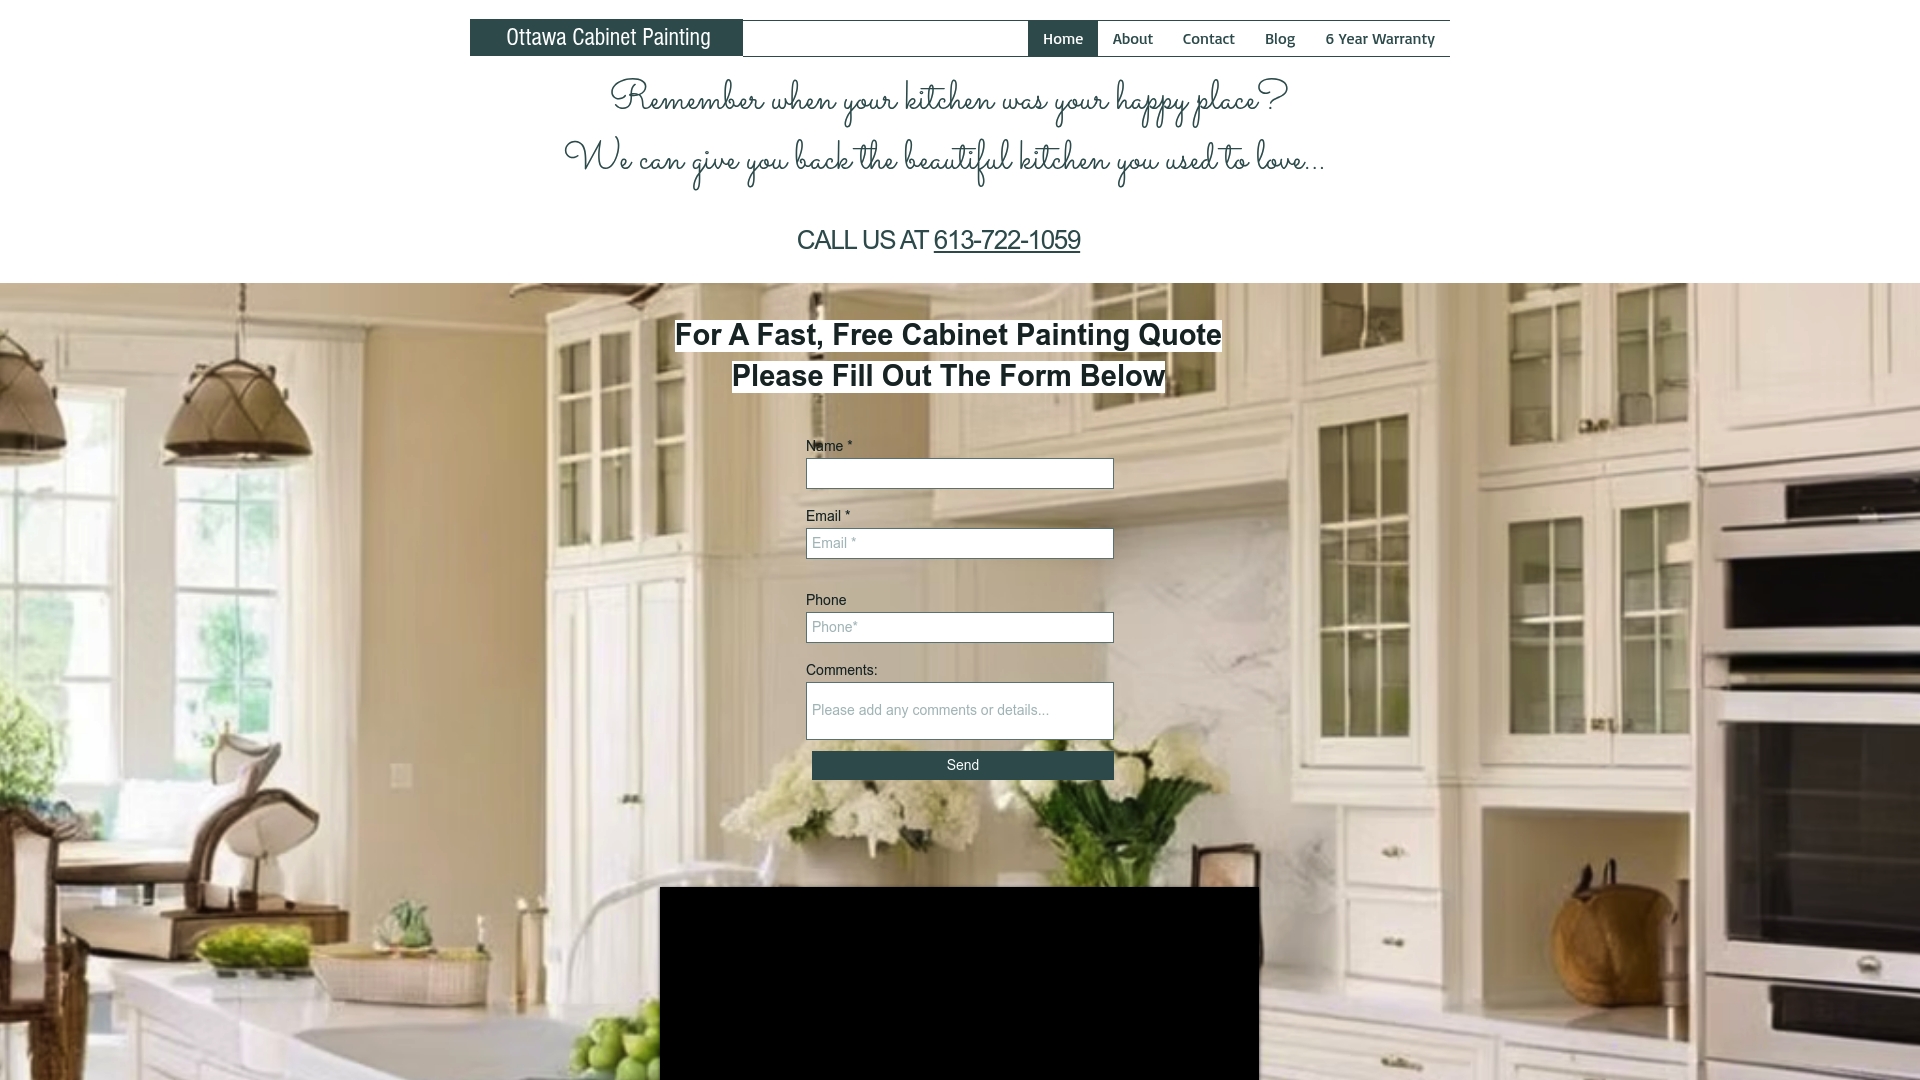
Stop stressing about the risks of DIY setbacks or the disruption of a full kitchen remodel. At Ottawa Cabinet Painting, we deliver meticulous prep work and premium finishes that turn tired cabinets into stunning features, often in just about ten days. Benefit from our expert process, dedicated customer care, and the peace of mind that comes with a 6-year warranty. Visit our home page now to see how you can achieve a truly professional cabinet transformation without the hassle. Contact us today for a quote and enjoy a kitchen that feels both new and familiar, with no unnecessary disruption.
Frequently Asked Questions
What supplies do I need to paint my kitchen cabinets?
You will need drop cloths, painter’s tape, sandpaper (120 and 220 grit), a degreasing cleaner, tack cloths, primer, cabinet paint, quality brushes and rollers, and protective gear such as safety glasses and dust masks.
How do I prepare my cabinets for painting?
Start by emptying the cabinets and removing all doors and hardware. Clean the surfaces with a degreaser, then sand them lightly to create a smooth surface. Ensure they are dry and dust-free before applying primer and paint.
What kind of primer should I use for my cabinets?
For wood cabinets, a high-quality shellac-based or oil-based primer is recommended for better adhesion. If your cabinets are made of laminate or melamine, use a specialty bonding primer designed for slick surfaces.
How long should I wait between coats of paint on my cabinets?
Typically, you should wait 2 to 4 hours between coats for the paint to dry completely. For the best results, allow at least 24 to 48 hours after the final coat before reinstalling hardware or using the cabinets.
Recommended
Comments