Removing Old Paint from Cabinets: Easy Ottawa Guide
- demoore5506
- Aug 15, 2025
- 10 min read
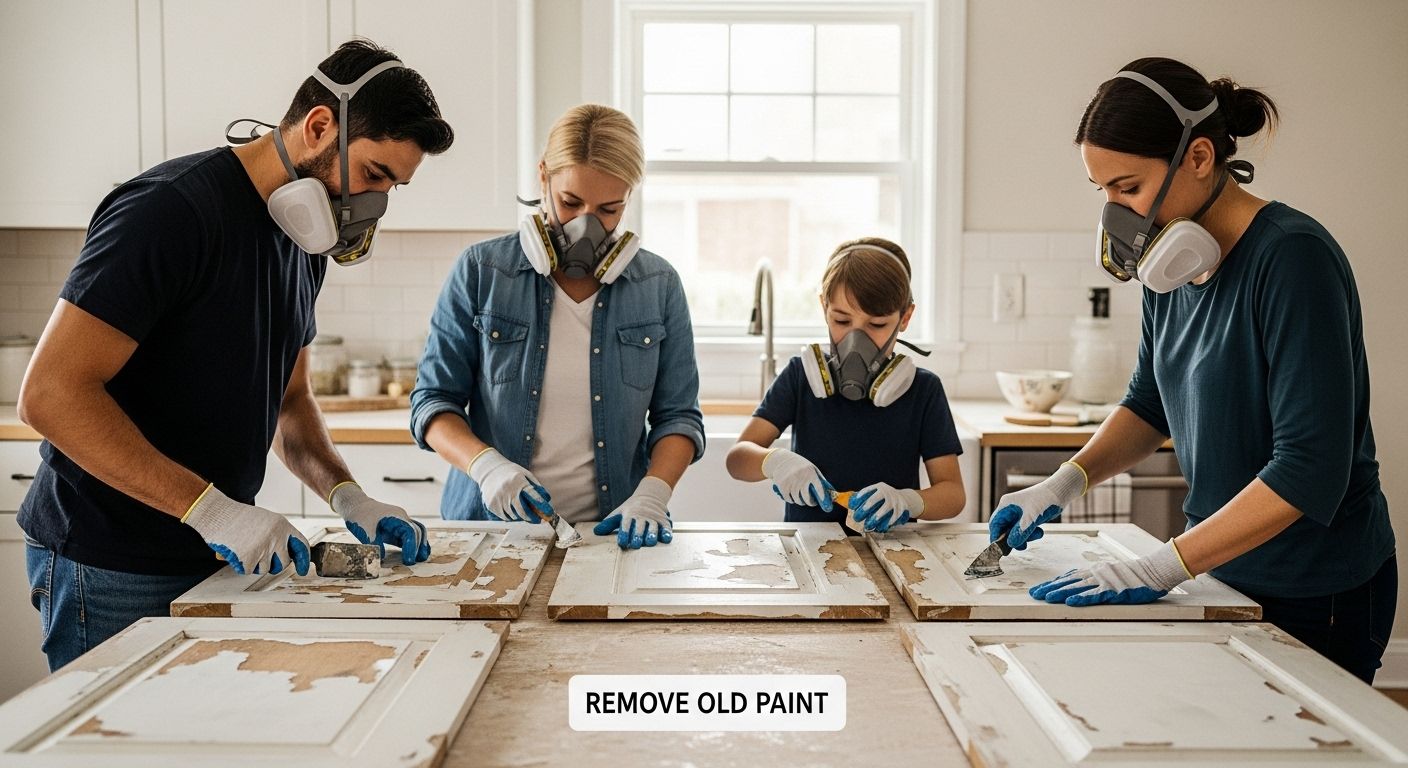
Old kitchen cabinets can hide more than just clutter. Around 87 percent of homes built before 1980 in Ottawa may have lead-based paint lurking under newer layers. That sounds like a small problem you can just paint over, right? Actually, ignoring those hidden layers can turn your next kitchen refresh into a serious health and safety risk—and it can cost you far more down the road than a simple weekend project.
Table of Contents
Quick Summary
Takeaway | Explanation |
Remove Old Paint for Safety | Old paint may contain lead, posing health risks, especially for children. Proper removal minimizes exposure and creates a safer home environment. |
Use Proper Tools and Safety Gear | Equip yourself with personal protective equipment and effective paint removal tools. This ensures a safer job and better results when restoring cabinets. |
Plan and Organize the Project | Break the project into phases and work in a controlled environment. This approach minimizes disruption and enhances efficiency during the paint removal process. |
Investment in Removal Saves Money | Comprehensive paint removal prevents costly future repainting and ensures better adhesion for a long-lasting finish, enhancing the value of your cabinetry. |
Final Cleanup is Crucial | Post-removal, ensure surfaces are clean and smooth before repainting. A thorough cleanup contributes to achieving a professional and durable finish. |
Why Remove Old Paint from Cabinets
Cabinet painting is more than just a cosmetic upgrade. Removing old paint is a critical step in preserving your kitchen’s aesthetic and structural integrity. Understanding why this process matters can save you significant time, money, and potential health risks.
Health and Safety Concerns
Older homes often feature layers of paint that may contain hazardous materials. The U.S. Environmental Protection Agency warns that paint applied before 1978 frequently contains lead, a toxic substance that poses serious health risks. Lead-based paint can create dangerous dust particles when it begins to chip or deteriorate, potentially causing neurological damage, especially in children and pregnant women. By professionally removing old paint, you eliminate these potential health hazards and create a safer living environment.
Structural Integrity and Appearance
Cabinets accumulate paint layers over decades, which can compromise their structural quality. Each new coat without proper preparation creates uneven surfaces, fills intricate wood grain details, and adds unnecessary weight. These layers can mask underlying wood damage, wood rot, or structural weaknesses that need addressing. Professional restoration experts recommend complete paint removal to assess and repair any hidden damage before applying a fresh finish.
When old paint builds up, it creates unsightly texture irregularities. Multiple paint layers produce shadowy lines, bumpy surfaces, and an unprofessional appearance that diminishes your kitchen’s overall aesthetic. Removing these layers allows for a smooth, professional-grade finish that highlights the natural beauty of your cabinetry.
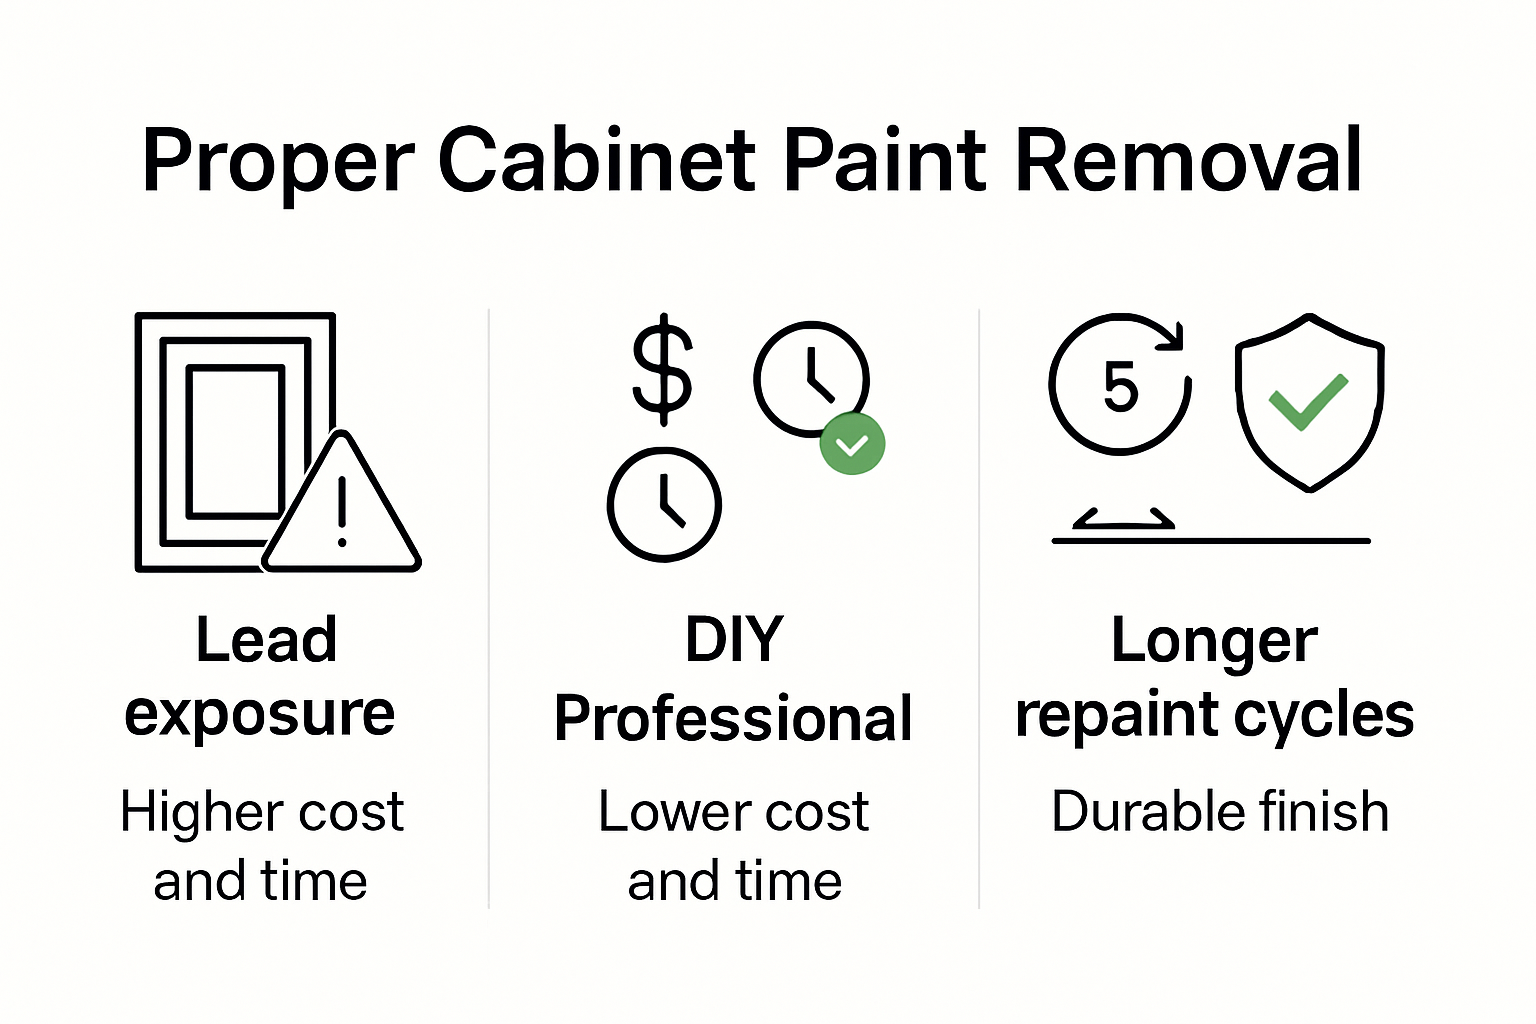
Long-Term Cost Effectiveness
While removing old paint might seem like an additional expense, it’s actually a strategic investment. Skipping thorough paint removal can lead to multiple costly problems. Poorly prepared surfaces cause new paint to chip, peel, or bubble prematurely, requiring frequent touch-ups or complete repainting. By investing in comprehensive paint removal, you create a clean, stable surface that ensures your new cabinet painting project will look pristine for years.
Professional paint removal also allows for precise color matching, better adhesion, and a more uniform finish. This meticulous approach transforms your existing cabinets, giving them a high-end look without the astronomical costs of full cabinet replacement. You’re not just painting cabinets you’re restoring and protecting a significant investment in your home’s interior.
Tools and Materials You Will Need
Removing old paint from cabinets requires careful preparation and the right equipment. Professional painters understand that having the correct tools not only makes the job easier but ensures a high-quality finish that transforms your kitchen’s appearance.
Personal Safety Equipment
The U.S. Environmental Protection Agency strongly recommends comprehensive personal protective equipment when removing old paint. This includes:
Respirator Mask: A NIOSH-approved respirator with specialized filters to prevent inhalation of paint dust and chemical fumes
Safety Goggles: Full-coverage eye protection to shield against paint chips and chemical splashes
Chemical-Resistant Gloves: Heavy-duty rubber or nitrile gloves that protect hands from harsh paint strippers and solvents
Disposable Coveralls: To prevent paint residue from contaminating clothing and skin
Skipping proper safety gear can expose you to potentially harmful chemicals and particulates, making protection a non-negotiable first step in your cabinet paint removal project.
Chemical and Manual Removal Tools
Effective paint removal requires a strategic combination of chemical strippers and manual tools. Professional woodworking experts from Fine Woodworking recommend the following essential equipment:
Chemical Paint Stripper: Choose between solvent-based or citrus-based removers depending on the paint type and wood surface
Plastic Scrapers: Flexible, non-metallic scrapers that prevent wood surface damage during paint removal
Wire Brushes: Soft brass or stainless steel brushes for detailed work and texture removal
Heat Gun: Optional tool for softening stubborn paint layers, used carefully to avoid wood damage
HEPA-Filtered Vacuum: Critical for capturing fine paint dust and preventing environmental contamination
Preparation and Cleanup Materials
Before and after paint removal, you’ll need additional materials to protect your workspace and achieve a professional finish:
Drop Cloths: Heavy-duty canvas or plastic sheets to protect floors and surrounding surfaces
Painter’s Tape: High-quality tape to mask areas you want to protect during the removal process
Sandpaper: Multiple grits (120, 180, 220) for smoothing surfaces after paint removal
Tack Cloths: Special lint-free cloths to remove fine dust before applying new paint
Plastic Sheeting: To create a contained work area and prevent dust spread
By investing in these tools and materials, you’re setting the stage for a successful cabinet painting project that will breathe new life into your kitchen. Remember, proper preparation is the key to a flawless, long-lasting finish.
To help you easily gather and prepare the required items, here is a summary table outlining essential tools and materials needed for safely and effectively removing old paint from cabinets.
Category | Example Items | Purpose |
Personal Safety Equipment | Respirator mask, safety goggles, chemical-resistant gloves, disposable coveralls | Protects user from dust, chemicals, contaminants |
Chemical/Manual Tools | Chemical paint stripper, plastic scrapers, wire brushes, heat gun, HEPA-filtered vacuum | Removes old paint effectively and safely |
Preparation/Cleanup Gear | Drop cloths, painter’s tape, sandpaper (various grits), tack cloths, plastic sheeting | Prepares space, protects surroundings, final finish |
Step-by-Step Cabinet Paint Removal Process
Removing old paint from cabinets requires a methodical approach that balances precision with patience. The General Services Administration emphasizes the importance of selecting the right technique to preserve your cabinet’s structural integrity while achieving a flawless finish.
Preparation and Initial Assessment
Before beginning the paint removal process, conduct a thorough inspection of your cabinets. Look for signs of wood damage, previous repair work, or multiple paint layers. Remove all hardware including handles, hinges, and drawer pulls. Clean the surfaces thoroughly using a degreasing solution to remove years of accumulated dirt and grime. Learn more about proper cabinet preparation to ensure the best possible outcome.
Protect your workspace by laying down heavy-duty drop cloths and using painter’s tape to mask adjacent surfaces. Ensure proper ventilation by opening windows and setting up fans to circulate air. This step is crucial for both your safety and the quality of the paint removal process.
Chemical and Thermal Removal Techniques
Preservation experts from the GSA recommend multiple approaches for paint removal:
Chemical Stripping: Apply a professional-grade paint stripper appropriate for your specific paint type. Work in small sections, allowing the chemical to sit for the manufacturer’s recommended time. Use plastic scrapers to gently remove softened paint layers, being careful not to gouge the wood surface.
Thermal Removal: For stubborn paint layers, carefully use a heat gun to soften the paint. The GSA guidelines emphasize controlling heat application to prevent wood damage. Move the heat gun constantly and maintain a consistent distance from the surface.
Final Preparation and Cleanup
After removing the paint, thoroughly clean the surface using mineral spirits or a recommended wood cleaner. Use progressively finer-grit sandpaper to smooth out any remaining rough spots or residue. Start with 120-grit sandpaper and work your way up to 220-grit for a silky-smooth finish.
Carefully inspect the wood for any hidden damage or imperfections revealed during the paint removal process. Fill any small holes or cracks with wood filler, allowing ample time for drying and additional sanding. A HEPA-filtered vacuum and tack cloths are essential for removing fine dust particles before applying a new finish.
The final step in your cabinet transformation is to ensure a completely clean, smooth surface ready for primer and paint. This meticulous process guarantees a professional-grade result that will revitalize your kitchen’s appearance and protect your cabinets for years to come.
Below is a step-by-step process table to clarify each phase of cabinet paint removal, including its main actions and intended results for a smoother workflow.
Step | Key Actions | Purpose/Result |
Preparation & Assessment | Inspect cabinets, remove hardware, clean surfaces, protect workspace, ventilate area | Identify issues, ensure safety |
Chemical/Thermal Removal | Apply stripper or heat gun, let sit, use scraper/brush, carefully remove softened paint | Safely remove old paint layers |
Final Prep & Cleanup | Clean with mineral spirits, sand smooth (120–220 grit), fill holes, vacuum/tack cloth dust | Ready surface for new paint/finish |
Tips for Busy Ottawa Families and Shops
Navigating cabinet paint removal can be challenging for busy Ottawa families and woodworking shops with limited time and resources. Understanding strategic approaches can help minimize disruption while achieving professional-quality results.
Time Management and Project Planning
The U.S. Environmental Protection Agency recommends careful planning to reduce potential hazards and streamline the paint removal process. For busy households, breaking the project into manageable phases is crucial. Consider removing cabinet doors and hardware in batches, working on them in a dedicated workspace like a garage or workshop to avoid kitchen downtime.
Create a realistic timeline that accounts for drying periods, preparation, and potential unexpected challenges. Families with active kitchens should plan the project during less busy periods, such as vacation times or when fewer meals are prepared at home. Explore modern kitchen upgrade strategies to minimize disruption and maintain household functionality during renovation.
Safety and Containment Strategies
Busy environments require extra precautions during paint removal. The EPA emphasizes creating controlled work zones to prevent dust and chemical spread. Use heavy-duty plastic sheeting to seal off work areas, preventing paint particles from contaminating living spaces or workshop equipment. Implement these professional containment techniques:
Dust Control: Use HEPA-filtered vacuums and wet sanding techniques to minimize airborne particles
Ventilation: Set up negative air pressure systems or industrial fans to redirect dust and chemical fumes
Personal Protection: Ensure all workers wear comprehensive protective gear, including respirators, safety glasses, and disposable coveralls
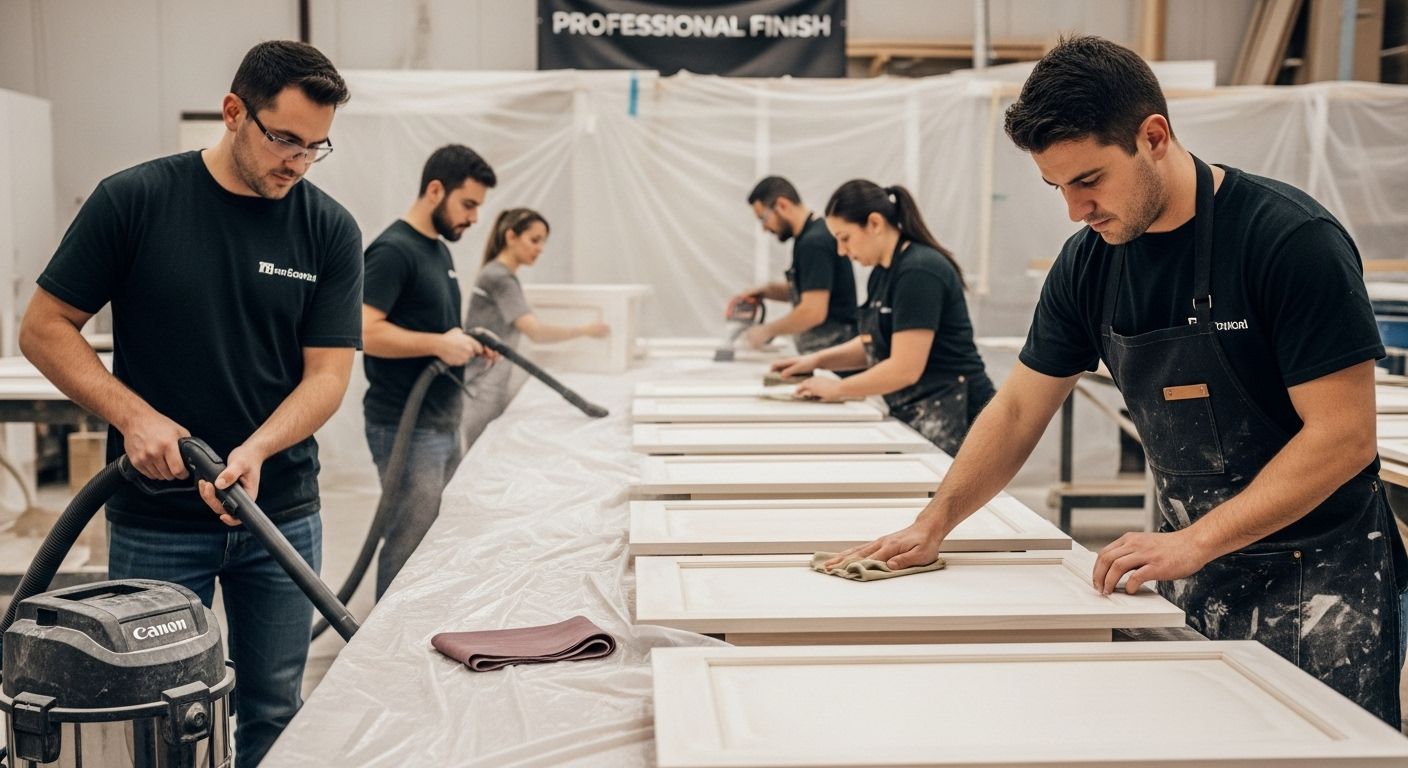
Efficient Workflow for Professional and DIY Painters
Woodworking shops and ambitious homeowners can optimize their paint removal process by adopting professional workflow techniques. Invest in high-quality tools that speed up the process and reduce manual labor. Batch processing cabinet components allows for more efficient chemical treatment and drying times.
Consider creating a dedicated preparation station with multiple workbenches or drying racks. This approach allows simultaneous work on different cabinet sections, significantly reducing overall project duration. Professional painters recommend using chemical strippers that require minimal scraping, saving time and reducing potential wood surface damage.
For shops handling multiple projects, develop a standardized paint removal protocol. Track each project’s progress, document specific challenges, and create reusable checklists. This systematic approach not only improves efficiency but also ensures consistent, high-quality results across different cabinet restoration projects.
Remember, successful paint removal is about strategic planning, careful execution, and patience. By implementing these tips, busy Ottawa families and woodworking professionals can transform their cabinets with minimal disruption and maximum impact.
Frequently Asked Questions
Why is it important to remove old paint from cabinets?
Removing old paint from cabinets is crucial for health and safety, particularly in older homes where lead-based paint may be present. It also enhances the cabinets’ structural integrity and appearance, ensuring a smooth, professional finish for the new paint job.
What tools do I need for removing paint from cabinets?
Essential tools include personal safety equipment like a respirator mask, safety goggles, and gloves. You will also need chemical paint strippers, plastic scrapers, wire brushes, and sandpaper to ensure effective and safe paint removal.
What are the differences between chemical and thermal paint removal methods?
Chemical paint removal involves using strippers to soften paint before scraping, while thermal removal uses heat guns to soften the paint. Chemical methods can be less labor-intensive, while thermal methods may require more caution to avoid damaging the wood.
How can I ensure a smooth surface after paint removal?
After removing the paint, use progressively finer grits of sandpaper to smooth the surface. Clean the area with mineral spirits or a wood cleaner, and finish with a tack cloth to eliminate fine dust before applying a new paint or finish.
Transform Your Cabinets Safely and Beautifully with Ottawa Experts
Struggling with layers of old paint on your kitchen cabinets can feel overwhelming, especially when health risks like lead and hidden structural problems come into play. The real challenge is not just in removing the paint, but making sure your kitchen remains a welcoming and functional space throughout the process. Most homeowners want a smooth, professional look without turning their home upside down or paying for a full renovation.

At Ottawa Cabinet Painting, we turn your vision of a modern, refreshed kitchen into reality. Our team uses meticulous prep work, premium products, and a careful process to deliver flawless results while protecting your family and home. You do not have to handle the risks or the mess on your own. Discover how our professional cabinet painting and modern kitchen upgrade solutions can save you time, reduce disruption, and offer lasting beauty. Now is the perfect time to make your kitchen the true heart of your home again. Visit Ottawa Cabinet Painting and request your free quote today.
Recommended
Comments