Sanding Cabinets for Paint: Ottawa Home Upgrade Guide
- demoore5506
- Aug 13, 2025
- 9 min read

Painting your cabinets promises a whole new look for your kitchen and a noticeable boost to your home’s value. Most people just slap on a coat of paint and hope for the best. But here is a shocker. Skipping the sanding step can actually ruin the finish and cut the life of your painted cabinets short. Research shows that thorough sanding can reduce paint peeling and chipping by up to 80 percent, leading to a longer-lasting, professional result. Wait until you see why spending a little extra time with sandpaper is the key to a kitchen upgrade that actually lasts.
Table of Contents
Quick Summary
Takeaway | Explanation |
Sanding is essential for paint adhesion | Proper sanding creates a textured surface, allowing paint to bond better and preventing issues like peeling or chipping. |
Use a variety of sandpaper grits | Start with coarse grit to remove finishes and finish with fine grit for a smooth surface, ensuring optimal paint results. |
Prepare your workspace thoroughly | Clear and protect your workspace, labeling items for easy reassembly; this step avoids confusion and ensures cleanliness. |
Invest in efficient sanding tools | Tools like orbital sanders can significantly reduce sanding time while improving the quality of the finishes. |
Take your time for a flawless finish | Rushing through sanding compromises quality; patience is key to achieving a professional-looking result that lasts. |
Why Sanding Cabinets Ensures Lasting Paint Results
When it comes to transforming kitchen cabinets, sanding isn’t just a recommended step - it’s the foundation of a professional-grade paint finish. Skipping this crucial preparation can lead to paint that looks amateur, chips easily, and deteriorates quickly. The science behind professional cabinet painting reveals why sanding is absolutely critical for achieving a durable, high-quality result.
The Science of Surface Adhesion
According to the USDA Forest Service research, sanding creates microscopic texture that dramatically improves paint adhesion. Without proper sanding, paint essentially sits on top of the surface rather than bonding with it. This means your beautiful new cabinet color could start peeling, chipping, or looking uneven within months of application.
Wood surfaces naturally have a smooth, sealed finish that resists paint penetration. Sanding breaks down this barrier, creating tiny grooves and valleys that allow primer and paint to grip the surface more effectively. Think of it like preparing a canvas for an artist - the more carefully you prepare the surface, the more stunning and long-lasting the final artwork will be.
Preventing Common Paint Failure Scenarios
Homeowners often underestimate the complexity of a professional-grade cabinet painting project. Many DIY attempts fail because of inadequate surface preparation. Sanding accomplishes several critical objectives:
Removes Old Finish: Eliminates existing paint, varnish, or lacquer that could prevent new paint from adhering properly
Smooths Imperfections: Eliminates surface irregularities, old drips, or previous painting mistakes
Creates Uniform Texture: Ensures an even surface that allows for consistent paint application
By thoroughly sanding your cabinets, you’re not just preparing a surface - you’re creating the optimal foundation for a transformation that will look professional and last for years. The extra time invested in proper sanding pays significant dividends in the longevity and appearance of your kitchen’s most important visual elements.
Remember, a paint job is only as good as its preparation. Rushing or skipping the sanding process might save you a few hours initially, but it will cost you significantly more in potential repainting, touch-ups, and frustrated repairs down the line. Professional painters understand that meticulous preparation is the secret to a flawless finish that stands the test of time.
Tools and Materials Needed for Effective Cabinet Sanding
Successful cabinet sanding requires precision, the right equipment, and a strategic approach. Professional painters understand that your toolkit can make the difference between a mediocre and a magnificent cabinet transformation. Prepping cabinets for painting starts with assembling the correct tools and materials.
Essential Sanding Equipment
According to the Wikipedia entry on sanders, different types of sanders serve unique purposes in woodworking and refinishing. For cabinet sanding, you’ll want a combination of tools that provide both efficiency and precision. An orbital sander works best for large, flat surfaces, while a detail sander helps you reach corners and intricate areas where standard sanders cannot.
The Miami University Woodshop Manual recommends using multiple sanding tools and emphasizes the importance of safety equipment. Always wear protective eyewear, a dust mask, and ensure your workspace is well-ventilated to protect yourself from fine wood particles.
Sandpaper and Sanding Blocks
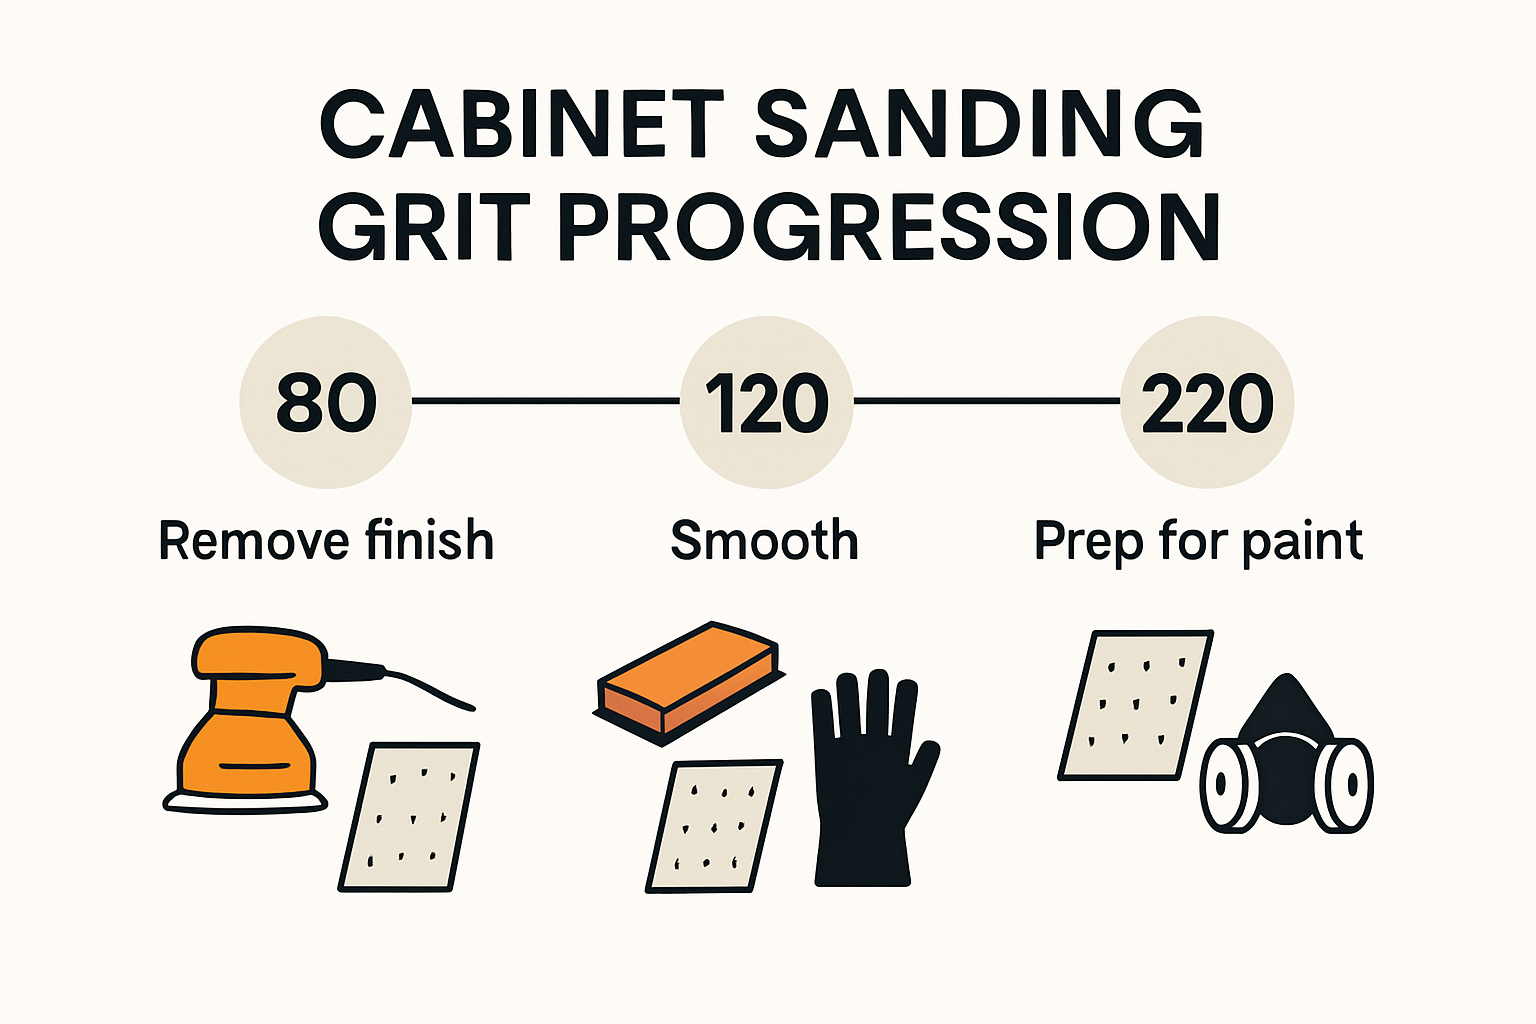
Choosing the right sandpaper is crucial for achieving a smooth finish. Start with a coarser grit (60-80) to remove existing finishes and imperfections, then progressively move to finer grits (120-220) for a silky-smooth surface. Sanding blocks, whether made of wood, cork, or advanced materials, help maintain even pressure and prevent uneven sanding.
Your sandpaper selection should include:
To help you choose the right sandpaper and tools for your cabinet sanding project, here’s a summary of the recommended sandpaper grits, their uses, and compatible sanding tools.
Grit Level | Purpose | Recommended Use | Suitable Tools |
Coarse (60-80) | Remove old finishes, major imperfections | Initial sanding step | Orbital sander, sanding block |
Medium (100-120) | Smooth out rough spots, refine surface | Second sanding pass | Orbital sander, sanding block |
Fine (180-220) | Create smooth surface for priming/painting | Final sanding, prep for paint | Sanding block, detail sander |
Coarse Grit (60-80): For initial surface preparation and removing old finishes
Medium Grit (100-120): For smoothing out initial rough spots
Fine Grit (180-220): For creating a perfectly smooth surface ready for primer

Additional materials like tack cloths, painter’s tape, drop cloths, and a vacuum with a fine dust filter will help maintain a clean, organized workspace and ensure a professional-grade result. Remember, thorough preparation is the foundation of an exceptional paint job.
Step-by-Step Sanding Cabinets for Paint in Ottawa Homes
Transforming your kitchen cabinets requires a methodical approach to sanding that ensures a flawless final finish. Painting techniques for local homeowners demand precision and patience. Proper sanding is more than just rubbing sandpaper across surfaces - it’s a calculated process that prepares your cabinets for a professional-grade paint application.
Preparing Your Workspace
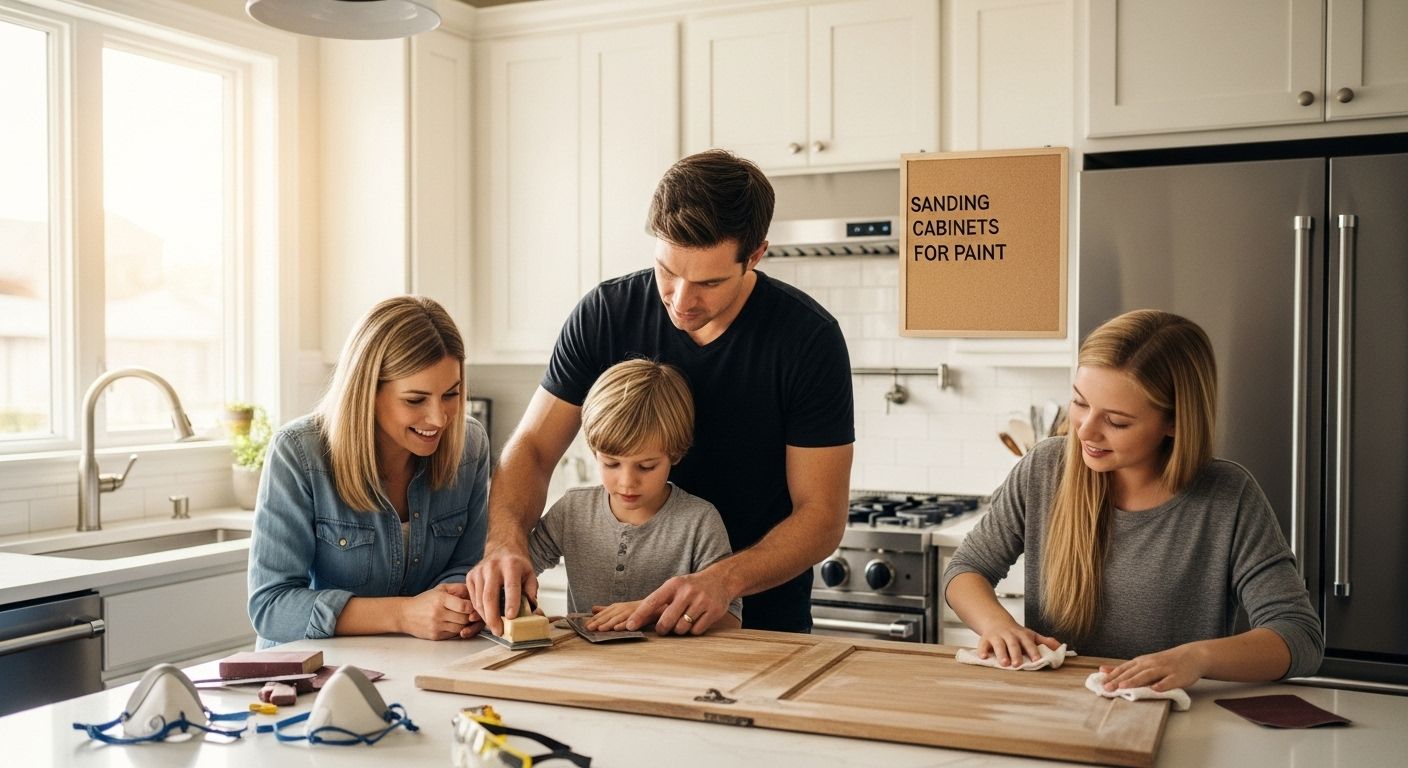
According to the U.S. General Services Administration’s surface preparation guidelines, preparation is critical before beginning any sanding project. Start by removing cabinet doors, drawers, and hardware completely. Label each piece to ensure correct reinstallation. Cover your workspace with drop cloths, and set up a well-ventilated area with adequate lighting.
Essential preparation steps include:
Clearing the Area: Remove all items from cabinets and surrounding workspace
Protecting Surfaces: Use painter’s tape and plastic sheeting to cover countertops and appliances
Organizing Hardware: Create a labeled system for storing screws and cabinet hardware
Sanding Technique and Progression
Consumer Reports recommends a systematic sanding approach that progressively smooths the surface. Begin with a coarse-grit sandpaper (60-80 grit) to remove existing finish and smooth out major imperfections. Work systematically, sanding with the wood grain to avoid creating visible scratches.
Progress through sandpaper grits methodically:
First Pass (60-80 Grit): Remove old finish and major surface irregularities
Second Pass (120-150 Grit): Smooth out initial sanding marks
Final Pass (180-220 Grit): Create an ultra-smooth surface ready for priming
Use manual sanding blocks for flat surfaces and detail sanders for corners and intricate areas. Always wear protective equipment, including a dust mask, safety glasses, and work in a well-ventilated space. After each sanding stage, use a tack cloth to remove dust completely, ensuring a clean surface for the next step.
For readers seeking a quick overview, this table organizes the main steps of the cabinet sanding process, the goal of each step, and key tips to ensure professional results.
Step | Purpose | Key Tip |
Remove doors & hardware | Facilitate thorough sanding | Label all pieces for easy assembly |
Protect workspace | Prevent dust and damage | Use drop cloths and tape surfaces |
First sanding pass (60-80 grit) | Remove finish, major flaws | Sand with the grain |
Second pass (120-150 grit) | Smooth sanding marks | Use moderate, even pressure |
Final pass (180-220 grit) | Achieve ultra-smooth surface | Clean dust with tack cloth |
Clean up | Prepare for painting | Vacuum and wipe all surfaces |
Remember that patience is key. Rushing through the sanding process can compromise your final paint finish. Take your time, work methodically, and focus on creating a consistently smooth surface across all cabinet components. The extra effort during sanding will result in a professional-looking kitchen transformation that will make you proud every time you walk into the space.
Time-Saving Tips for Busy Families and Local Shops
Cabinet sanding and painting can be intimidating for busy Ottawa families and local woodworking shops, but strategic planning can significantly streamline the process. Kitchen renovation strategies for time-conscious homeowners emphasize working smarter, not harder.
Batch Processing and Workspace Optimization
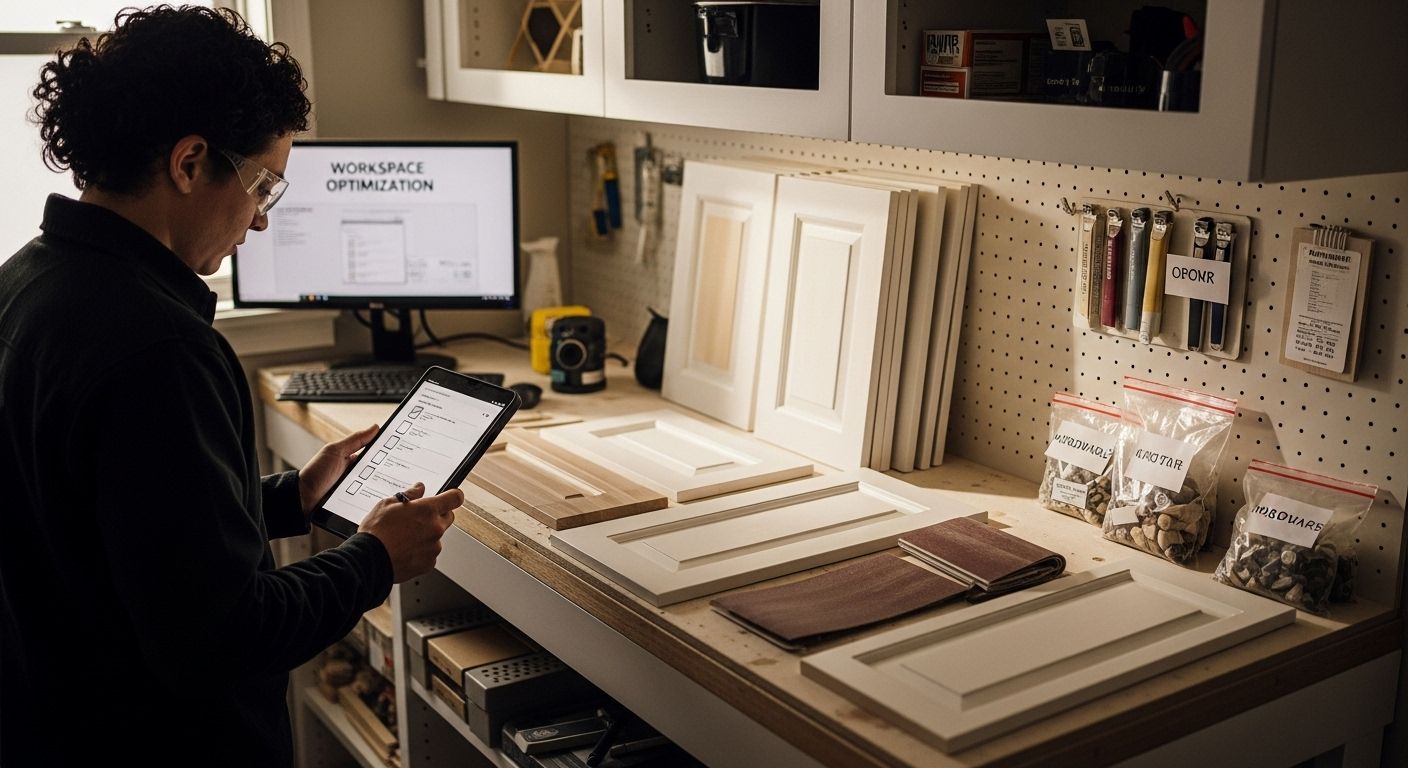
Professional painters and woodworkers understand that efficiency comes from methodical preparation and intelligent workflow management. Break down your cabinet painting project into clear, manageable stages that minimize disruption and maximize productivity. For local shops handling multiple projects, creating a dedicated sanding and painting zone with excellent ventilation and organized tool stations can reduce overall project completion time by up to 40%.
Key efficiency strategies include:
Simultaneous Preparation: Remove and label all cabinet components before beginning any sanding work
Dedicated Workspace: Set up a separate area for sanding that doesn’t interfere with daily kitchen or shop operations
Systematic Workflow: Process cabinet pieces in logical batches to maintain consistent quality

Advanced Equipment and Technique Shortcuts
Investing in the right equipment can dramatically reduce manual labor and improve overall project speed. Pneumatic sanders, dust extraction systems, and multi-stage sanding blocks can cut preparation time by half while delivering professional-grade results. For busy families, consider scheduling cabinet painting during less active periods like summer vacations or extended weekends to minimize household disruption.
Time-saving equipment recommendations:
Orbital Sanders: Faster and more consistent than manual sanding
Dust Collection Systems: Minimize cleanup and protect respiratory health
Spray Paint Systems: Provide faster, more uniform coverage compared to traditional brush methods
Remember that shortcuts should never compromise quality. While speed is important, a rushed job can lead to costly repairs and unsatisfactory results. Professional painters recommend allocating sufficient time for each stage of the cabinet painting process, ensuring a finish that looks exceptional and stands up to daily wear and tear. For busy Ottawa families and local shops, the key is finding the right balance between efficiency and excellence.
Frequently Asked Questions
What is the purpose of sanding cabinets before painting?
Sanding cabinets creates a textured surface that significantly improves paint adhesion, preventing issues like peeling and chipping, and ensuring a longer-lasting finish.
How do I choose the right grit of sandpaper for cabinet sanding?
Start with a coarse grit (60-80) to remove old finishes, then move to medium grit (100-120) for smoothing, and finish with fine grit (180-220) for a smooth surface suitable for painting.
What tools do I need for sanding cabinets effectively?
Essential tools include an orbital sander for large areas, a detail sander for corners, various grits of sandpaper, sanding blocks, and safety equipment like protective eyewear and masks.
How can I ensure a professional finish when sanding my cabinets?
Take your time to sand systematically, clean the surface after each sanding stage with a tack cloth, and make sure to follow the grain of the wood to avoid visible scratches.
Upgrade Your Ottawa Kitchen with a Flawless Cabinet Finish
Do you worry that missed steps or rushed sanding will ruin your cabinet painting project? Many Ottawa homeowners start with excitement but get stuck when trying to achieve that smooth, durable finish. If you are struggling with dust, uneven surfaces, or concerns that your cabinets won’t stand up to daily use, you are not alone. Even with the right tools and grit, the reality is that sanding and prepping cabinets takes skill, patience, and a proven process. A single shortcut can mean chipped paint or a look that fades fast.

Let Ottawa Cabinet Painting handle the hard work for you. Our meticulous cabinet refinishing process eliminates uneven paint, protects your wood, and transforms your kitchen so you can relax and enjoy the heart of your home. We combine detailed prep work with premium products to deliver a silky, modern finish that stands up to years of busy family living — all without the chaos of a full renovation. Ready to skip the stress and get beautiful, lasting results? See our process and request your free quote today at Ottawa Cabinet Painting. Learn more about the importance of prep in our cabinet painting guide, then take your first step toward the kitchen you deserve.
Recommended

Comments